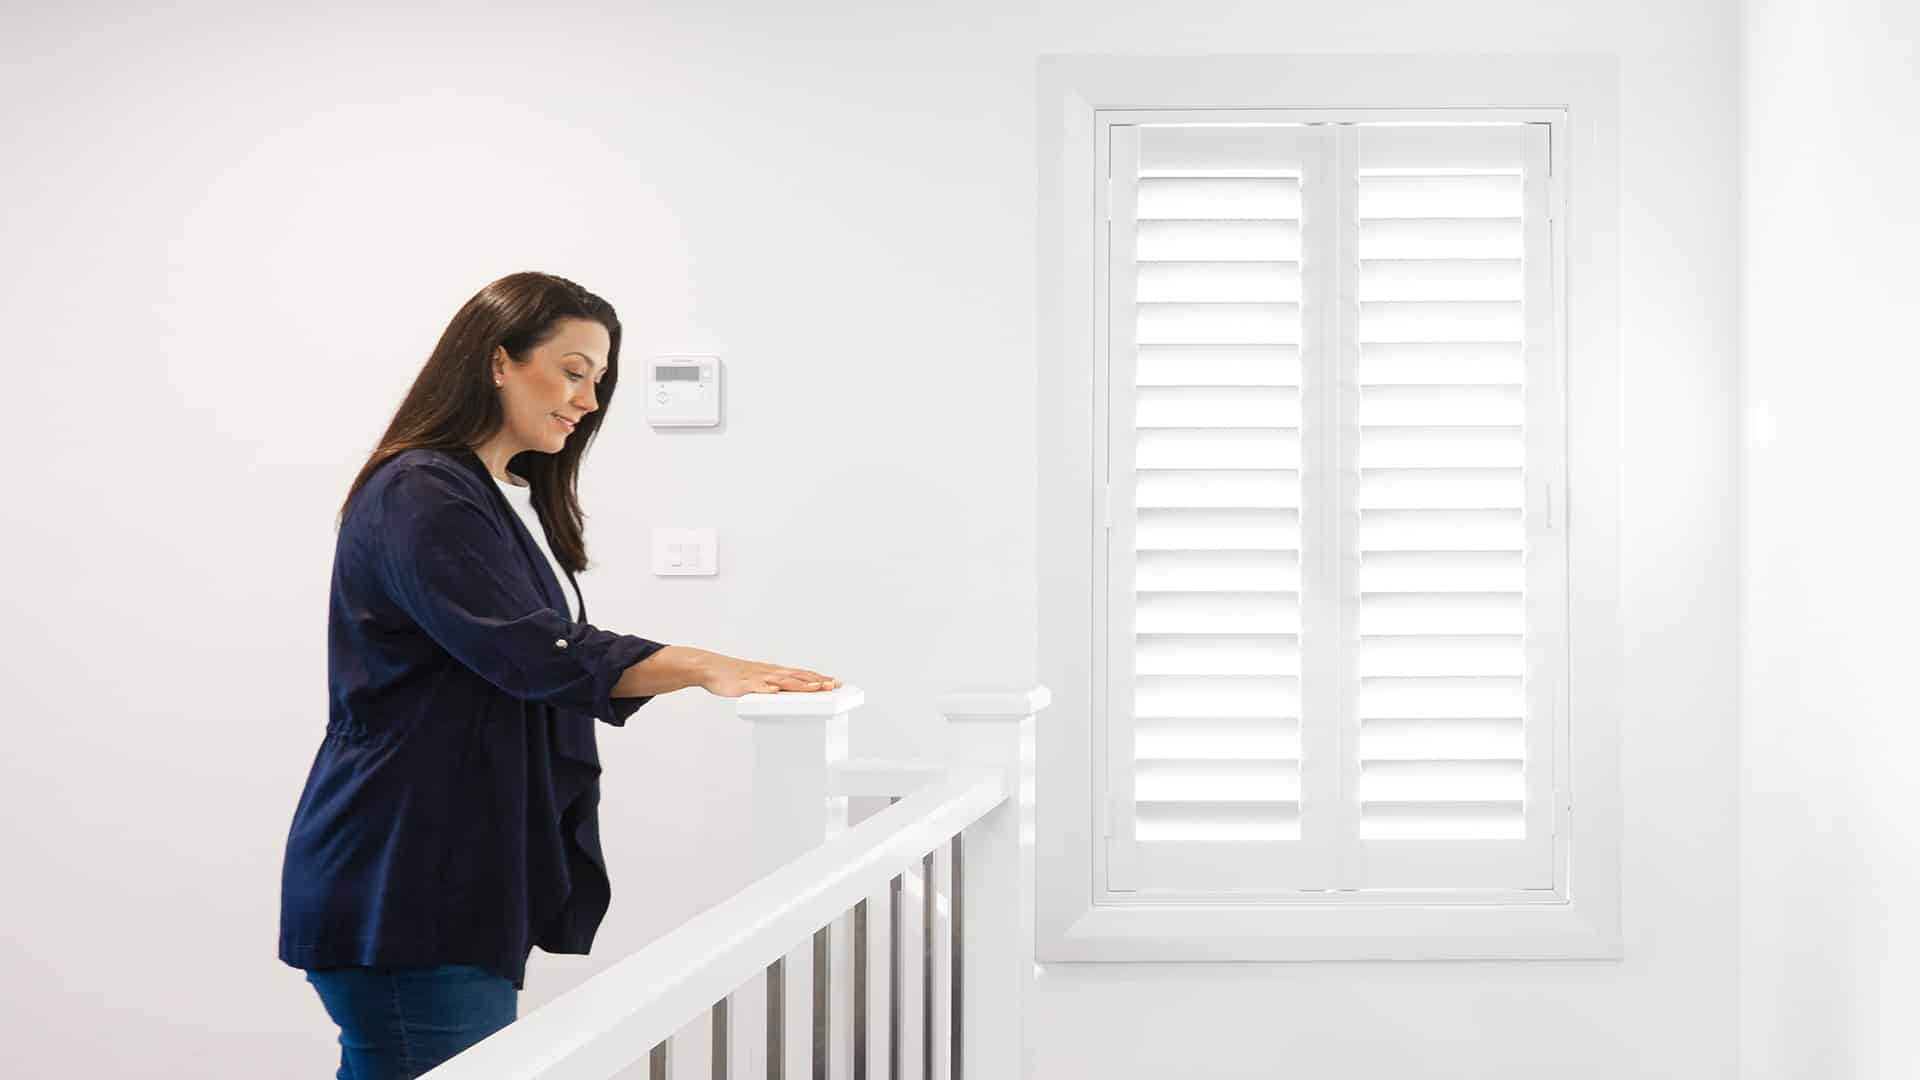
Painting Your Plantation Shutters in Five Easy Steps
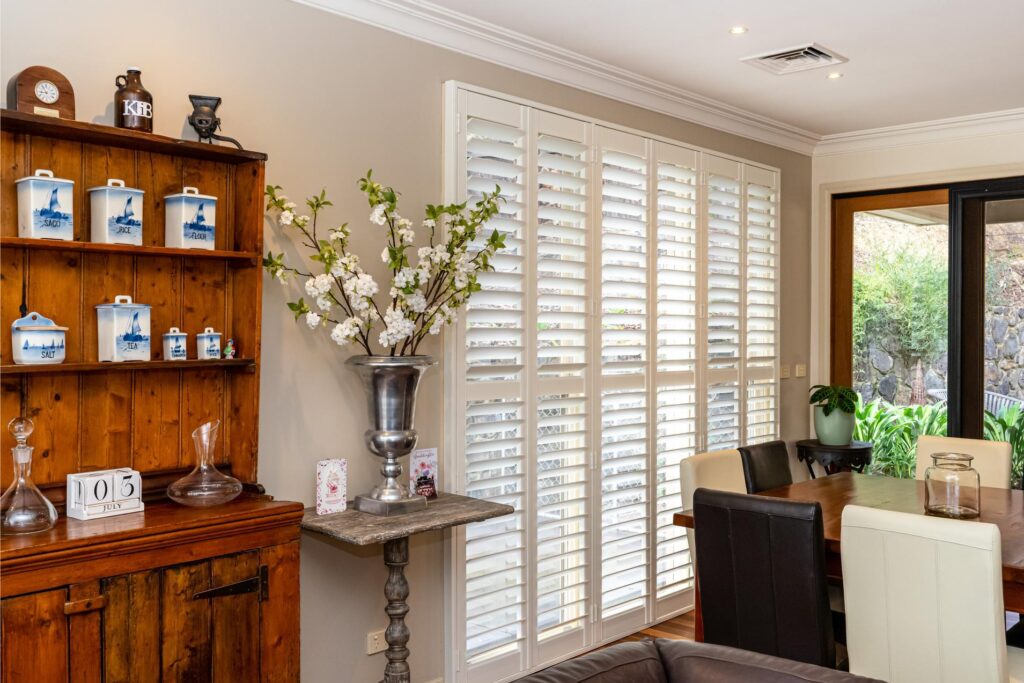
Even the best-quality plantation shutters show their age over time.
Specifically shutters made from timber.
The sun fades the colours, dust and grime take their toll, and the occasional bump might lead to chips and scratches.
These signs of wear and tear not only make your shutters look less than their best, but they can also drag down the whole feel of your room.
Do you wish there was a simple fix?
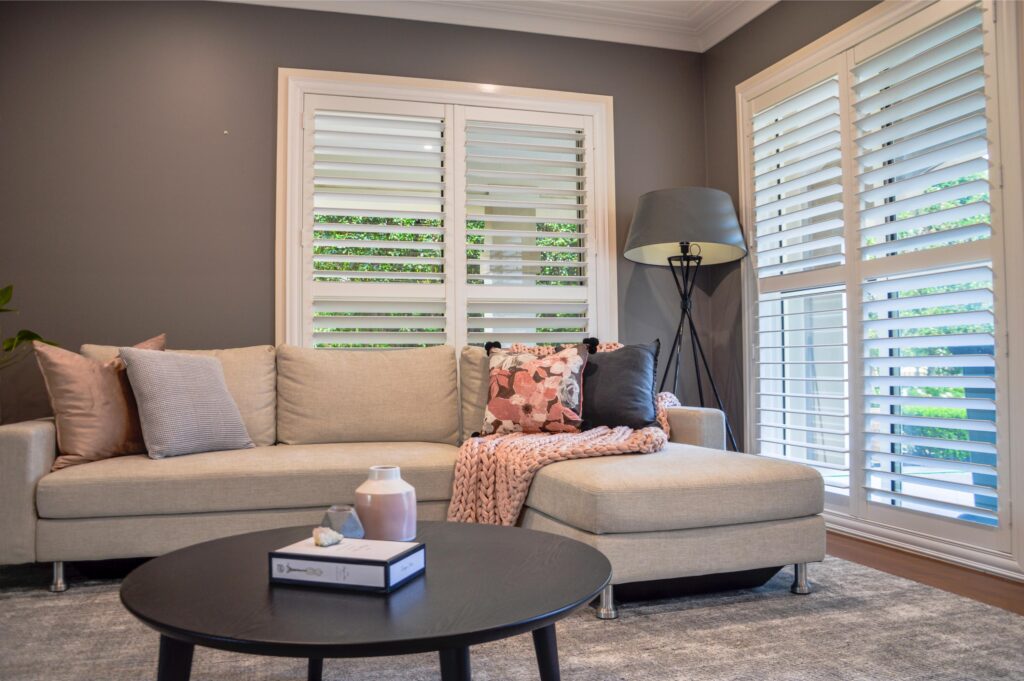
An option many don’t think of is repainting your plantation shutters!
It breathes fresh life into your shutters, creating a fresh look that brightens your space while masking those small imperfections.
But what if you’ve never done anything like this before? No worries.
Check out our simple 5-step guide below and get ready to transform your shutters from drab to fabulous!
Preparation
Now, before you jump into painting, the first step is to prepare your shutters for a new coat.
The proper prep work will help with a smooth finish and results you’re happy with!
The first thing you’ll need to do is to get those shutters clean:
1. De-dust: Even if they don’t look dirty, give your shutters a quick wipe down with a dry cloth to remove any sneaky dust particles.
2. Scrub, rinse, repeat: Use sugar soap and a sponge to remove buildup, grime, and fingerprints.
Rinse with a clean, damp cloth and repeat until they’re squeaky clean.
3. Dry completely: Proper drying is crucial!
Give your shutters plenty of time to air dry before painting.
4. Protect: Apply painter’s tape to where the shutters meet walls and windows.
Cover the floor and any nearby surfaces with drop sheets.
5. Hardware off (optional): If you want easy access to every nook and cranny, remove the shutters and lay them flat.
This involves more time and effort, but the finish will look better, so it’s up to you!
6. Sanding (optional): If your shutters have rough patches, you can lightly sand them with fine-grit sandpaper.
Choosing the Right Paint
One of the more challenging aspects of painting shutters is choosing the right paint.
The good news is that you can’t go too wrong! But for best results, here are a few tips:
• Oil-based vs water-based: Oil-based paints typically provide a smoother finish and are more durable than water-based options.
However, oil-based paints produce more fumes and take longer to dry.
Water-based paints are easier to clean up and dry faster.
• Semi-gloss or gloss: Both of these types of paint will give you a shiny finish that allows for easy cleaning, but gloss finishes are more durable.
• Colour matching: If you want your shutters to look like they did when new, see if the manufacturer offers touch-up paint or take a small sample to your local hardware store for colour matching.
• One or two coats: If it’s been a few years since you last painted, go with two coats for the best coverage.
If it hasn’t been that long, one coat may be enough.
If you want longevity, exterior paint is best.
Since the shutters are exposed to the sun all day, every day, choosing exterior paint will help prevent fading and get the most out of the new coat!
Step-by-Step Painting Guide
Now, the fun begins! Remember to take your time when painting; rushing just leads to mistakes!
Gather Your Materials
• Drop sheets.
• Painter’s tape.
• Sponge and rags.
• Screwdriver (optional).
• Primer.
• Paint in your chosen colour.
• Paintbrush.
• Small roller and tray.
• Cleaning solvent.
Before you begin, make sure you have everything ready. It’s frustrating to run to the store mid-paint job!
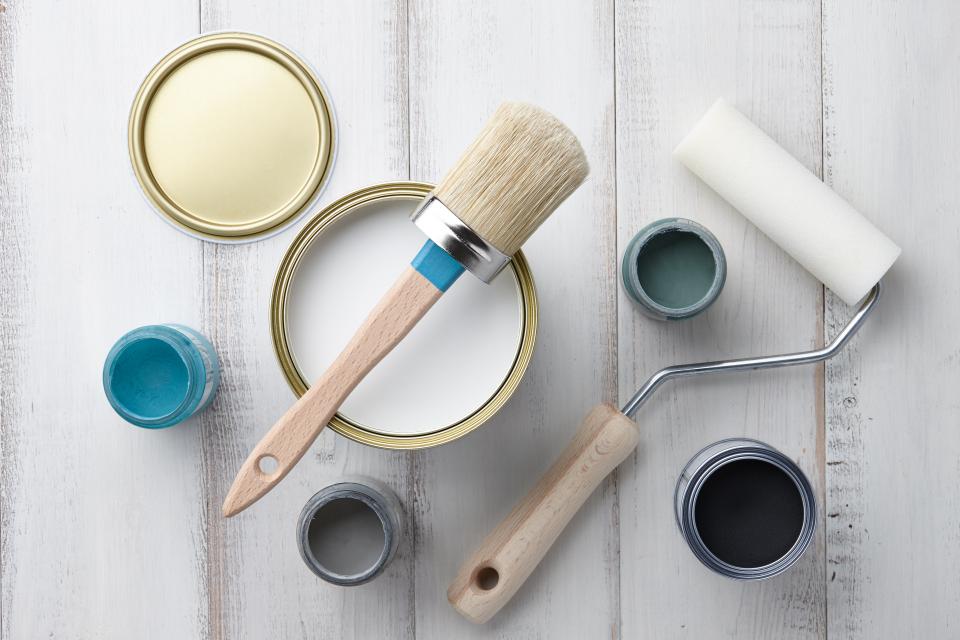
Image Source : Google.com
Prepare Your Workspace and Shutters
For this section, you have a few options.
If you’ve decided to paint the shutters while they’re still hanging in place, protect the area around them with drop sheets and painter’s tape.
If you’ve chosen the more thorough route of removing the shutters, make sure you know how to not only remove them but put them back in place!
Once you’ve removed them, you will need a clean, flat space to work on.
We recommend setting up some sawhorses (or something similar) with a drop cloth to prevent paint from dripping onto the ground.
This way, you can easily reach all sides of the shutters without moving them around.
Prime the Shutters
• When to prime: If your shutters are unpainted or you’re making a drastic colour change, primer provides the ideal base for smooth, even paint coverage.
Always prime over existing oil-based paint.
• How to prime: Apply a thin coat using even brush strokes, and let it dry completely before painting.
If you’re using oil-based paint, make sure your primer is also oil-based.
Paint the Shutters
1. Stir thoroughly: Give your paint a thorough stir; this helps spread the colour pigments evenly.
2. Slats first: Use the angled brush to paint the shutter slats and any detailed areas or hard-to-reach spots.
3. Roll those frames: Switch to your small roller for larger, flat surfaces. Apply long, even strokes in one direction.
4. Always use thin coats: Multiple thin coats are much better than thick, gloopy ones. These help avoid drips and give you an even finish.
5. The patience game: Let each coat dry completely according to the instructions on your paint (typically overnight) before applying the next.
You might need 2-3 coats in total, depending on your colour choice and coverage.
6. Painting tips: To prevent drips and runs, paint the edges of the shutters first. Also, always paint in the direction of the wood grain for a more natural look.
Reassemble and Clean Up
Once your shutters are completely dry (dry times will be on the paint can label), it’s time to reattach them (if you removed them) and bask in your handiwork!
Remember, if you’re reattaching them, be careful not to scratch the paint while you do it. There’s no worse feeling than having to touch up your newly painted shutters!
Then, don’t forget to clean and store all of your materials properly. You can use the cleaning solvent for any oil-based paint or just wash with soap and water if using a water-based option.
Remove all the tape and drop sheets, and give your floors a clean. Once everything is tidied away, it’s time to admire your freshly painted shutters!
Maintanance Tips
Since you’ve invested time and effort into painting your shutters, make sure to take care of them to keep them looking their best!
• Dusting is your friend: A light dusting with a soft cloth or feather duster helps remove dust and prevent buildup. Do this weekly.
• Gentle cleaning: If deeper cleaning is needed, dampen a soft cloth with mild soapy water and gently wipe your shutters.
Avoid harsh chemicals or scrubbers. Dry thoroughly afterwards to prevent water spots.
• Spot touch-ups: Minor chips or scratches? A matching paint and a small brush can help cover them up to maintain that flawless finish.
• Hardware check: Occasionally tighten any screws or other hardware on your shutters to keep them opening and closing smoothly.
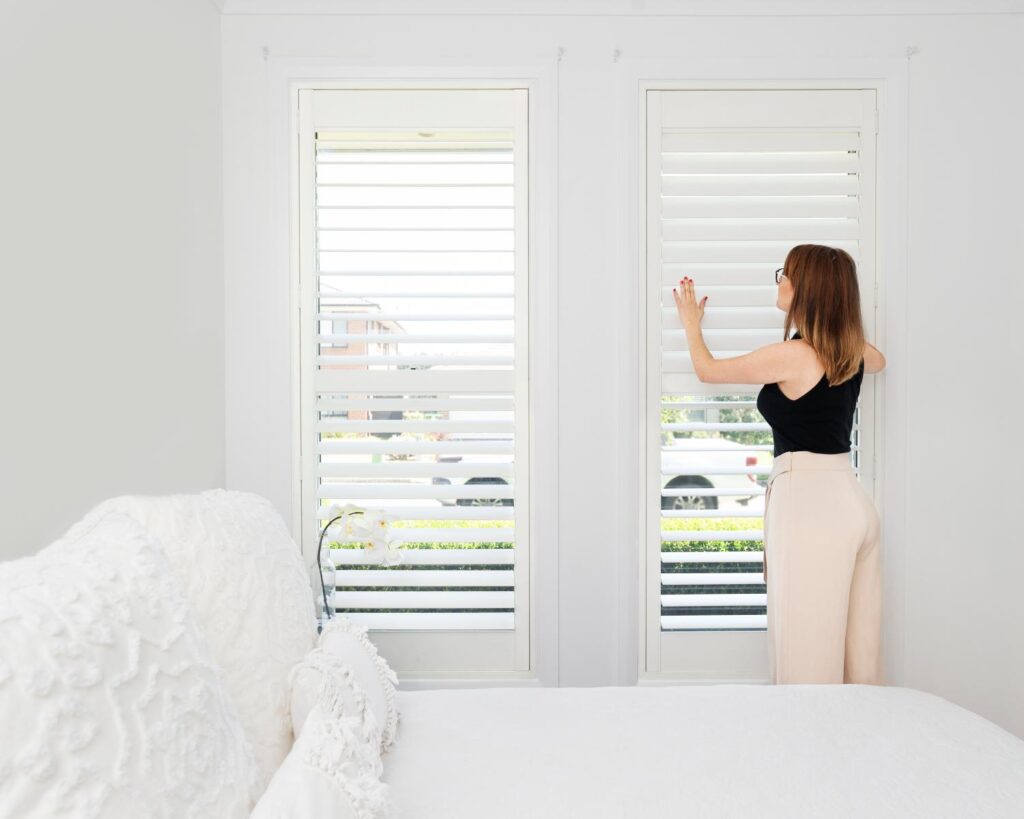
Ready To Refresh Your Shutters?
Now that you know how to paint your plantation shutters like a pro, we hope you’re inspired to tackle this DIY project!
With a little preparation and patience, you’ll be amazed at the difference a fresh coat of paint can make!
While painting shutters is one of the simpler DIY projects, sometimes life gets busy, and we get it.
If that’s the case, Door Plus is here for you.
Our team can help with all of your shutter needs.
We can measure, make, deliver and install new plantation shutters for your home.
Head to your nearest Doors Plus showroom or contact us today for a free measure and quote, and let us help you get the best plantation shutters in Australia.
FAQs About How To Paint Plantation Shutters in 5 Easy Steps
How Do You Paint Shutters Easily?
• Start by cleaning your shutters thoroughly.
• Light sanding helps the paint stick better.
• Applying a primer will give you the best coverage.
• Remember, thin coats of paint are always better than thick, gloopy ones.
Be patient and allow each coat to dry fully before applying the next.
• Finally, use the right brushes – an angled brush for nooks and crannies and a small roller for wider surfaces.
What Is the Best Tool To Paint Shutters Easily?
An angled paintbrush helps you reach tight corners, tricky details, and those individual shutter slats with precision.
For the larger, flat areas of the shutter frame, a small paint roller speeds things up and delivers an even, smooth coat.
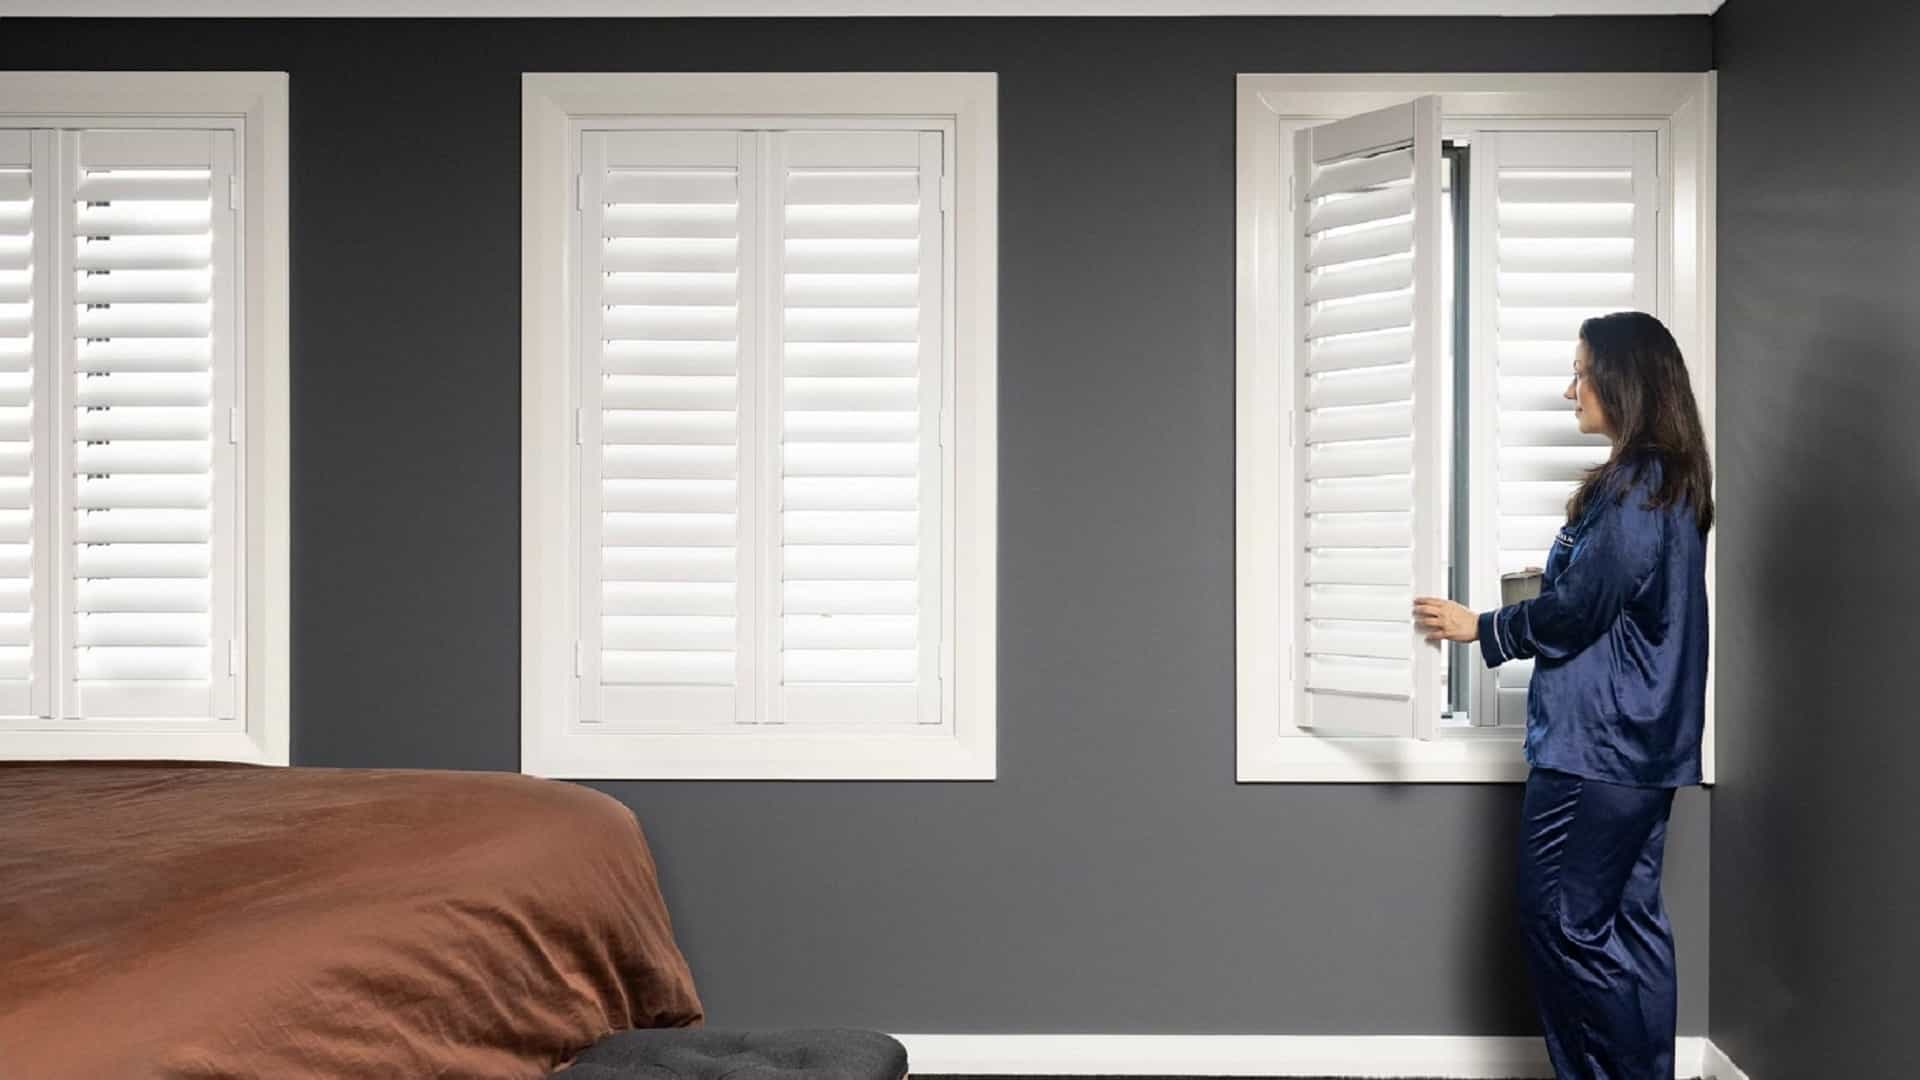
Can I Paint My Shutters Without Taking Them Down?
Yes, you can definitely paint your plantation shutters without removing them from the window.
Make sure to cover the surrounding area with drop sheets and painter’s tape on the trims, and use a small brush or roller for even coverage.
Will I void my warranty if I paint my plantation shutters?
It is best to check with the company you have purchased your shutters from. In most cases Yes, your warranty will be voided.
As painting your shutters may be considered as modifying them.
Recent Post
Informational
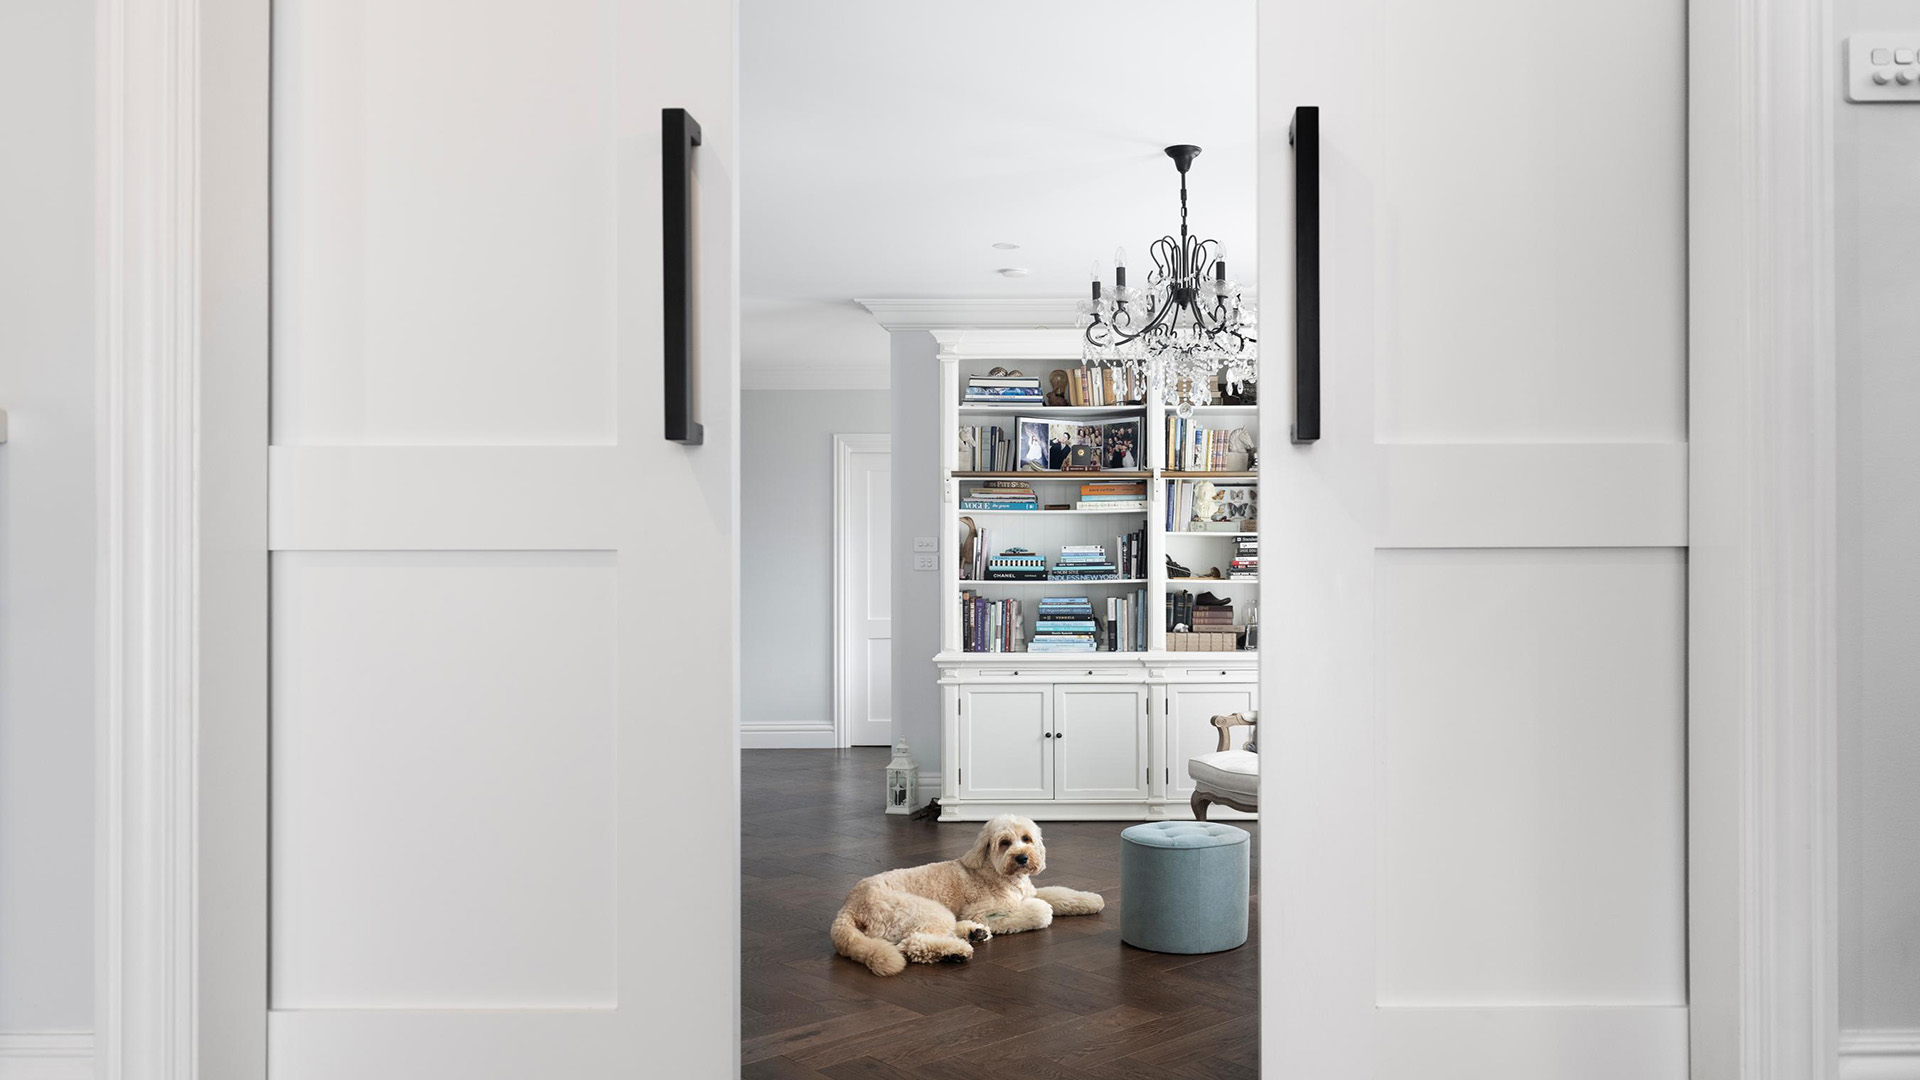
Solid Core Internal Doors: Elevating the Look and Feel of Your Home's Interiors
May 07, 2025

Informational
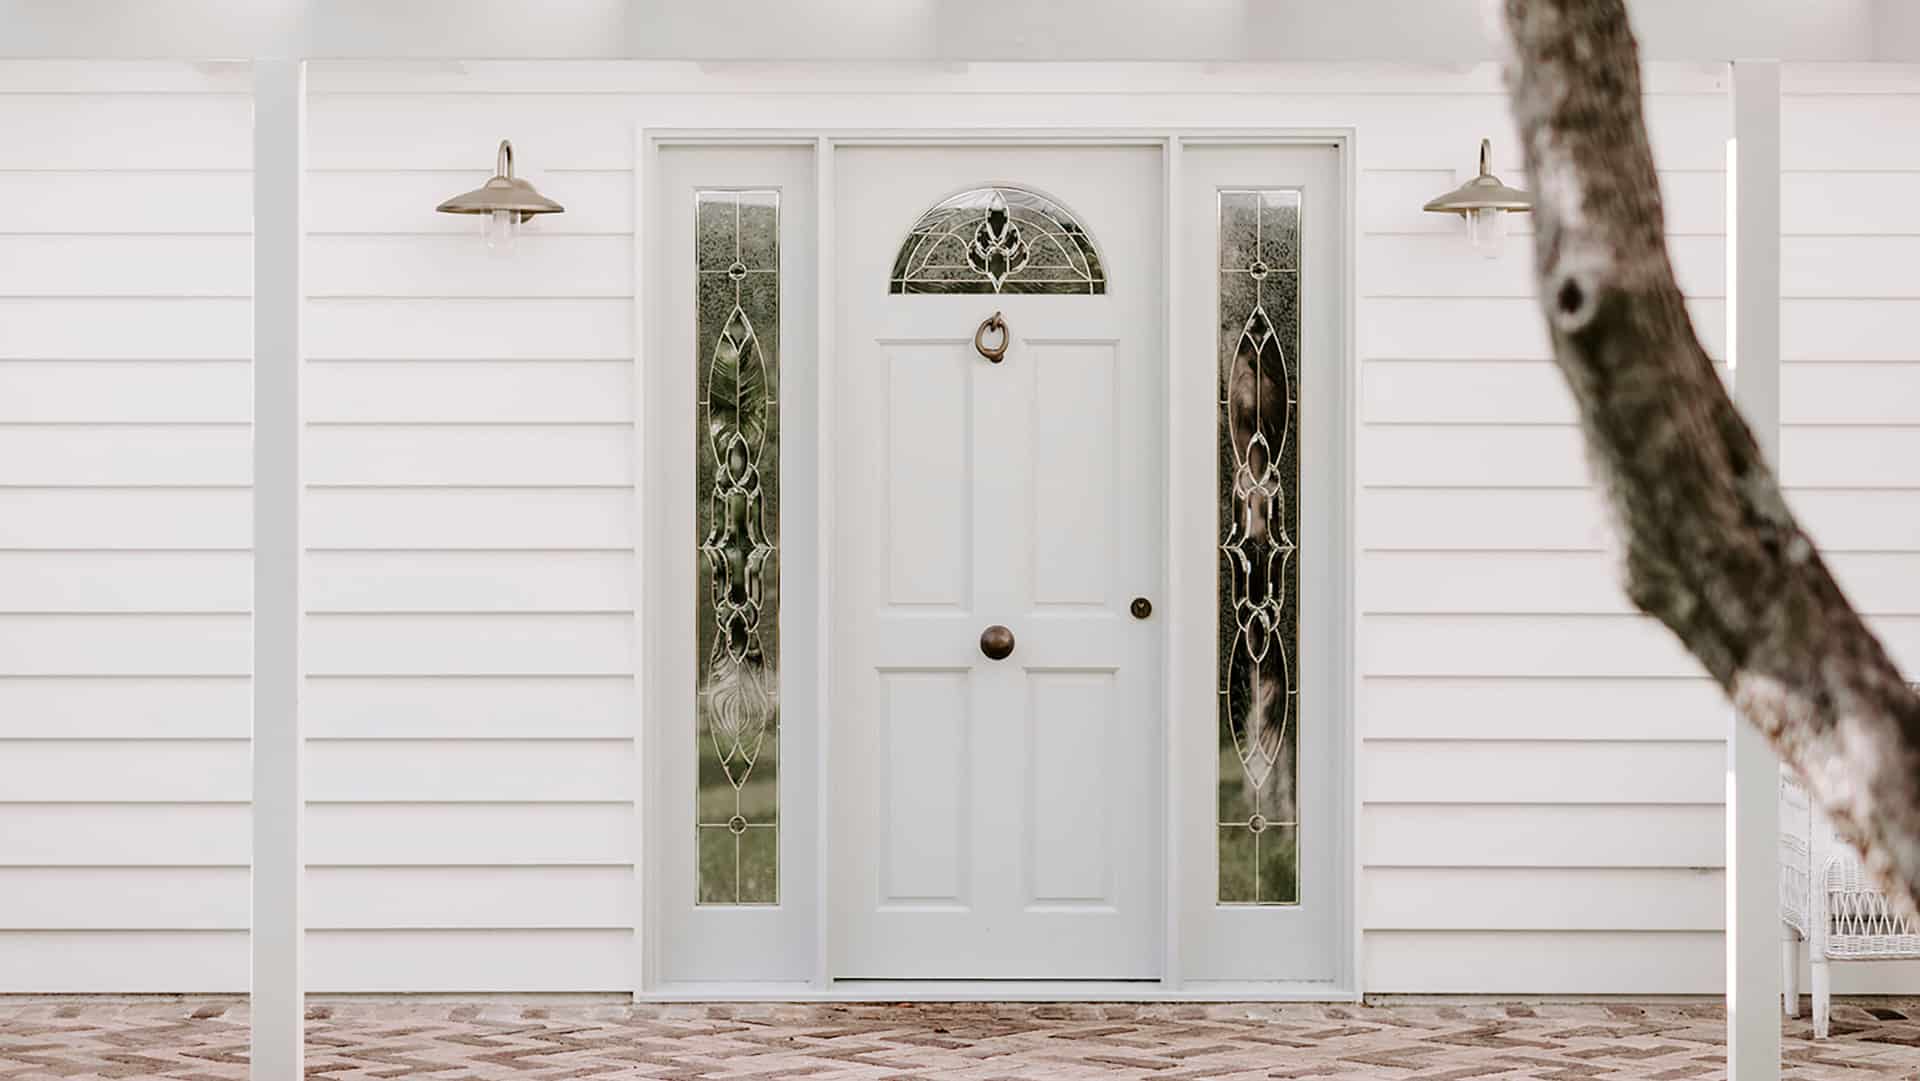
Exterior Doors With Windows: Maximising Natural Light and Enhancing Curb Appeal
May 07, 2025

Featured Post