Doors Plus TV
Recent Post
Informational
April 16, 2026
Inspirational
March 11, 2026
Featured Post

Customer Experiences & Reviews
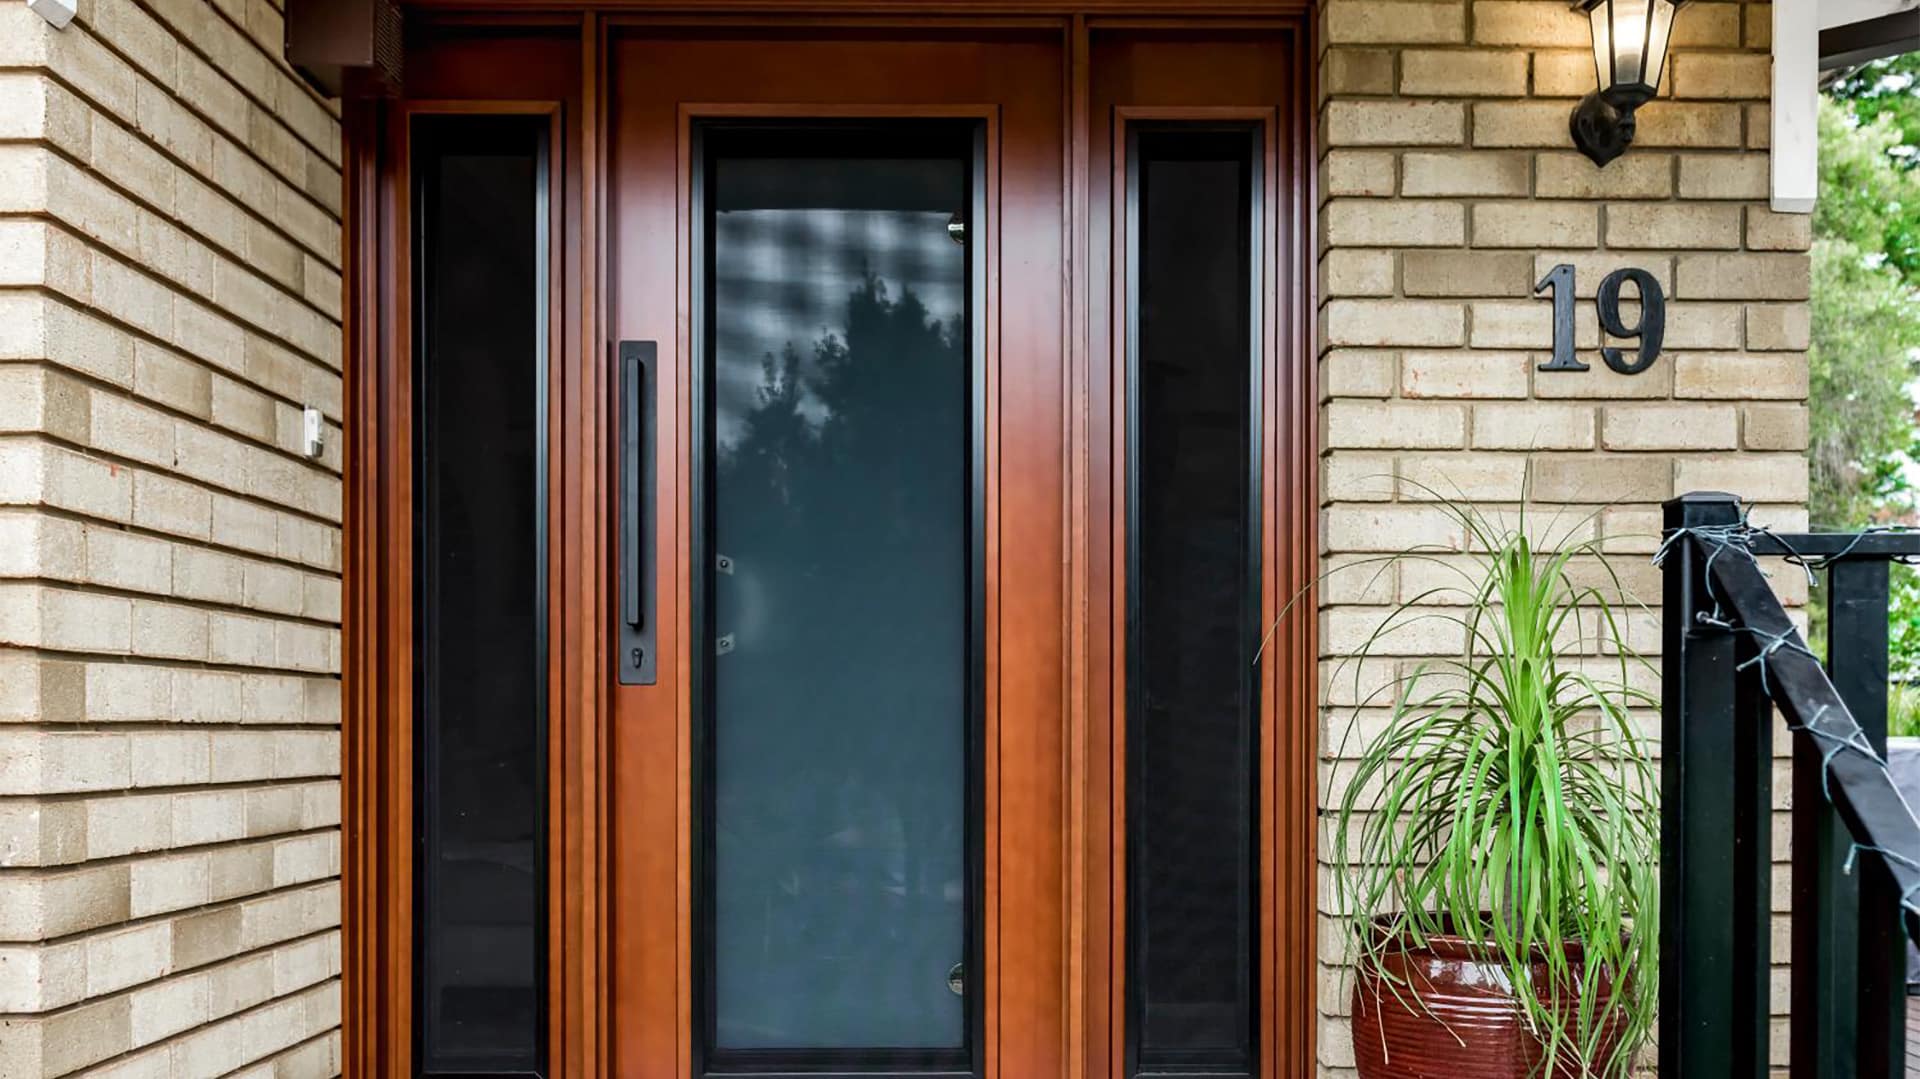
From Quick Fix to Timeless Finish: How Doors Plus’ Double Heritage Style Front Doors Got It Right
August 21, 2025

Customer Experiences & Reviews
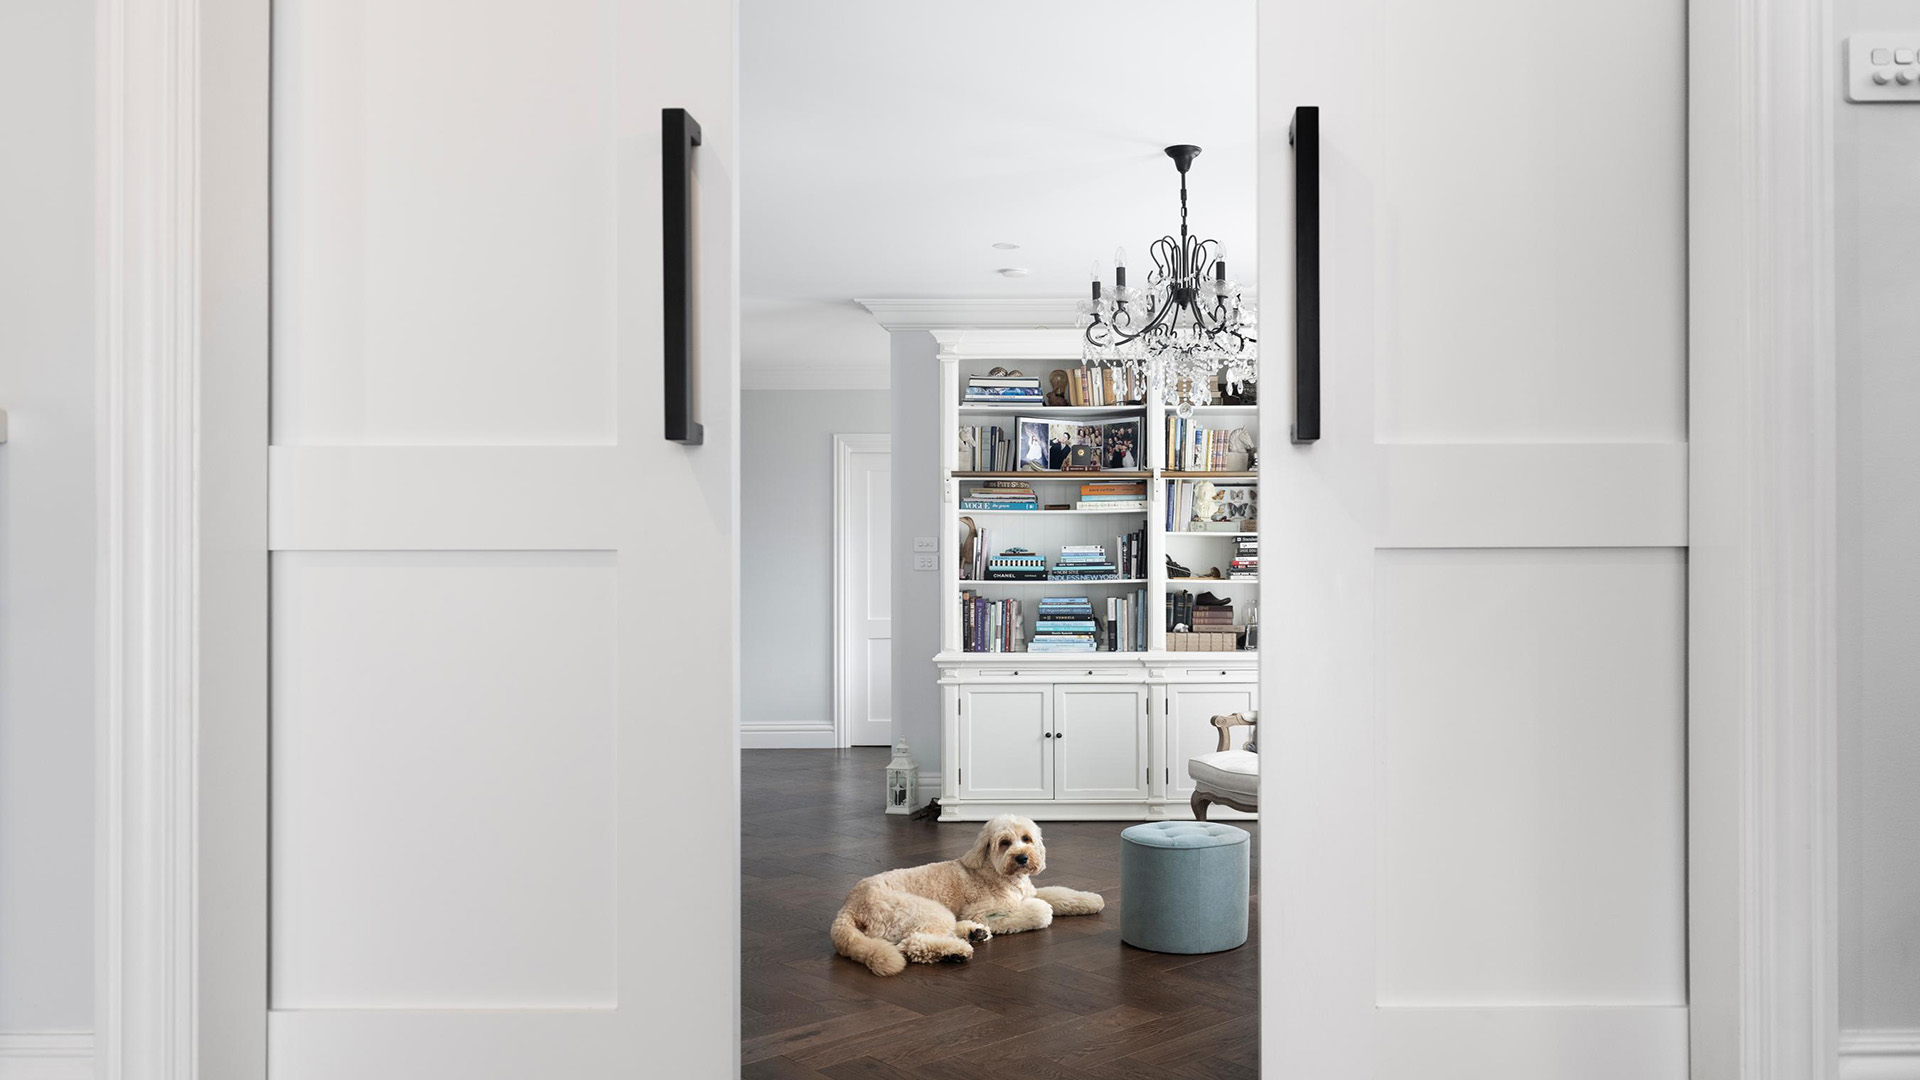
How Doors Plus’ Interior Shaker and Barn Doors Took One Home From Dated to Elevated
August 20, 2025