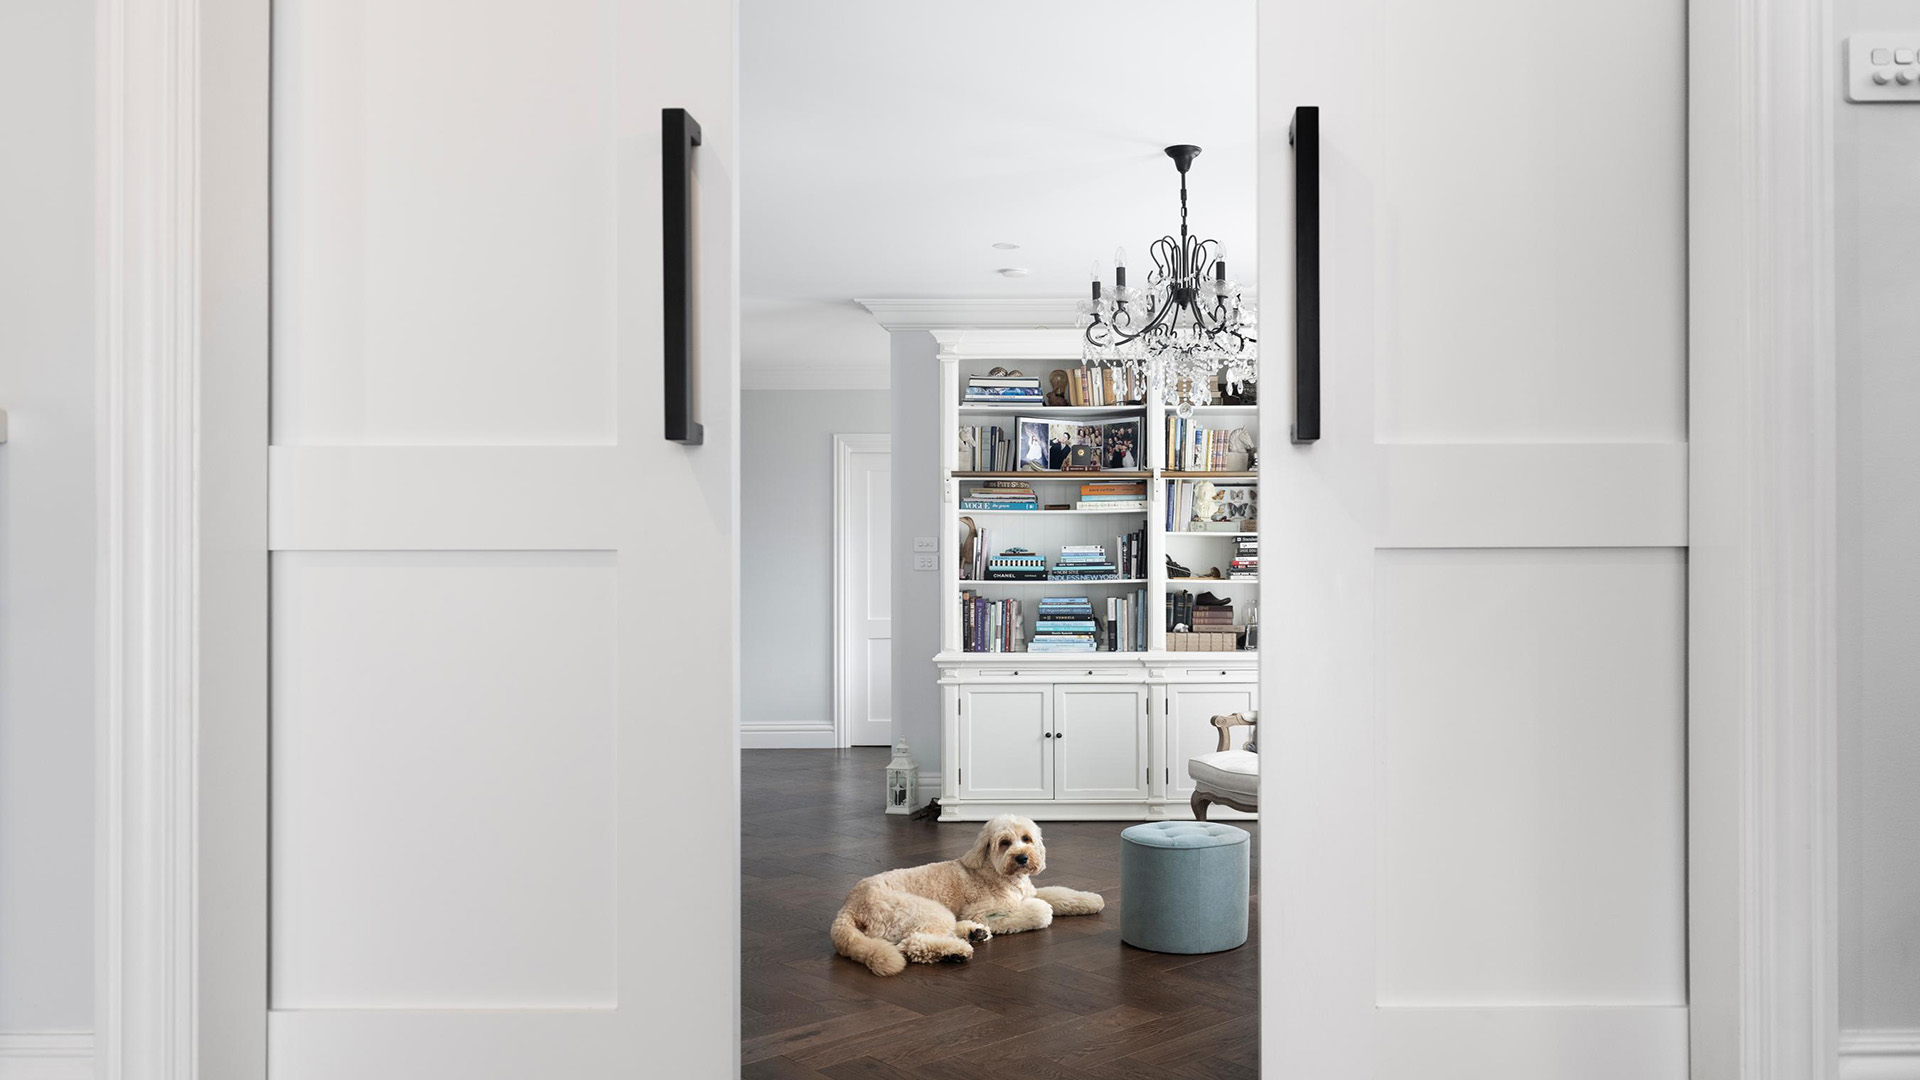
A DIY Guide to Replacing Internal Door Handles with Ease
Sometimes the smallest details can have the biggest impact on how your home looks and feels.
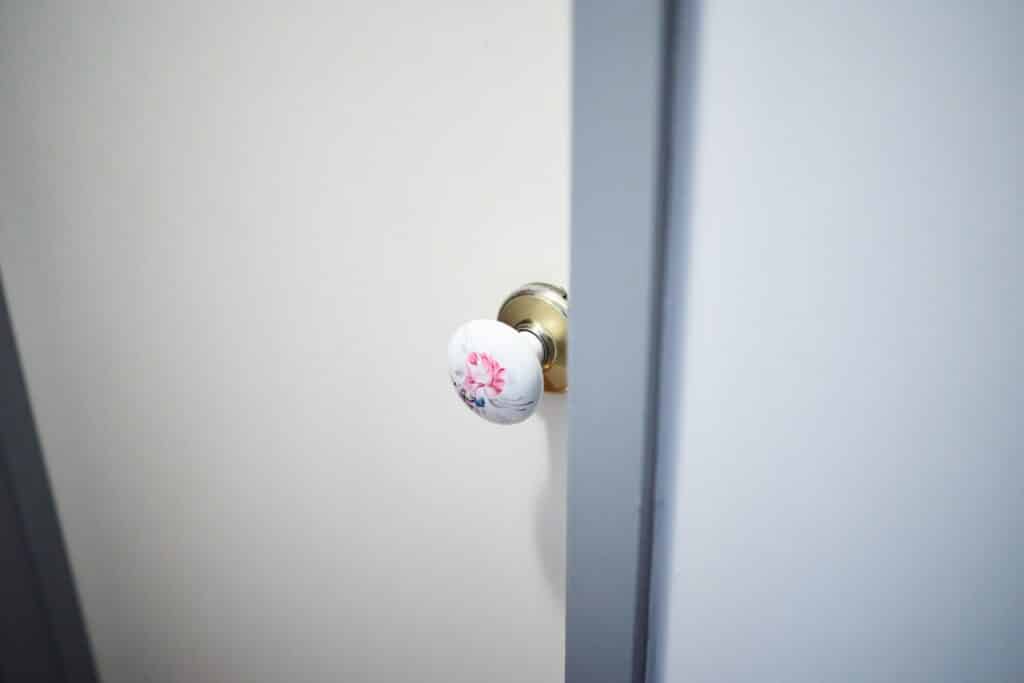
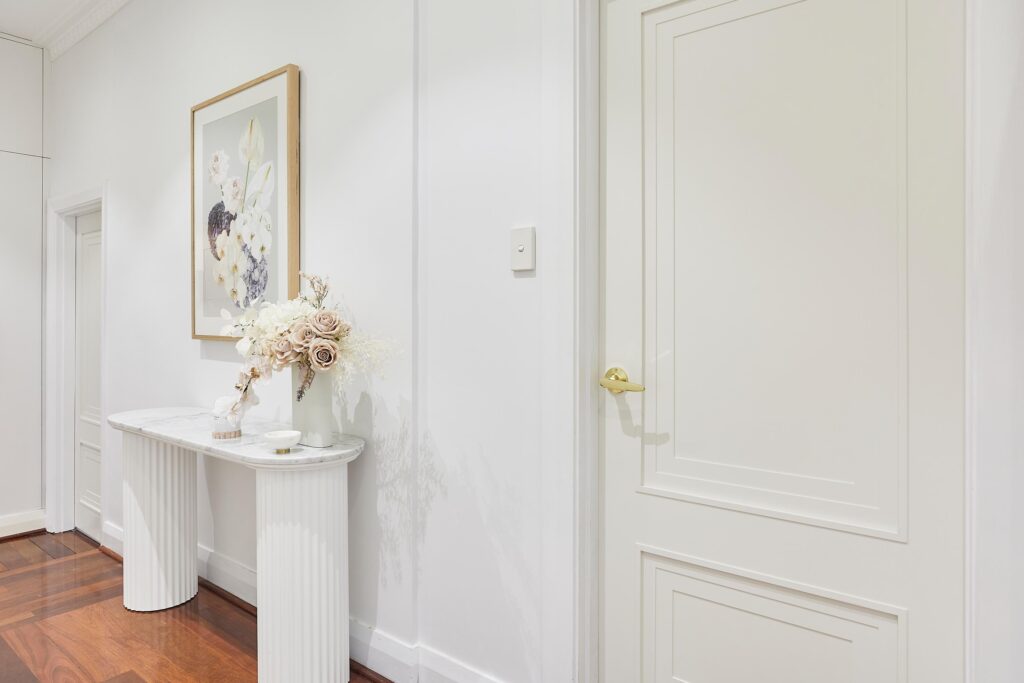
Small details like internal door handles.
New door handles can give your internal doors a fresh look without a major project.
Replacing them is one of those DIY wins: fast, simple, and surprisingly transformative.
In this guide, you’ll learn how to replace internal door handles, including what you need to get started, step-by-step instructions for fitting your new handles, and some handy tips for choosing the handle style and design.
Tools You’ll Need to Replace Internal Door Handles
Essential:
• Flathead and Phillips head screwdrivers to remove old screws and secure new handle fittings
• Tape measure to check handle placement and alignment
• Pencil for marking measurements and drill points
• Drill for new holes or to enlarge existing ones
• Allen key, often included with lever or knob sets
• Chisel to adjust the latch slot if it’s too shallow for the new latch
• Safety glasses for when drilling or chiselling
Optional but helpful:
• Door handle installation template, a plastic, cardboard, or metal guide that helps you mark and drill holes in the correct spots for the handle and latch.
Useful if you’re fitting handles on a new door or replacing ones that don’t share the same hole spacing.
• Level to make sure handles are sitting straight
• Utility knife to neaten up any rough edges around the latch or strike plate
How To Replace Internal Door Handles: A Step-by-Step Guide
Note: These instructions apply to standard internal lever or knob handles that use a spindle and latch mechanism.
If you’re replacing mortice locks, pull handles, or dummy handles, the process will be different.
Step 1: Remove the Old Door Handle
Loosen the screws on the handle plate (the metal or plastic plate that sits flat against the door behind the handle) with a screwdriver, usually a Phillips head.
Put the screws in a safe spot.
Pull the two handle pieces apart from either side of the door.
Note: Some handles have a decorative cover hiding the screws.
If you don’t see any screws, check for a small notch or gap around the plate.
Use a flathead screwdriver to pop the cover off and reveal the screws underneath.
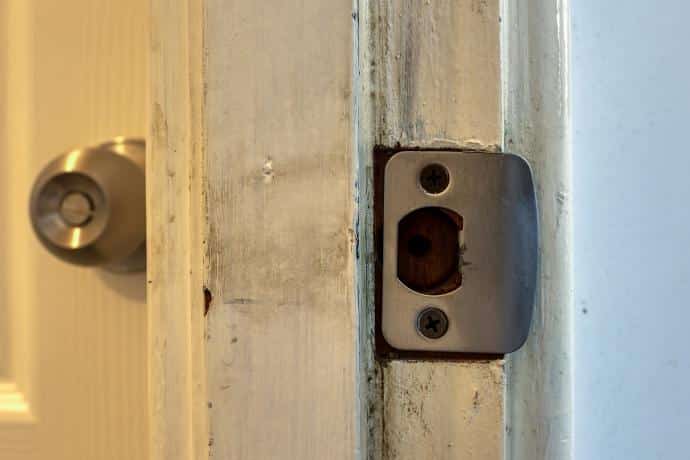
Step 2: Remove the Latch Mechanism
Unscrew the latch plate (the small metal plate on the thin edge of the door where the latch bolt sticks out) and slide the latch out of its slot.
If you’re also changing the strike plate (the matching metal plate on the door frame that the latch clicks into), unscrew that as well.
Step 3: Inspect the Door Handle Holes and Latch Mechanism
Check that the existing holes in the door where the old handle and latch were fitted are the right size and shape for your new handle set.
If the new handle plates cover the same area as the old ones, you’re good to go.
Look at the latch slot on the edge of the door to see if it’s smooth and the correct depth for the new latch.
If it’s too shallow, you may need to use a chisel to make more room.
Also, check the strike plate on the door frame.
If it’s still in good condition and lines up properly with the new latch, you can leave it in place.
If not, replace it with the strike plate that comes with your new handle set.
Tip: This is the best time to sand back any rough edges, fill in old screw holes with wood filler if needed, and wipe away dust so your new handle sits neatly.
Step 4: Install the New Latch 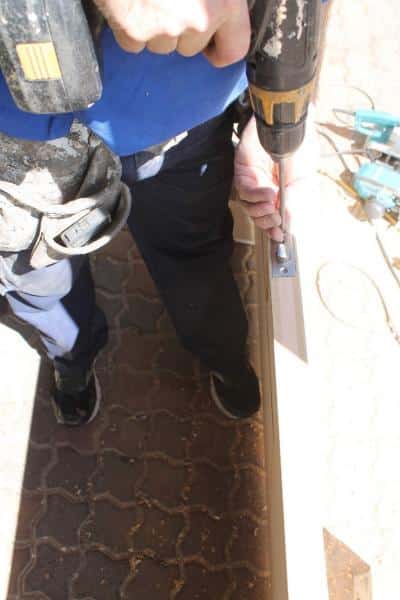
Slide the new latch into the slot on the edge of the door, making sure the curved side of the latch bolt faces the direction the door closes.
This allows the bolt to click into the strike plate on the frame.
Line up the latch plate with the edge of the door.
If it sits flush, screw it into place using the holes provided.
If it sticks out slightly, use a chisel to trim a little wood from the slot until the plate sits flat.
Note: If the latch bolt doesn’t line up with the strike plate on the frame, check the door’s alignment.
You may need to adjust the strike plate position or slightly enlarge the slot in the frame so the latch clicks in.
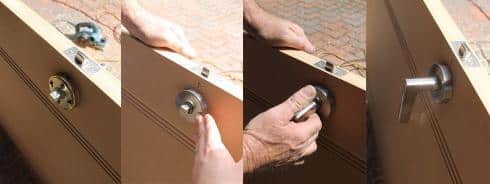
Step 5: Attach the New Door Handle
Insert the spindle (the square metal bar that connects the two handles) through the latch in the centre of the door.
Make sure it runs straight so both handles can turn smoothly.
Place the first handle onto the spindle and line up its screw holes with the holes in the door.
Hold it steady, then position the second handle on the other side of the door.
Once both are in place, insert the screws and tighten them evenly with a screwdriver.
If your handles have grub screws (small side screws), use the Allen key provided to tighten them onto the spindle.
Tip: Check that the handle operates the latch before tightening all screws fully.
That way, you can adjust the position if needed.
Step 6: Test the Handle
Once the handles are attached, turn the handle a few times to check that the latch moves in and out smoothly.
Close the door and make sure the latch lines up with the strike plate and clicks into place without sticking.
Try opening the door from both sides to confirm everything works as it should.
If the handle feels stiff or loose, adjust the screws or the strike plate until the movement feels smooth and secure.
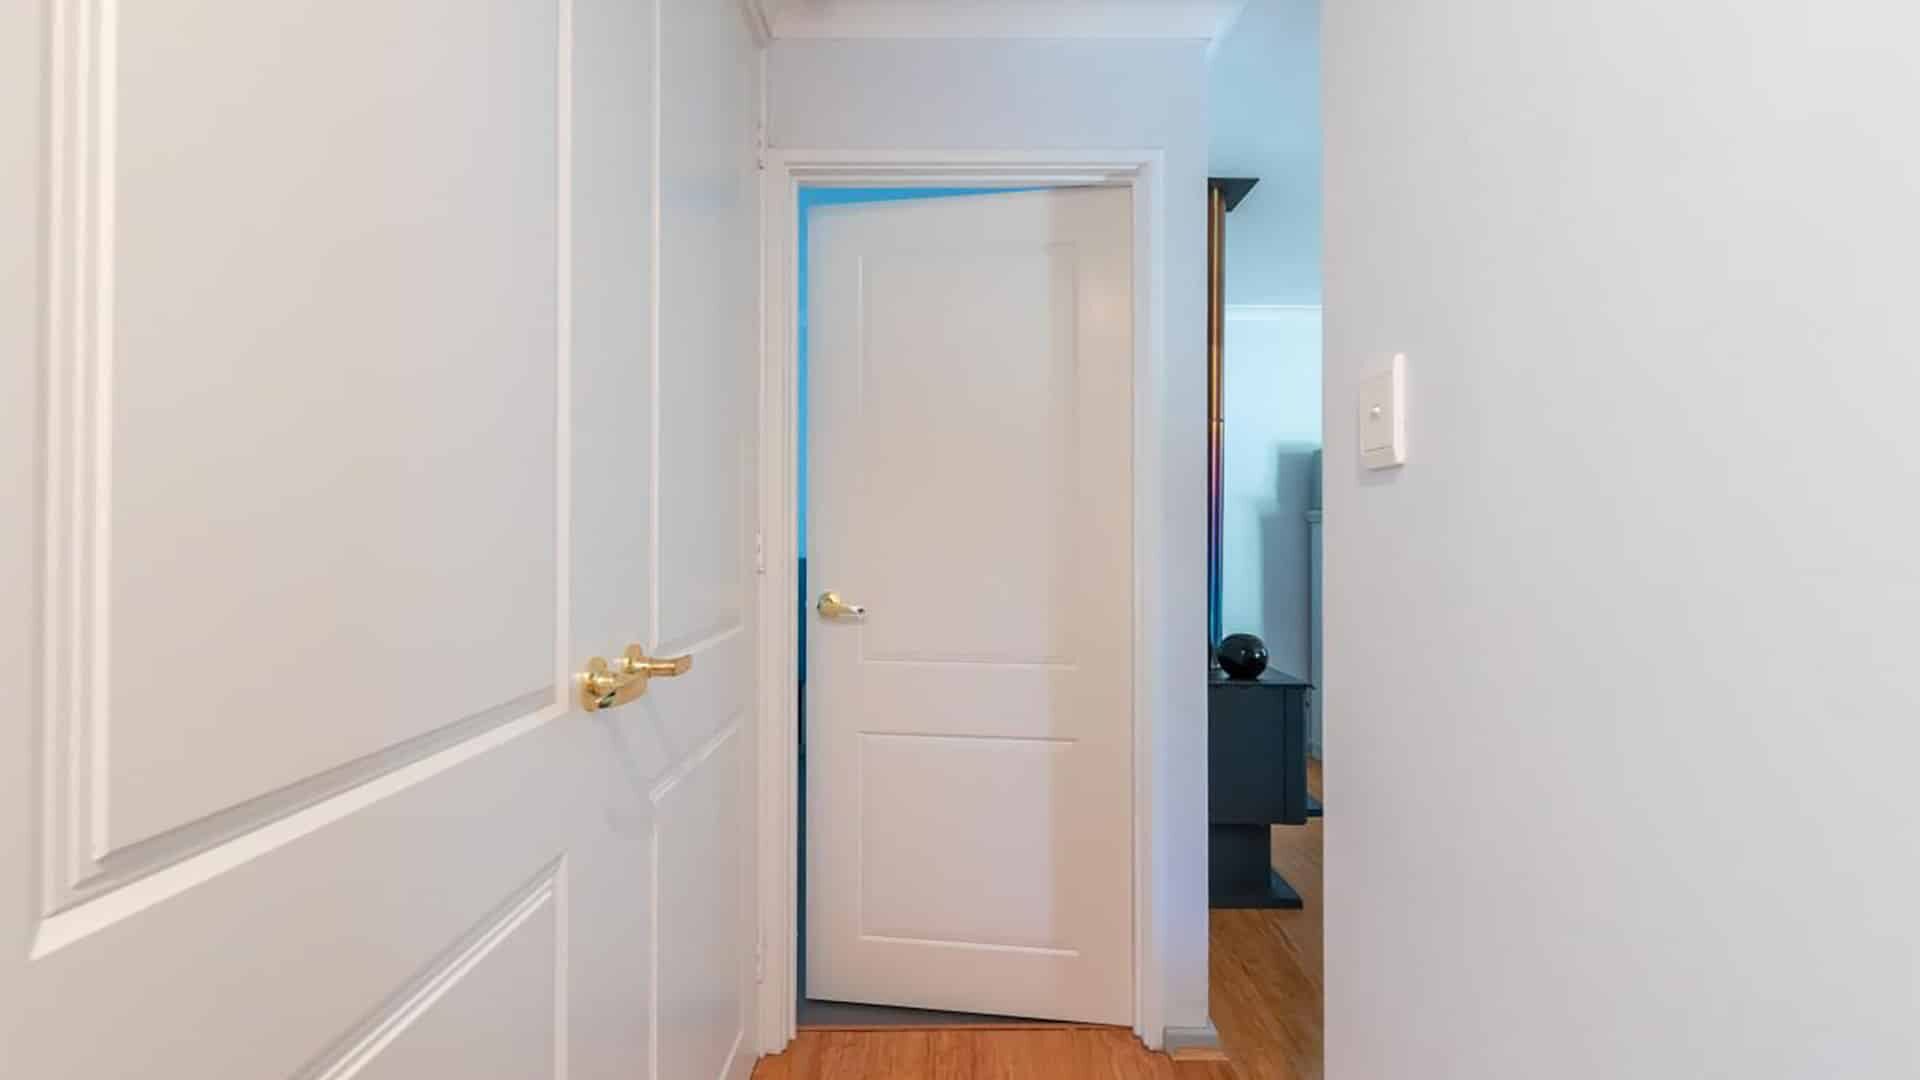
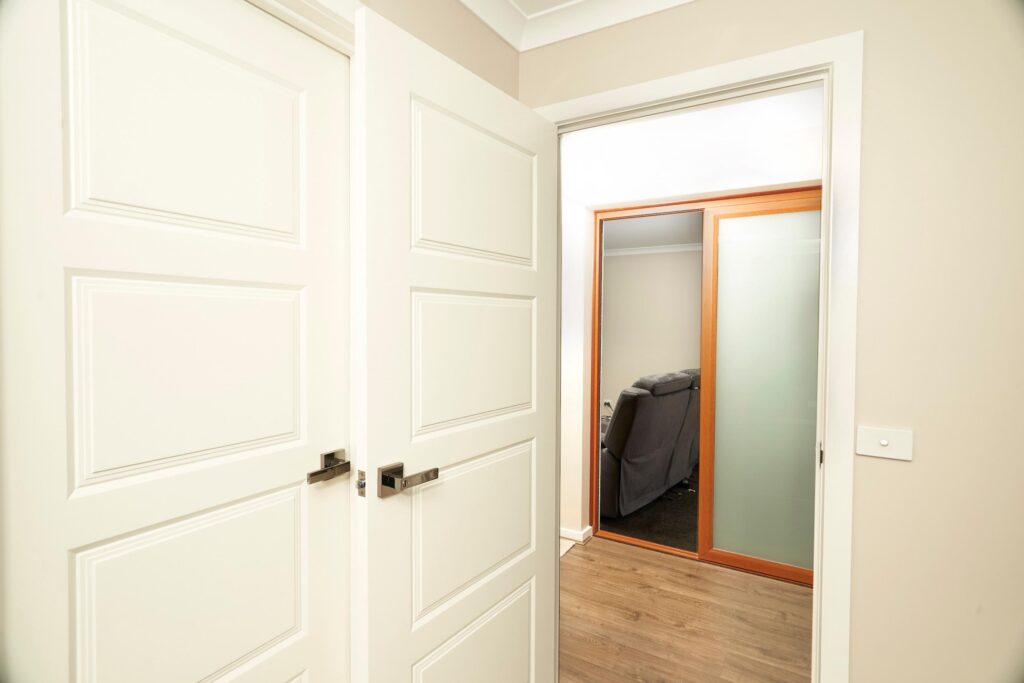
Choosing the Right Internal Door Handles for Your Home
Handle Styles
• Levers: Easy to grip and operate.
• Knobs: Classic and compact. Sometimes less practical for children or elderly users.
• Pull Handles: Simple and streamlined. Often used on sliding or wardrobe doors.
Handle Designs
• Modern: Clean lines and minimal details.
• Minimalist: Sleek and subtle.
• Traditional: More detail and classic-style curves.
Try to match the style of your handles with other hardware in your home, like light switches, tapware, or cabinet pulls, for a cohesive finish.
Material Choices
• Stainless Steel: Durable, low-maintenance, and resistant to tarnishing.
• Polished Chrome: Shiny, reflective, and sleek. Can show fingerprints and smudges.
• Brass: Warm, timeless, and vintage-inspired. May develop minor scratches over time.
• Matte Black: Bold and modern, offering a striking contrast against lighter coloured doors.
Function and Usage
• Passage Handles: For rooms where no lock is needed, like hallways or living areas.
• Privacy Handles: With a built-in lock, ideal for bathrooms and bedrooms.
• Dummy Handles: Fixed handles used on doors that don’t need latches, like cupboards or wardrobes.

Budget Considerations
Door handles can vary widely in price.
While it’s tempting to go for the cheapest option, investing a little more often means better durability and smoother operation.
Aim for handles that balance quality and affordability, especially for doors that see heavy daily use.
Common Mistakes to Avoid When Replacing Door Handles
• Measuring Incorrectly: Check the size and spacing of existing holes before buying or installing new handles to avoid a poor fit.
• Using Incorrect Materials or Tools: Use the screws provided and the right screwdriver type to prevent stripping the screw heads or damaging the handle.
• Over-Tightening Screws: Tightening screws too hard can crack the plate or strip the wood, leaving the handle loose over time.
• Ignoring the Latch and Strike Plate Alignment: If these don’t line up, the door won’t close smoothly.
• Skipping a Test Run: Always check that the handle turns the latch and clicks into place before finishing the job.
• Not Checking Handle Direction: Some lever handles are left- or right-handed.
If you fit them the wrong way, they’ll be awkward to use.
• Losing Parts: Keep screws and fittings together in a container so nothing gets lost.
• Rushing Finishing Touches: Take time to sand rough edges, fill old holes, and reattach decorative covers for a neat end result.
Tips for Maintaining Internal Door Handles
1. Wipe handles regularly with a soft cloth to remove dust, dirt, and fingerprints.
2. Use mild soapy water with a soft sponge or microfibre cloth for deeper cleaning.
Avoid harsh chemicals and abrasive cleaning tools that can damage the handle’s finish.
3. Tighten loose screws as soon as you notice them to prevent wear.
4. Apply a drop of lubricant to the latch if it starts to feel stiff.
5. Check the strike plate alignment occasionally to keep doors closing smoothly.
FAQs
Can I Replace Door Handles Myself?
Most internal door handles can be replaced as a DIY project with a few basic tools.
As long as you measure correctly and follow simple steps, it’s a straightforward job that doesn’t usually require a professional.
How Do I Measure for a New Internal Door Handle?
Measure the distance from the centre of the handle spindle hole to the centre of the keyhole or latch (called the backset).
Also, check the diameter of the holes and the size of the handle plate to make sure the new handle will cover the existing cutouts.
What Is the Easiest Type of Door Handle to Install?
Passage lever handles are usually the easiest to install, as they don’t require locks or complex mechanisms, just a spindle, screws, and basic alignment.
Do I Need to Replace the Latch When Changing Door Handles?
If the old latch is in good condition and works smoothly, you can keep it.
However, many new handle sets come with a matching latch, and replacing both together ensures the best fit and finish.
Upgrade Your Home with Stylish Internal Door Handles from Doors Plus
A small change, like swapping out your tired, outdated internal door handles, can make a surprising difference.
The best part? You don’t need to call in a professional to get the job done.
Replacing handles can be a simple DIY project.
To find out how to replace internal door handles, just follow this guide!
Where can you find stylish, high-quality internal door handles and hardware?
At Doors Plus! Contact Doors Plus today or visit your nearest Doors Plus showroom to explore our range.
Let us help you find the perfect style to transform your home, with “No Fuss!”
Recent Post
Inspirational
March 11, 2026
Inspirational
Double Entry Doors: Creating a Grand Entrance and Maximising the Impact of Your Home's Facade
January 29, 2026
Inspirational
January 29, 2026

Inspirational
Modern White Interior Doors: Elevating Your Home’s Aesthetic with Sleek and Minimalist Door Designs
January 06, 2026
Featured Post

Customer Experiences & Reviews
From Quick Fix to Timeless Finish: How Doors Plus’ Double Heritage Style Front Doors Got It Right
August 21, 2025

Customer Experiences & Reviews
How Doors Plus’ Interior Shaker and Barn Doors Took One Home From Dated to Elevated
August 20, 2025