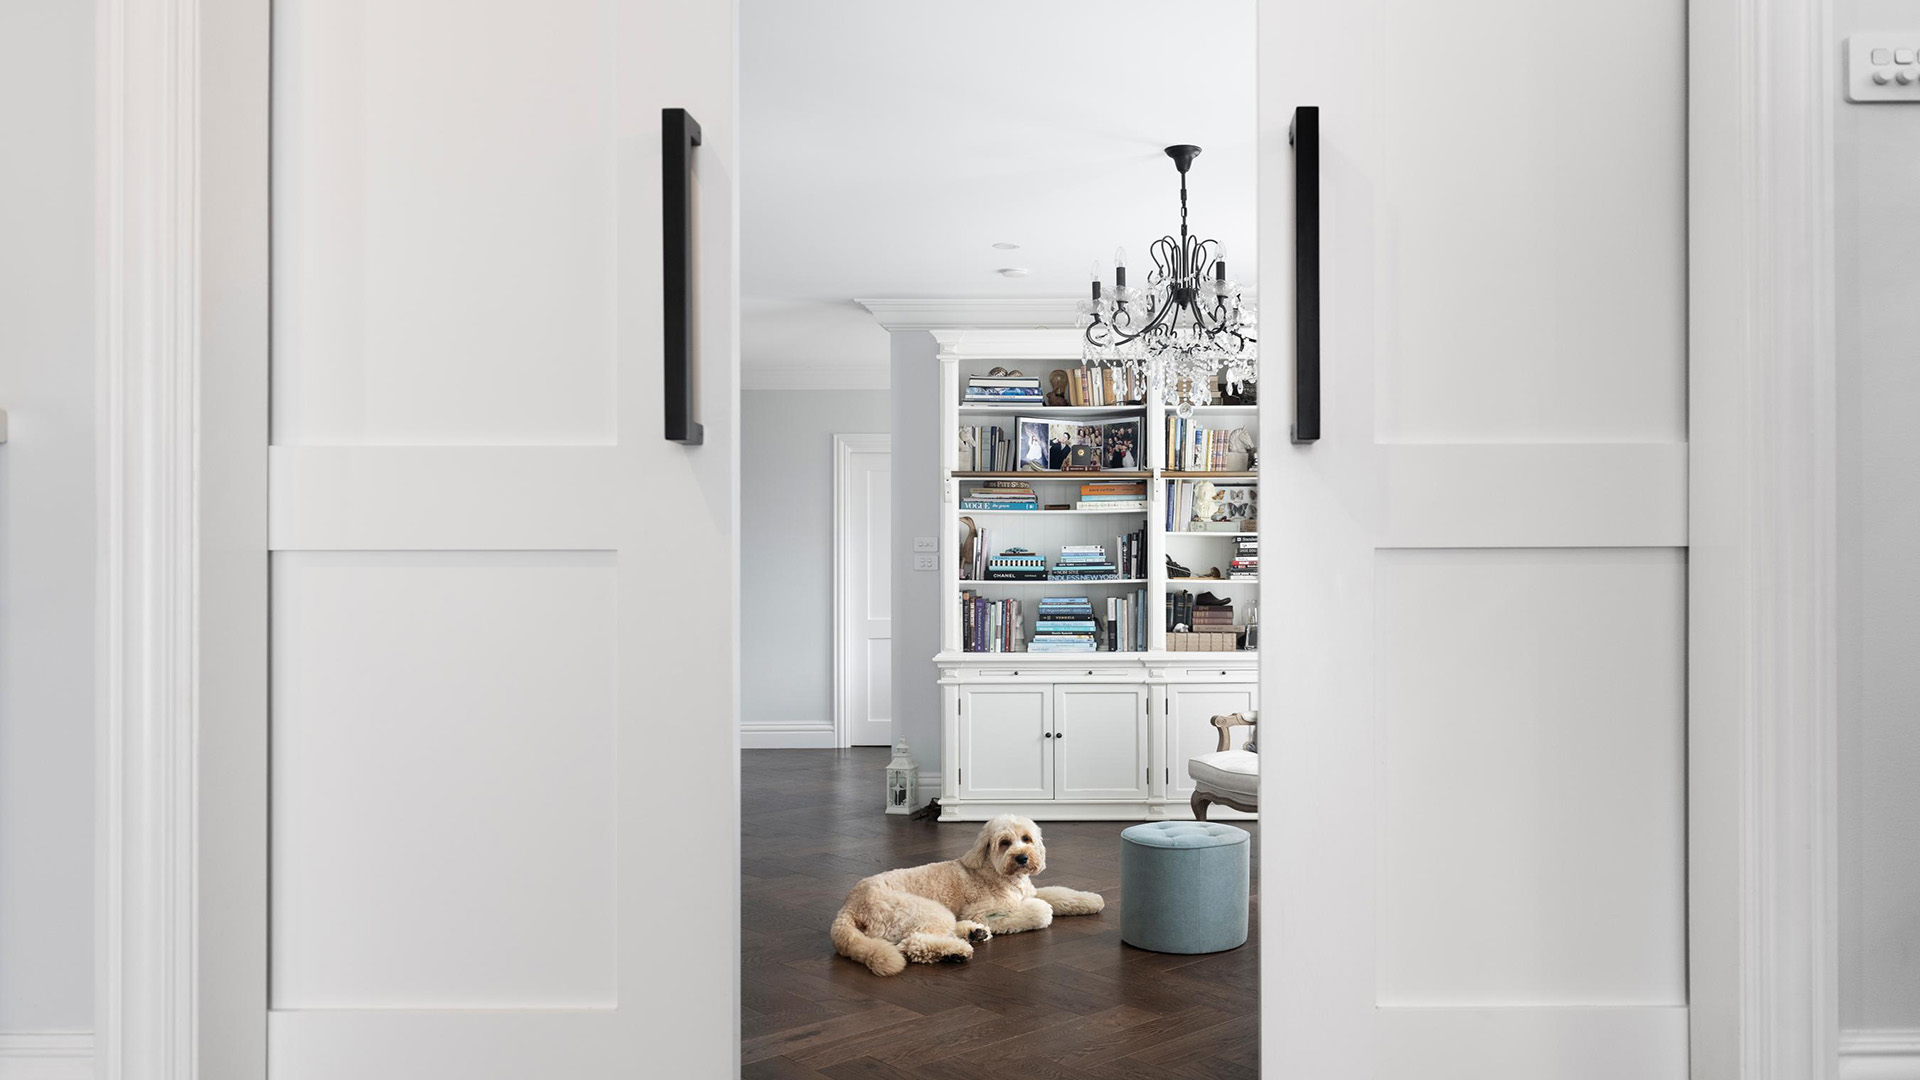
Mastering Bifold Doors: Your DIY Guide to Trimming
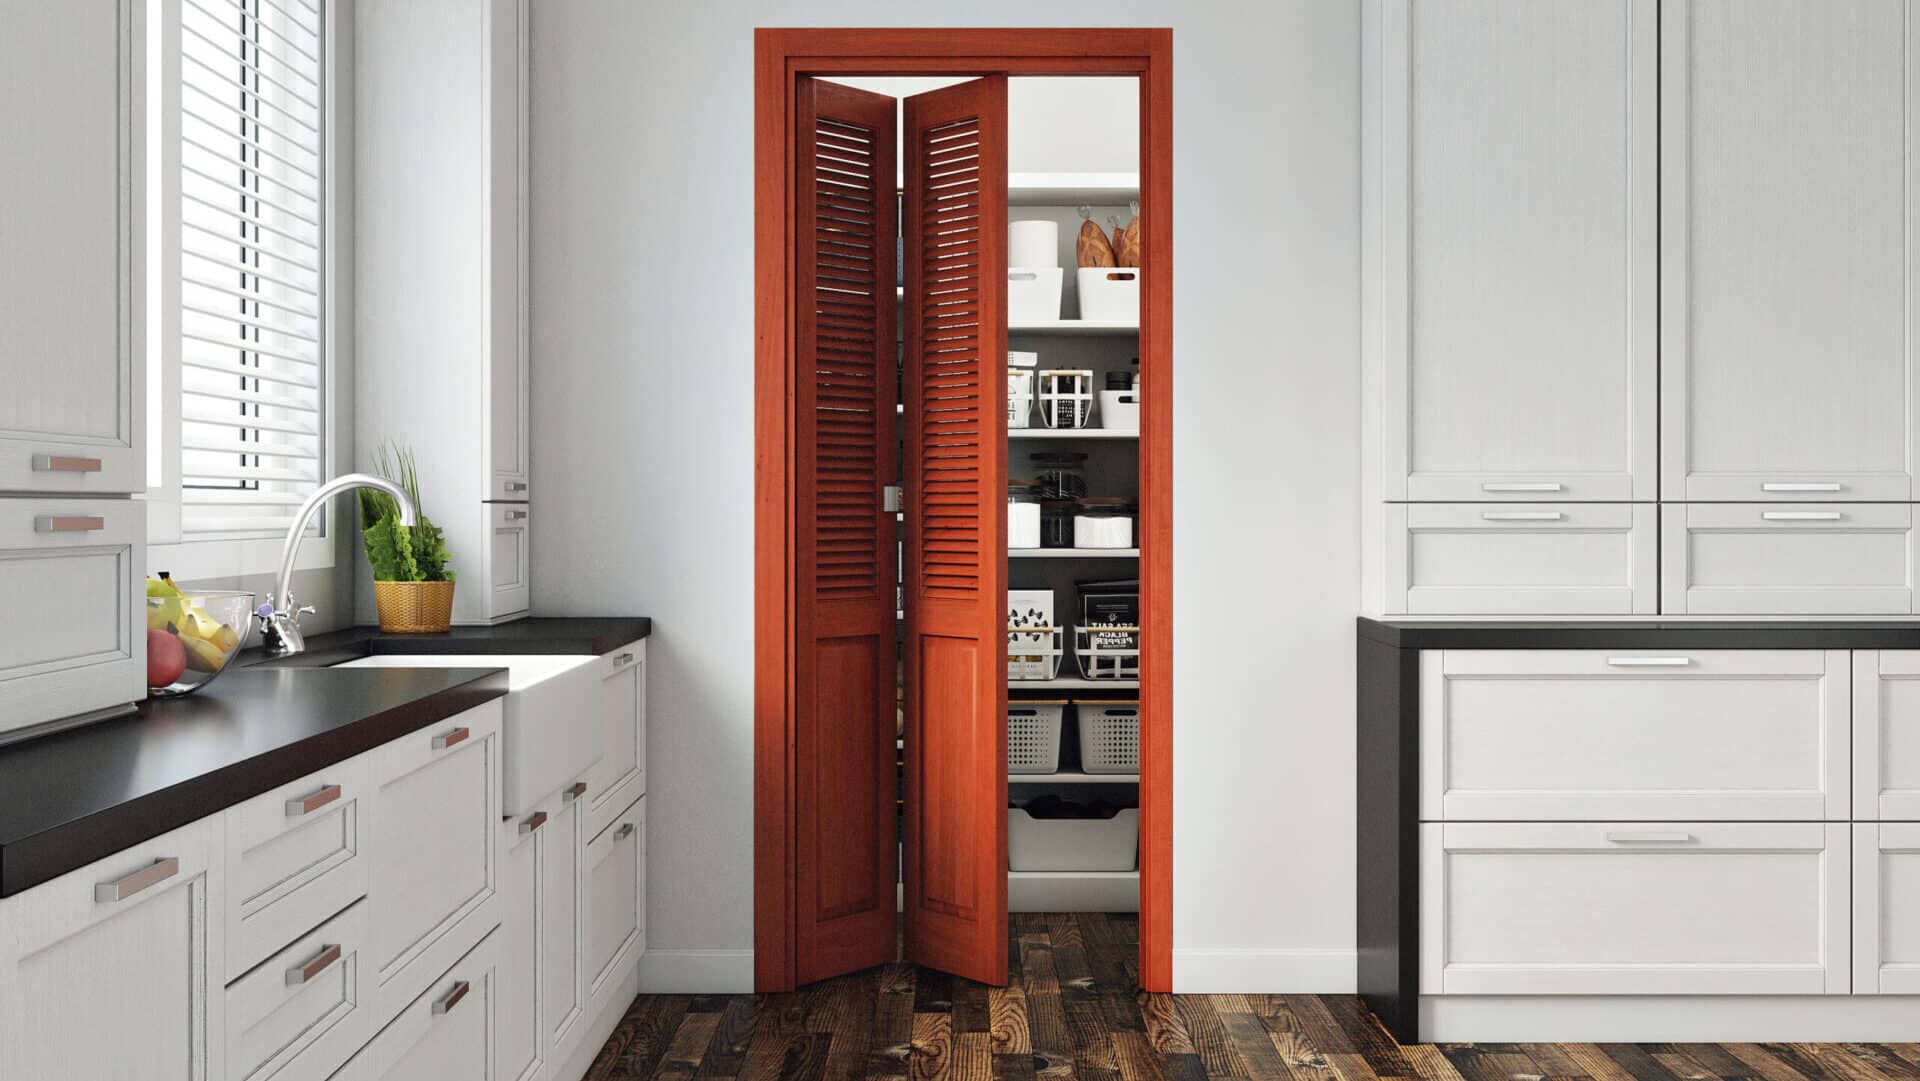
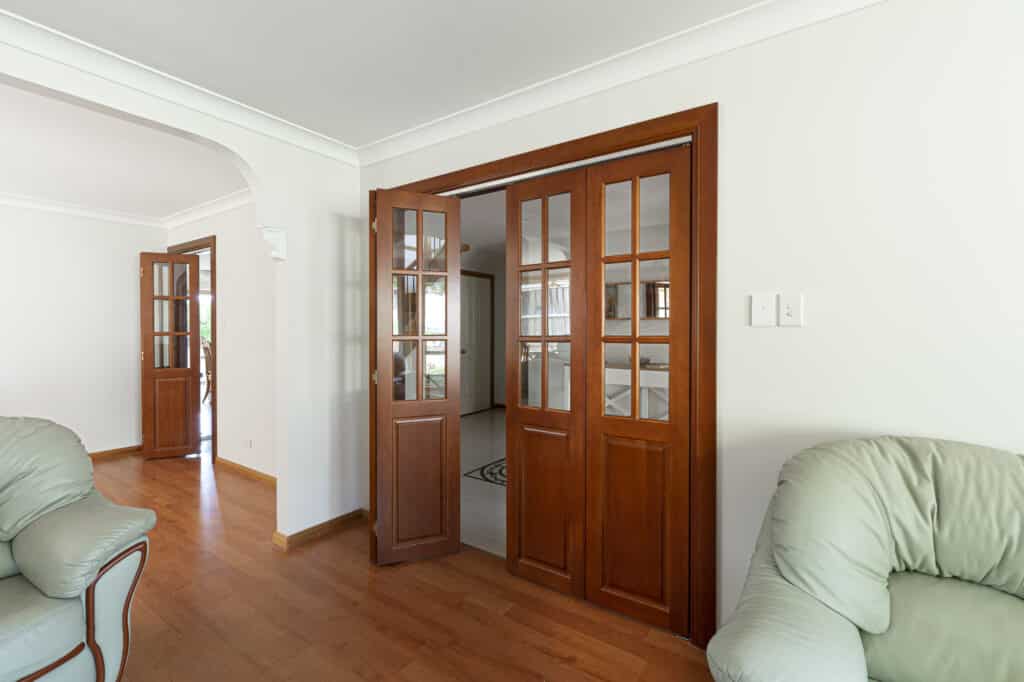
Bifold doors, those space-saving wonders with their accordion-like folds, are a popular choice for closets, doorways, and more.
But sometimes, even the perfect door needs a little trimming.
Don’t worry, tackling this project yourself is entirely possible! Precision is key to ensuring both smooth operation and a polished look for your doors.
This guide will cover everything you need to know about how to trim bifold doors, from gathering the right tools to making the final cut.
Let’s get started on mastering those bi-fold doors!
When Do You Need to Trim Bifold Doors?
Here are some scenarios where your toolbox and DIY skills may come in handy:
• New Flooring: Upgrading with plush carpeting or stylish tiles can make bifold doors drag.
• Door Replacement: Replacing a bifold door might seem simple, but manufacturer size variations can occur.
• Uneven Openings: Older homes often have non-square doorways.
Improperly sized doors can cause the door to scrape against the floor.
Binding occurs when doors fit too tightly, making them hard to fold or unfold.
Additionally, doors that are too short create unsightly gaps.
Accurately trimming your bifold doors helps avoid problems and ensures they function smoothly and look great in your space.
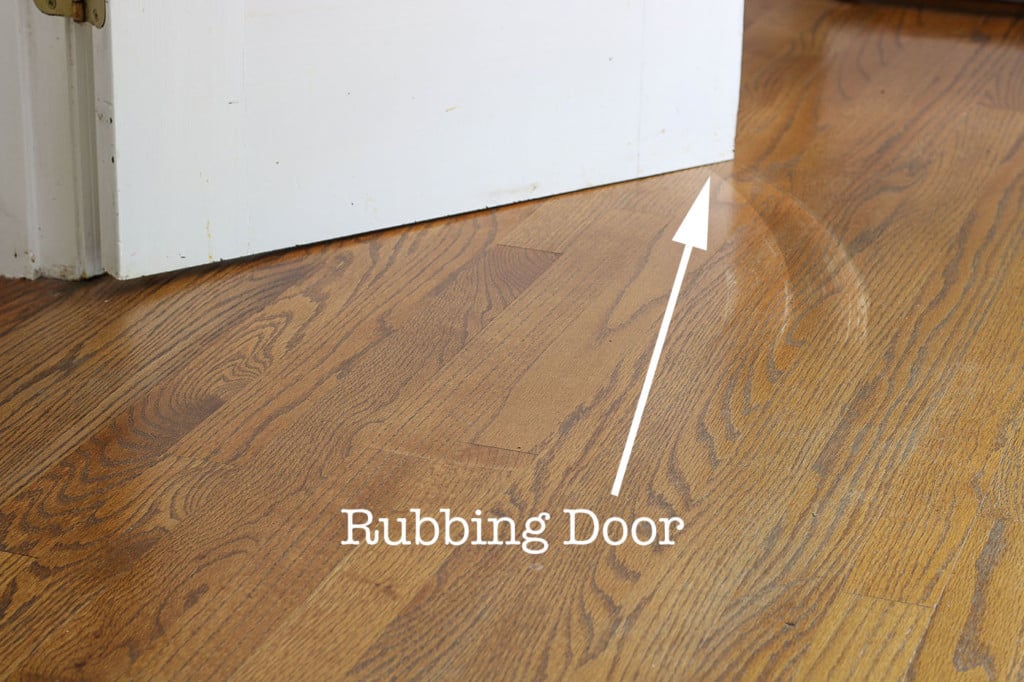
Image courtesy : Google.com
Tools and Materials Needed
For a successful bifold door trim, gather these essential tools:
• Measuring Tape: To take precise measurements of your door and opening.
• Level (Optional): While not essential, a level can help ensure straight lines when marking your cuts.
• Sandpaper: For smoothing out any rough edges after cutting.
• Saw: Choose between a hand saw for a more controlled cut or a circular saw for faster work.
• Clamps: To hold your door securely in place while you make your cuts, ensuring precision and safety.
• Plane: Ideal for shaving off small amounts of wood to achieve a perfect fit, especially useful after making larger cuts with a saw.
• Pencil: To mark your measurements and cut lines on the door.
• Safety Glasses: Essential for protecting your eyes from sawdust and wood chips during cutting and sanding processes.
Measuring and Marking for Trimming
Before you grab your saw and unleash your inner carpenter, precise measuring and marking are key for a successful bifold door trim.
Here’s a step-by-step guide:
1. Measure the Door Opening: Begin by measuring the height and width of the door opening, taking measurements at multiple points — the top, middle, and bottom for width and both sides for height.
This will help you identify any irregularities in the frame.
2. Measure the Door: Next, measure the height and width of the bifold door itself.
Compare these measurements with the opening dimensions to determine how much material needs to be trimmed.
3. Mark the Door: Using a pencil, mark the door to indicate where you will be cutting.
4. Account for Clearance: Ensure you account for proper clearance at the top and bottom of the door.
Typically, you should allow a gap of about 3 mm at the top and 13 mm at the bottom for smooth operation and to accommodate flooring or carpets.
Tip for Accuracy: Draw a straight cutting line between the marks using a straight edge or level.
Clamp the straightedge to the door if using a hand saw for added control while marking the line.
Double-check all measurements for accuracy, then secure the door with clamps to ensure precision and safety during the cut.
These steps will provide a precise trimming process for a professional finish.
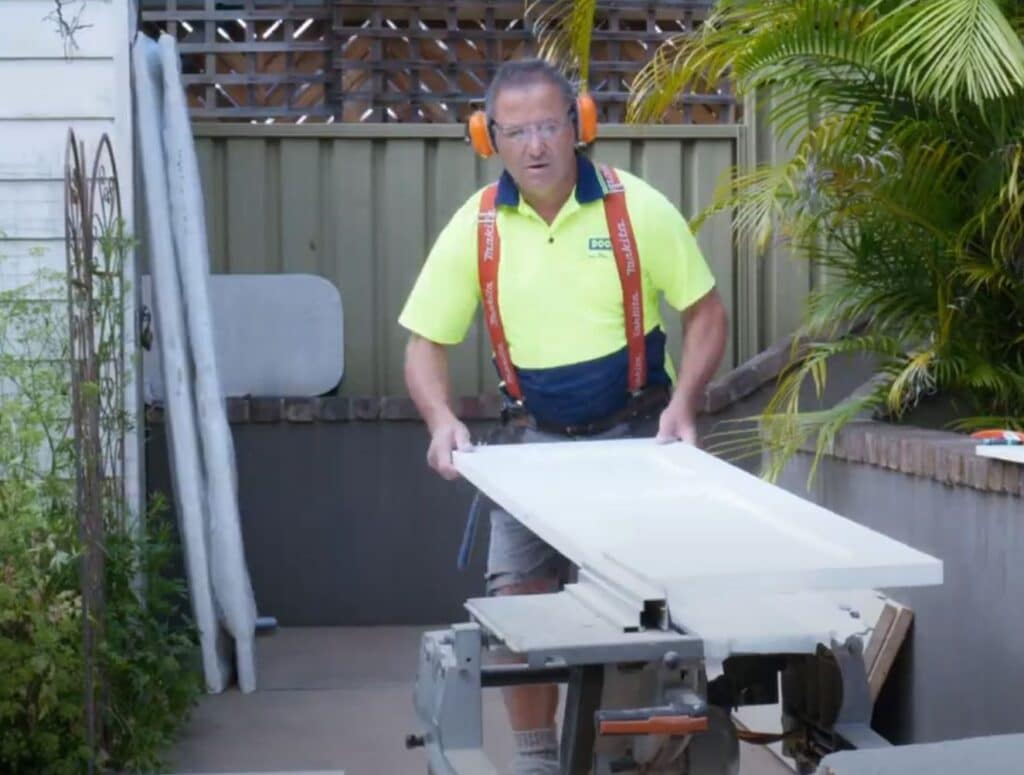
Cutting the Bifold Doors
Now for the moment of truth: the cut! Safety first! Wear your safety glasses and gloves.
Choose your weapon:
• Hand Saw: Ideal for controlled, precise cuts.
Clamp the door securely to a flat surface to prevent movement.
With a steady hand, follow your marked line, ensuring each stroke is straight and even.
• Circular Saw: Offers faster cutting but demands greater caution.
Set the blade depth to match the door thickness.
Clamp a straightedge to the door as a guide for a perfectly straight cut.
Turn on the saw and slowly guide it along the straightedge, maintaining control throughout the cut.
Remember, a clean first cut is crucial.
Take your time and focus on precision to avoid the need for recuts when learning how to trim bifold doors.
Finishing Touches After Trimming
Almost there! Now, we address the freshly cut edge.
• Sanding: Using fine-grit sandpaper, gently sand down any rough edges left from the cut for a smooth finish.
• Sealing: Exposed wood is susceptible to moisture damage.
To protect the cut edge and maintain a polished look, apply a coat of paint or sealant that matches the door finish.
With these finishing touches, your bifold doors will fit perfectly and look professionally installed.
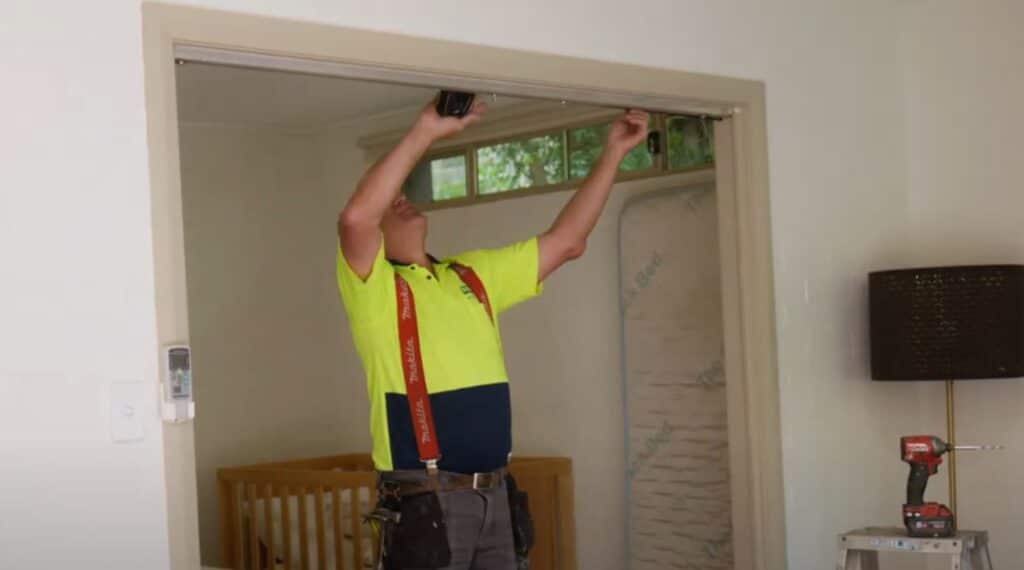
Re-installing the Trimmed Bifold Doors
Success! Your doors are prepped.
Here’s how to get them back in action:
1. Reinstall the Doors: Carefully lift the doors and place them back onto the top and bottom tracks, ensuring proper alignment with the brackets.
2. Adjust the Hardware: Slight adjustments might be needed after trimming.
Use a screwdriver to loosen or tighten the pivot screws at the top and bottom brackets.
This can help fine-tune the folding movement and ensure the doors glide smoothly.
3. Alignment Check: Open and close the doors several times.
Look for any rubbing or gaps.
If needed, make minor adjustments to the pivot screws or track positions for a perfect fit and smooth operation.
Pro Tip: If the doors are still catching, check if the floor is level.
Uneven floors can cause misalignment.
In such cases, shims might be necessary beneath the track for proper levelling.

FAQs About How To Trim Bifold Doors
Can I Trim Bifold Doors Without Removing Them From the Track?
It’s not recommended to trim bifold doors without removing them from the track.
For safety and accuracy, it’s best to remove the doors and lay them flat for controlled cutting.
What Is the Maximum Amount That Can Be Trimmed off a Bifold Door?
There’s no one-size-fits-all answer.
It depends on the clearance needed and the door’s overall height.
Generally, aim to trim no more than 10mm at a time to avoid compromising the door’s structural integrity.
Is It Necessary To Seal the Edges After Trimming Bifold Doors?
Yes! Exposed wood is vulnerable to moisture damage.
Sealing the cut edge with paint or a matching sealant protects the door and maintains a finished look.
Achieve Perfection with DIY Bifold Door Trimming
By following this guide on how to trim bifold doors, you’re now equipped with the knowledge to get the job done precisely.
Remember, accurate measurements and careful cutting are key to a successful outcome.
Take your time, refer back to the steps if needed, and don’t hesitate to consult a professional if you have any concerns.
Ready to tackle other DIY projects?
Doors Plus offers a wide range of home improvement guides to empower you. Browse our website for inspiration!
For trickier door situations or if you prefer professional assistance, contact us today to schedule a consultation or service appointment.
Recent Post
Inspirational
March 11, 2026
Inspirational
Double Entry Doors: Creating a Grand Entrance and Maximising the Impact of Your Home's Facade
January 29, 2026
Inspirational
January 29, 2026

Inspirational
Modern White Interior Doors: Elevating Your Home’s Aesthetic with Sleek and Minimalist Door Designs
January 06, 2026
Featured Post

Customer Experiences & Reviews
From Quick Fix to Timeless Finish: How Doors Plus’ Double Heritage Style Front Doors Got It Right
August 21, 2025

Customer Experiences & Reviews
How Doors Plus’ Interior Shaker and Barn Doors Took One Home From Dated to Elevated
August 20, 2025