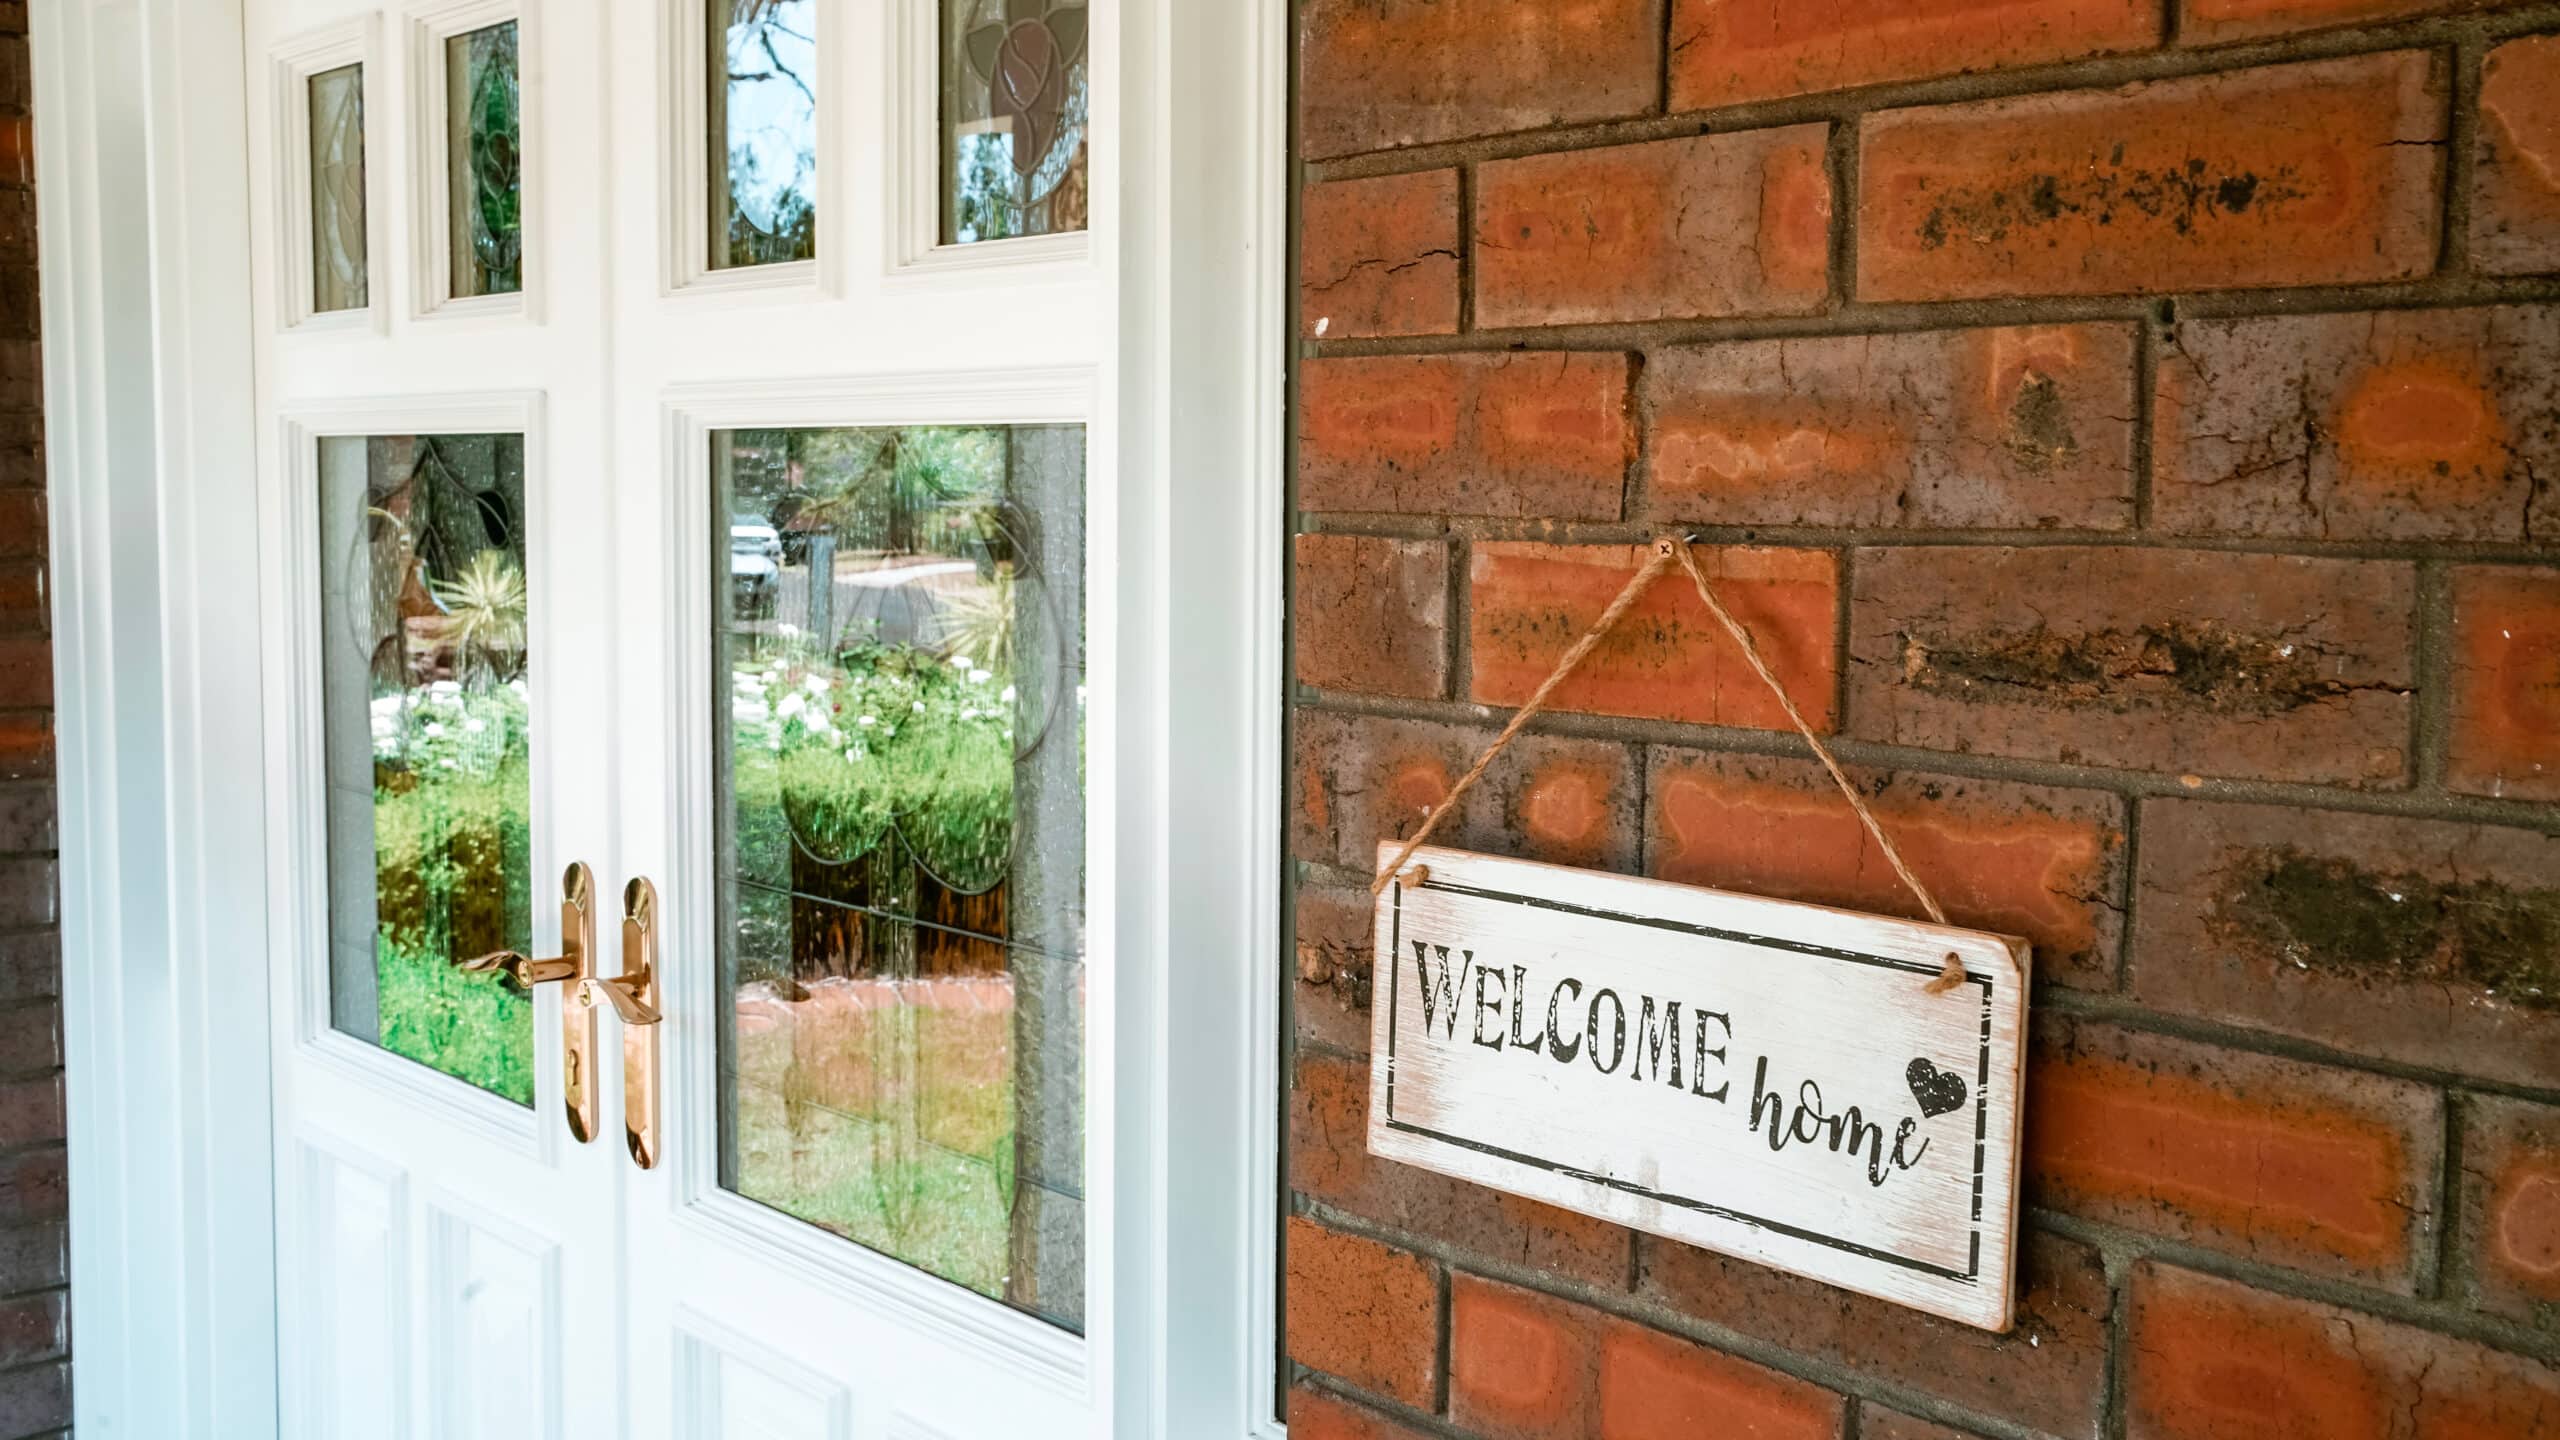
How To Insulate Shaker Doors

Shaker doors are a classic in Aussie homes for a reason. They’re simple, clean-lined, and they work with almost any décor style. But here’s a little secret; those Shaker doors can sometimes let a surprising amount of outside air sneak into your home!
Draughts in winter and hot air in summer can make your energy bills climb faster than you realise. But don’t worry – a few simple insulation tricks can make all the difference, saving you money and keeping your home comfortable year-round.
Step 1: Assessing Your Shaker Doors
Before you jump into adding insulation, take a few minutes to look over your shaker door:
• Check for gaps: On a cool, windy day, run your hand around the edge of your door frame. Can you feel draughts? Look closely for any gaps where the door panels meet the frame. These are the spots where the air is making its way inside.
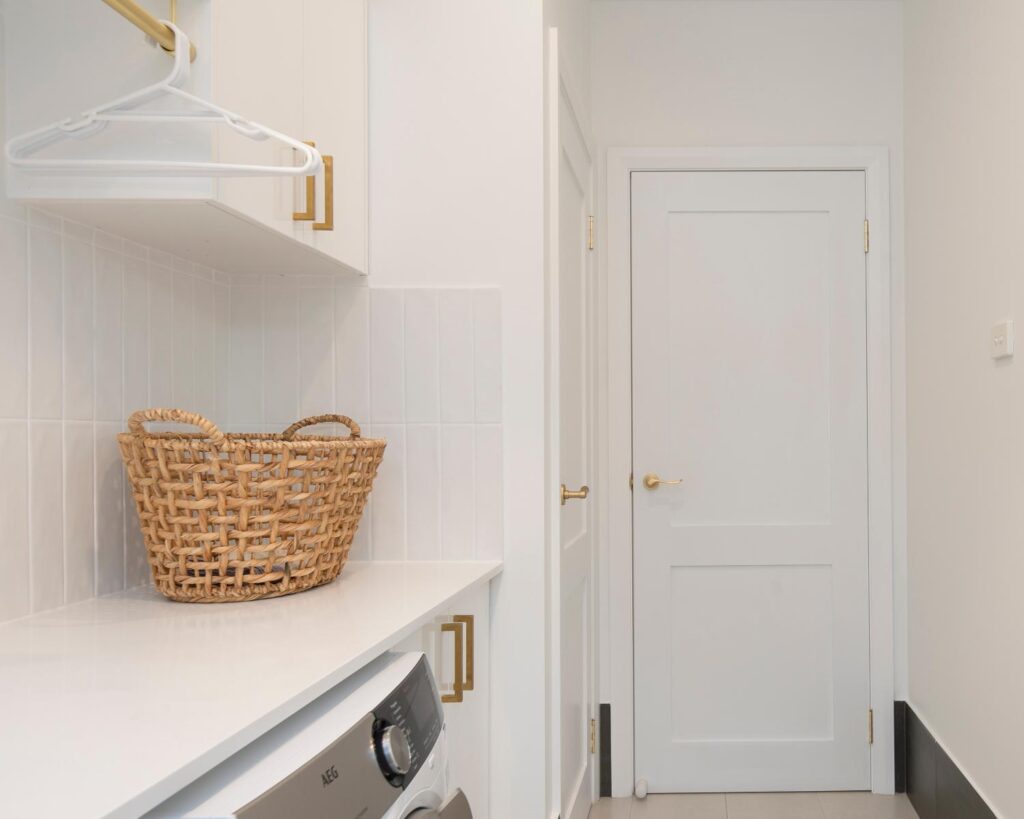
• Shaker door breakdown: Shaker doors have a simple construction similar to other types of doors. You’ve got the frame (the outer edges), the vertical and horizontal pieces of the frame, and those classic recessed panels. This clean design is part of what makes them so popular!
• Common areas where gaps are found: Look closely at the corners of your door and where the frame meets the panels. These are areas where minor gaps can occur but have a big impact on insulation.
Step 2: Choosing the Right Insulation Materials
There are a few different ways to insulate your Shaker doors. Here’s a quick look at common options and what they’re best for:
• Weatherstripping: This is your go-to for sealing gaps around the door frame. Look for rubber, foam, or vinyl weatherstripping – it’s easy to find at any hardware store.
• Pros: Inexpensive, easy DIY installation.
• Cons: Mainly targets gaps around the frame, not the door itself.
• Silicone sealant: Similar to weatherstripping, it helps fill smaller gaps and cracks along the frame. Choose a paintable sealant if you want it to blend in seamlessly.
• Pros: Easy to apply, versatile for different gap sizes.
• Cons: Less effective for very large gaps.
• Expanding foam: Great for filling larger gaps or cracks, especially around the frame.
• Pros: Excellent for sealing irregular gaps.
• Cons: Can get messy; best for smaller repairs.
• Door Sweeps: These handy strips go across the bottom of your Shaker door, blocking draughts from sneaking in along the floor. Look for door sweeps with a flexible rubber or brush bottom to mould to your floor surface.
• Pros: Easy to install, great for under-door draughts.
• Cons: It won’t help with gaps around the sides or top of the frame.
Step 3: Get the Needed Tools
Before you start insulating, have these handy helpers ready:
• Tape measure: For measuring gaps and the size of your door panels.
• Utility knife: For cutting insulation and weatherstripping.
• Caulking gun (optional): If using silicone sealant.
• Scissors: For cutting weatherstripping.
• Screwdriver: For attaching door sweeps and potentially removing hardware.
• Safety glasses: Protect your eyes from debris when fitting insulation.
• Dust mask (optional): Cutting rigid and filler foam can generate dust.
Don’t have some of these tools? Most hardware stores have a great selection of affordable tools that you can pick up. Or, ask a friend or family member if you can borrow theirs.
Step 4: The Insulation Process
Now it’s time to tackle the insulation! Follow these steps carefully.
Step 1: Measure and Cut the Insulation Material
• Identify gaps: Look for gaps around the door frame and between the frame and the wall. Measure the length and approximate width of these gaps.
• Cut foam strips: Using your measurements, use a utility knife and straight edge to cut strips of rigid foam. Aim to cut the strips slightly wider than the gap for a snug fit.
Step 2: Install the Door Sweep
• Select the right fit: Measure the width of the bottom of your door. Choose a door sweep that’s the correct size, with a flexible rubber or brush bottom.
• Follow instructions: Door sweep installation varies between brands. Refer to the package instructions for exact steps (usually involving cutting to length and attaching it with screws).
Step 3: Seal the Edges
• Weatherstripping: Measure the sides and top of your door frame. Cut weatherstripping to length. Peel off the backing and carefully press the weatherstripping into place, making sure it sits snugly along the frame to seal gaps.
• Silicone sealant: Using a caulking gun, apply a thin bead of sealant along any gaps in the frame. Smooth it out with a damp finger.
Step 4: Inspect and Adjust
• Check your work: Look for any missed gaps or areas where the insulation isn’t fitted properly. Fix these with more sealant, weatherstripping, or adjustments to your insulation panels.
Step 5: Test for Draughts
• Hand test: Run your hand around the edge of the door. Do you feel any air? If so, revisit the trouble areas and seal them.
• Candle test (caution!): Light a candle and hold it near the edge of the door on a still day. If the flame flickers, there’s a draught, and you’ll need to locate the source.
Step 6: Clean Up
• Tidy up: Gather scraps of insulation, packaging, and tools. Wipe down any sealant that spilled over.
Step 7: Paint or Finish As Desired
• Matching matters: If you’ve used raw foam insulation, consider painting it to match the colour of your door for a cleaner look.
• Silicone: Allow to dry for at least 24 hours before painting.
Safety Reminders
• Eyes and Lungs: Always wear safety glasses and wear a dust mask when working.
• Ventilation: Work in a well-ventilated area, especially when using spray foam or silicone sealant.
Tips for Maintaining Appearance
• Match materials: Choose weatherstripping and sealant in colours that closely match your door and its frame for a seamless look. Or, look for paintable silicone that you can paint over.
• Clean installation: Work carefully to keep the visible parts of your door clean from sealant or foam residue.
Step 5: Finishing Touches
A well-insulated door shouldn’t just save you money – it should work as well as it did before! Here’s how to make sure:
• Test opening and closing: Open and close your door several times. Does it feel smooth, or is there any rubbing or sticking?
• Check the latch: Does the door latch easily and firmly into the strike plate on the frame?
• Listen for squeaks: Any new squeaks or creaks might indicate a slightly misaligned door or hinges.
• Foam in the way: If a piece of rigid foam insulation is sticking out, carefully trim it back so the door or latch mechanism doesn’t get caught.
Create Comfort With a Classic Touch: Insulate Your Shaker Doors Today!
You won’t regret making the decision to insulate your shaker door; it will make a huge difference for your home.
It stops those pesky draughts, helping you save on energy costs, and a well-insulated door adds a layer of peace and quiet you might not have realised you were missing!
Ready to transform your home? Contact Doors Plus for a free measure and quote, or pop into our nearest showroom to explore your options!
Recent Post

Informational
How to Install Wood Doors: A Detailed Guide to Uplifting Your Home’s Charm
June 07, 2024
Featured Post
Informational
How Much Are Bifold Doors? A Simple Guide To Material and Installation Costs
May 22, 2023

Customer Experiences & Reviews
“This Sweet Life” – Putting the Finishing Touches on a Picture Perfect, Palm Springs Family Home
April 26, 2023


Customer Experiences & Reviews
Kelly Came Back! Guardian 2 in 1 Door & Sidelight Review