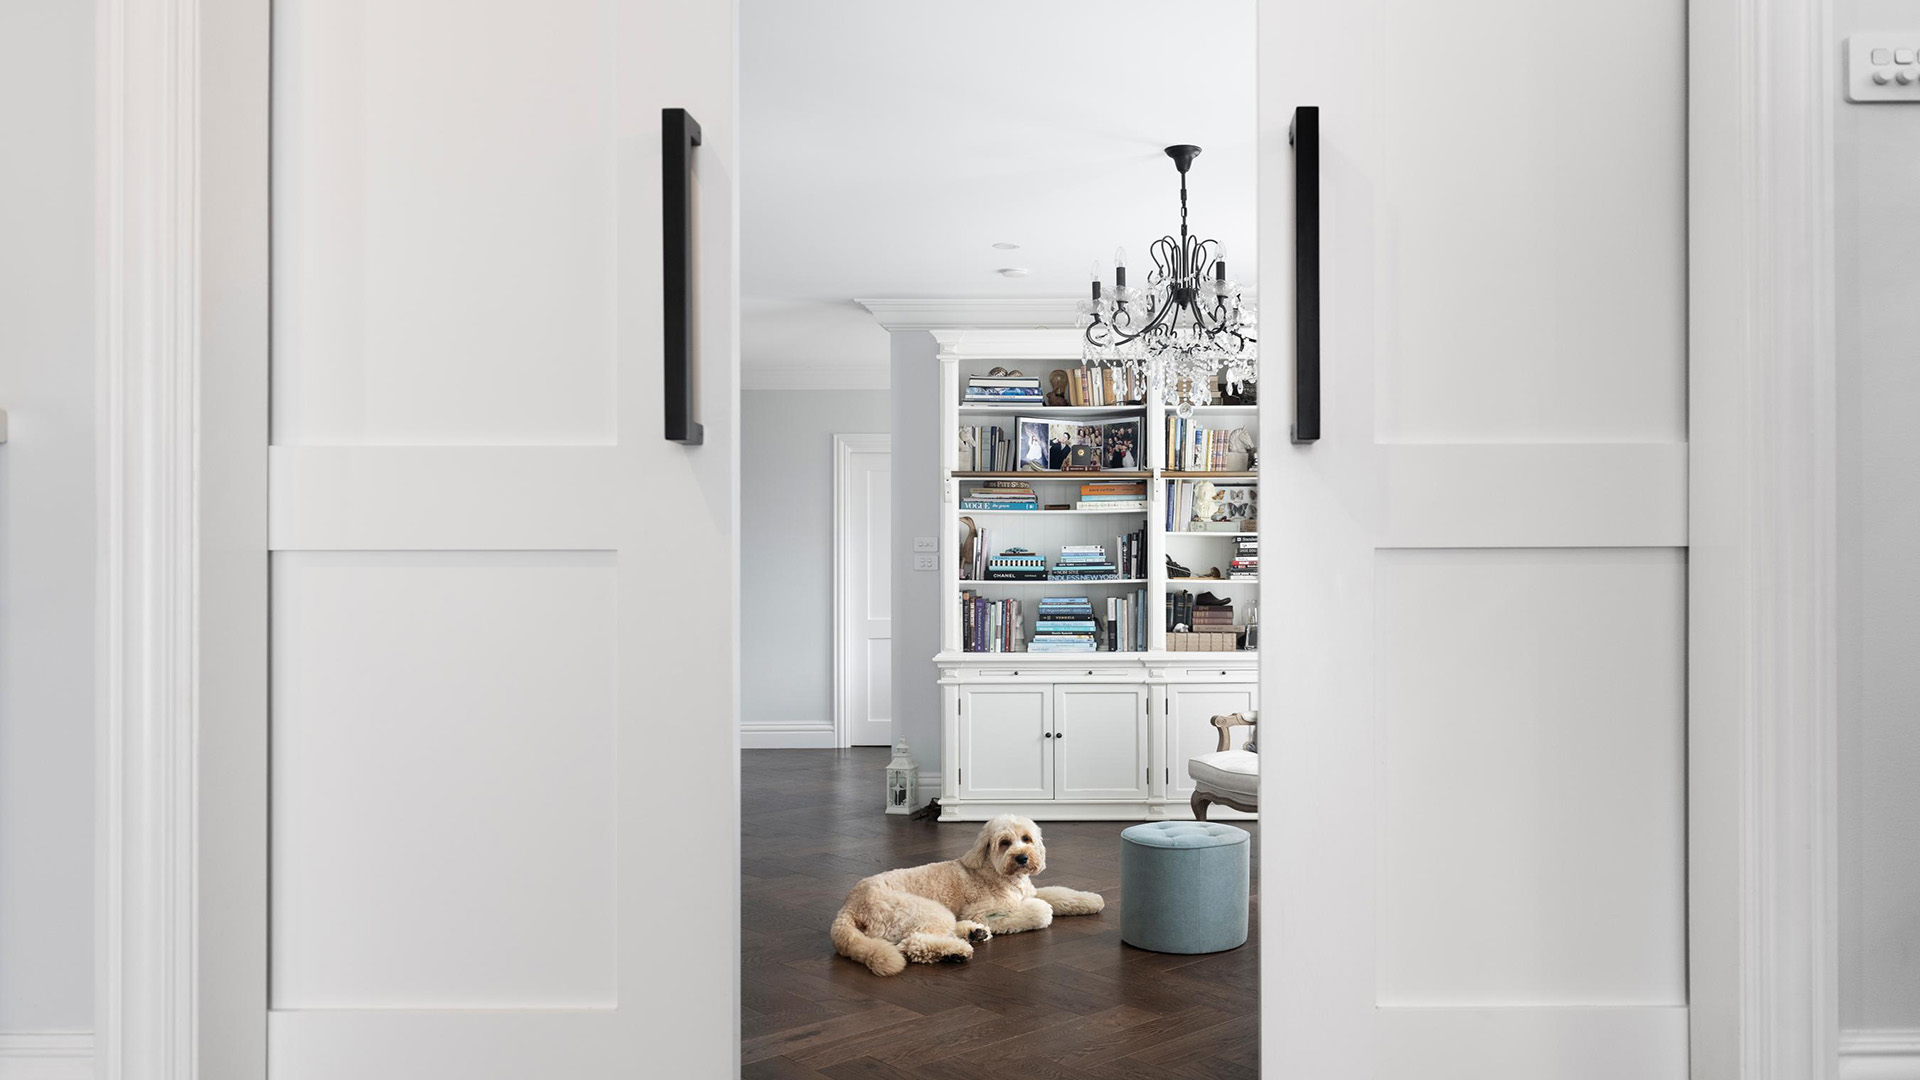
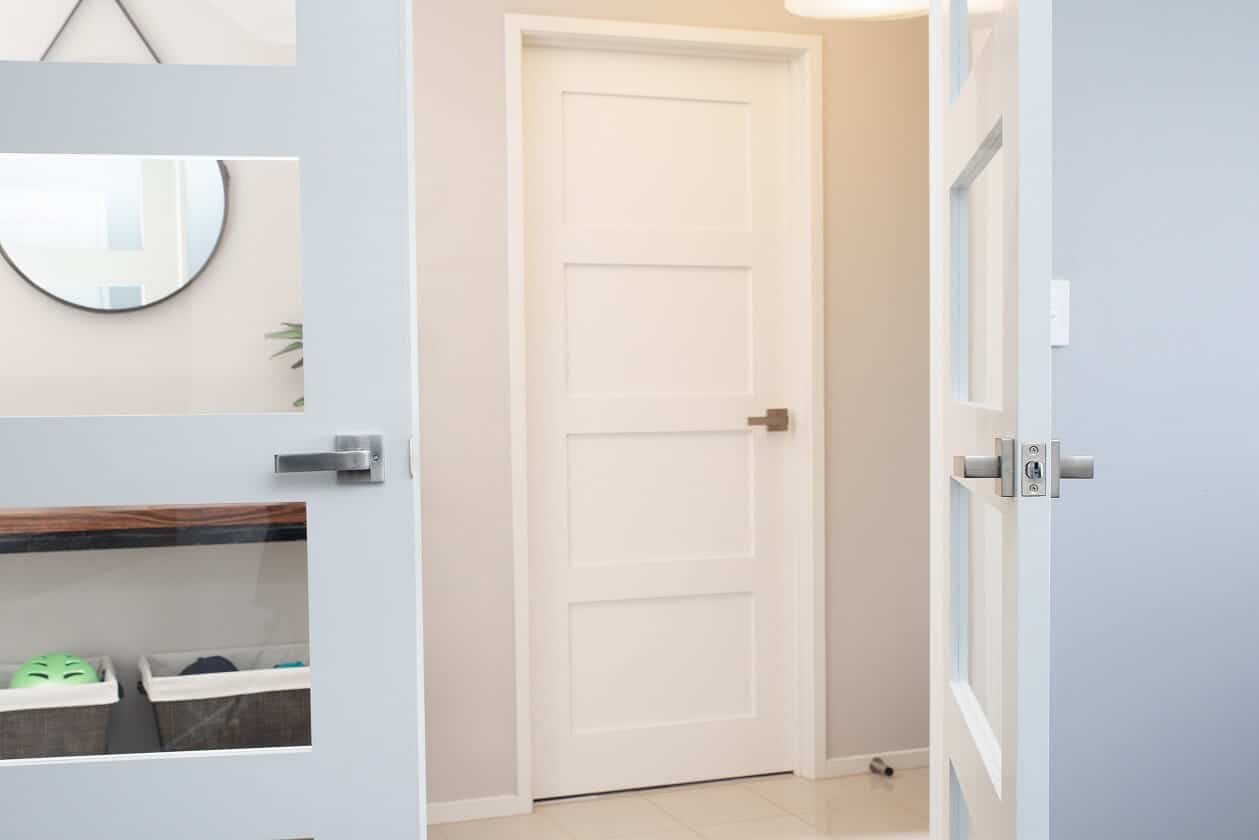
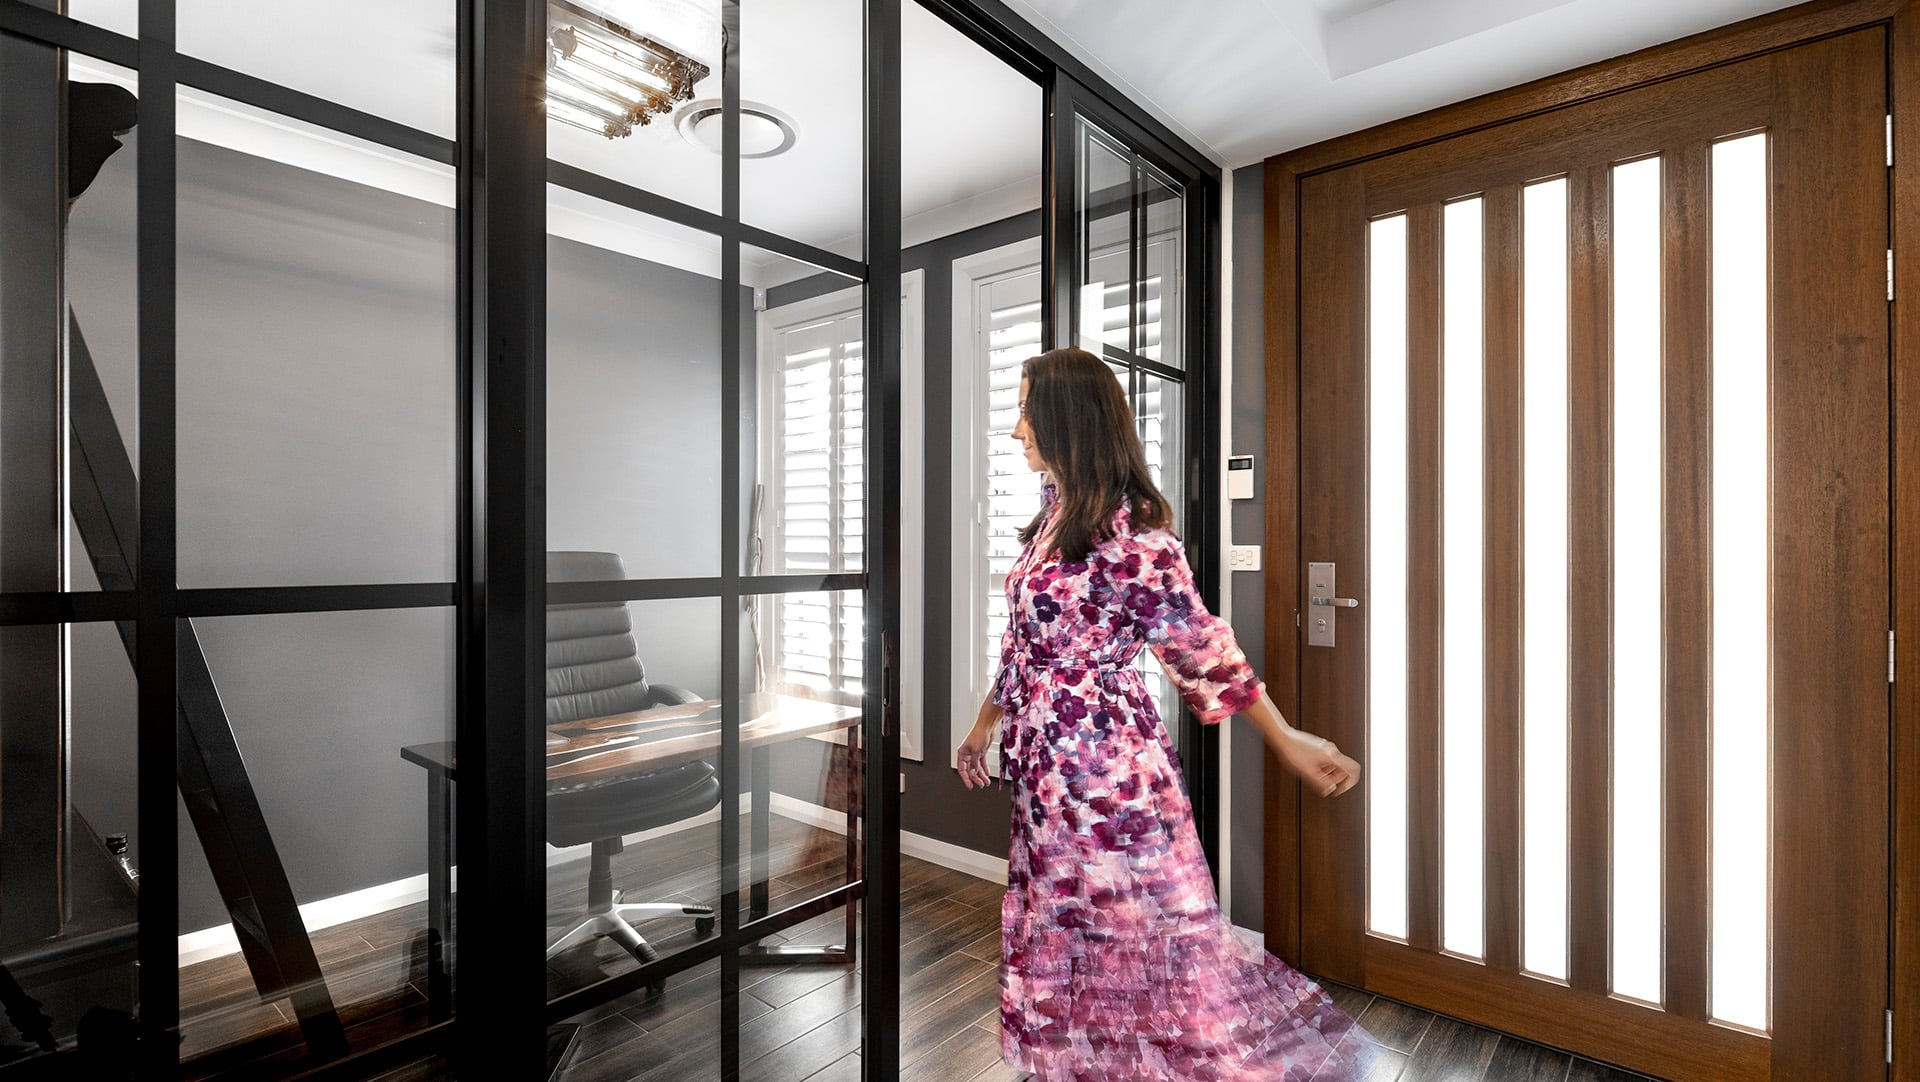
How To Install Internal Doors
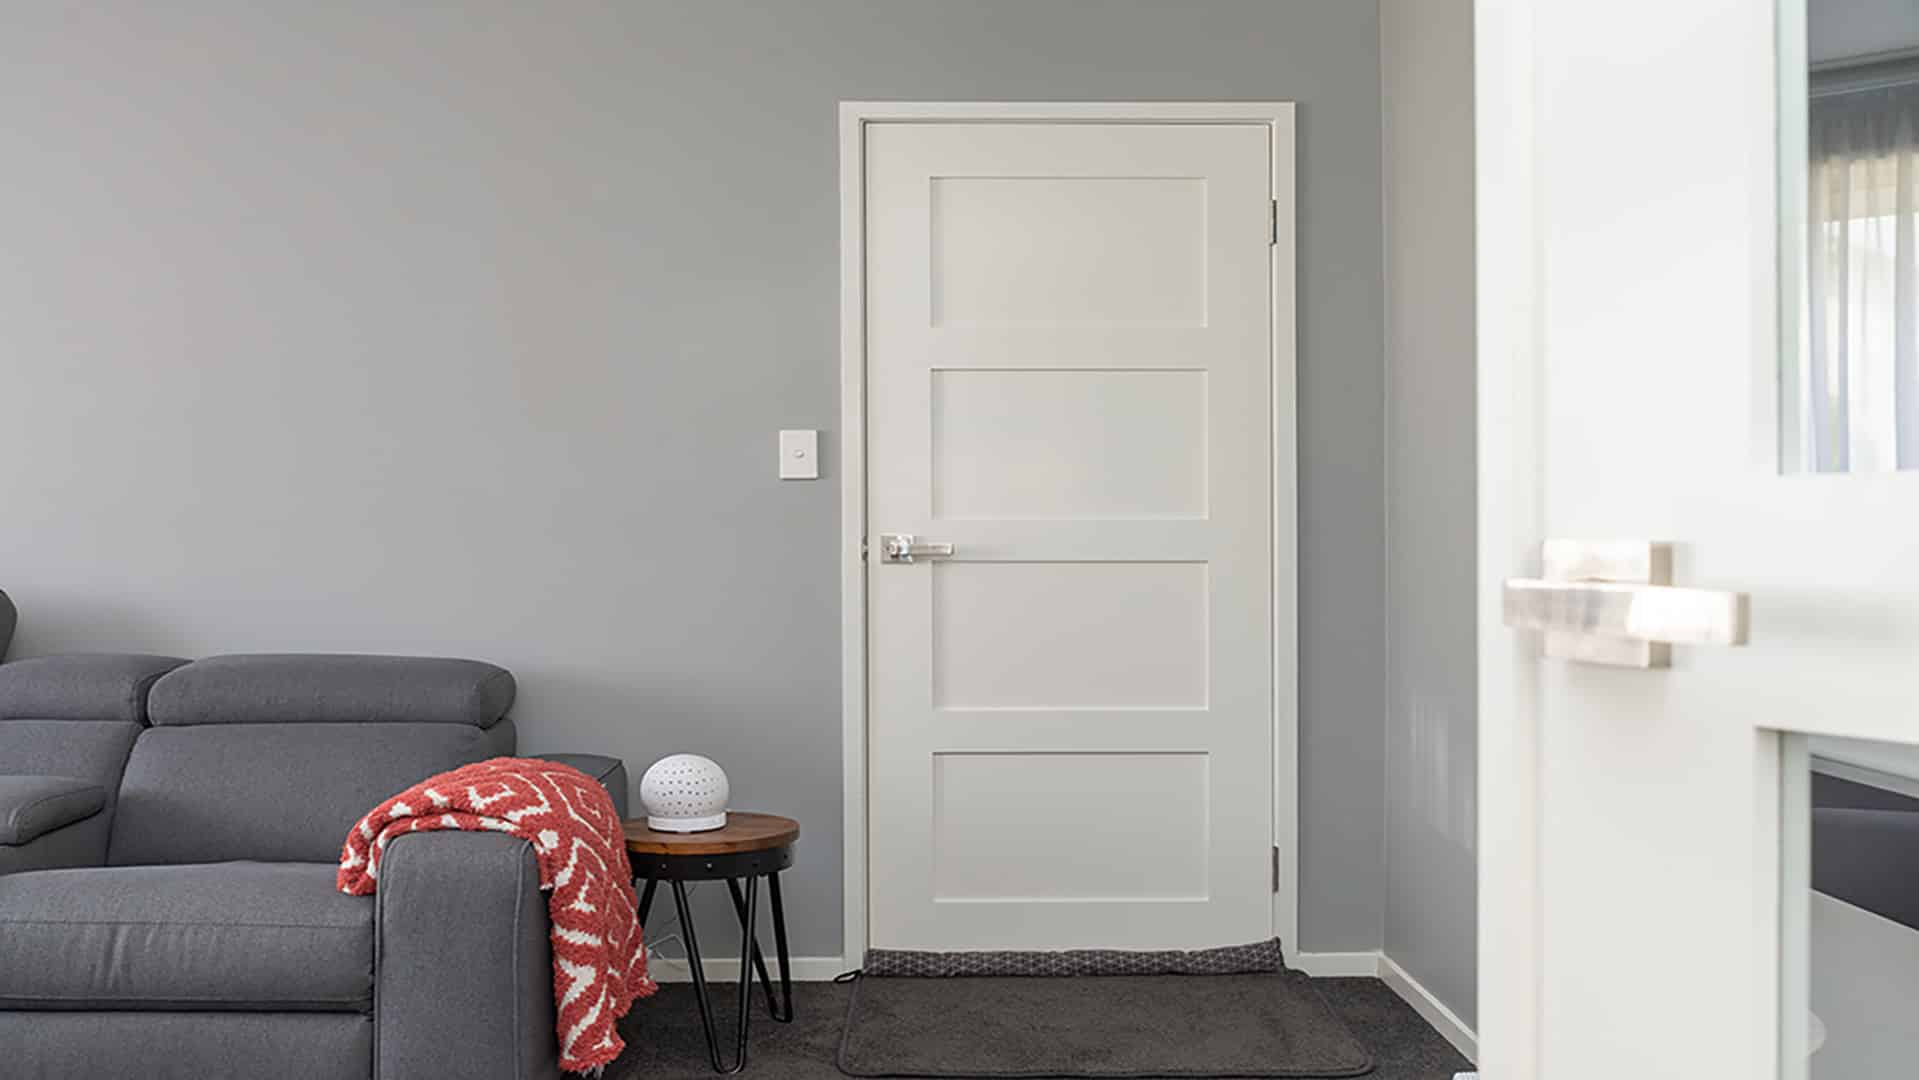
Table of Contents
Once you’ve chosen your dream door, you’re probably already picturing it in your home, looking the part and doing its job for you and your family.
But there’s still the small matter of actually hanging it in place.
Depending on your experience (and confidence!), you might want to enlist the help of a professional carpenter or joiner who knows how to install internal doors in their sleep.
But if you choose to take it on yourself, just be sure to follow a few golden rules and step-by-step instructions and you could have your new door installed by dinner time – with a healthy dose of smug satisfaction on the side!
How do you install an interior door?
Internal door fitting can be a relatively simple task, as long as you follow the proper steps and watch out for some common pitfalls.
The process for how to install internal doors generally involves removing the old door and deciding which way you want the new one to open (into/out of the room), trimming the new door to size, fitting the hinges to the door, and hanging it in place.
Sounds pretty simple, right?
It’s important to get each step right if you want your door to look its best and function as it should.
What could possibly go wrong?
If the framework isn’t properly prepared or the door isn’t trimmed to just the right size and fit, you’ll end up with a door that never fully closes, or that grinds on the floor or frame to open.
If the hinges aren’t correctly fitted, your door could sag over time, and of course you want to avoid damaging your new door during the installation.
You can see why many people choose to get an experienced professional in, especially if the framework also needs replacing and you don’t know how to fit a door frame.
If DIY is your thing you can follow this simple, step-by-step guide. (Be aware that the process for how to fit an external door may be different.)
How to Install Internal Doors in 4 Steps
Before you get started, you need to make sure you’ve got all the relevant door hanging tools and materials to hand, and enough space to work with.
Checklist:
- Screwdriver
- Sharp plane or saw
- Safety goggles
- Chisel
- Tape measure
- Pencil
- Hinges
- Screws
- Wedge
1. Remove The Old Door
It might sound obvious, but before you start taking the existing door off its hinges, you need to make sure that you’ve got somewhere to put it!
You might have a work bench to lay it on, or you can just put a dust sheet on the floor.
It’s not ideal to lean a door against a wall for any length of time – partly because it might mark or damage the wall, but also because the door could sag or warp with its own weight, making it unusable anywhere else.
The next step is to remove the hinges, but there a few helpful hints to bear in mind before you just crack on:
- Put a wedge under the door to support its weight, before you start unscrewing the hinges.
- Start from the bottom hinge and move upwards.
- Open the door to expose the hinges as much as possible so that you can see what you’re doing.
- For each hinge, loosen all of the screws equally before fully removing them, so that a single screw doesn’t have to bear too much weight.
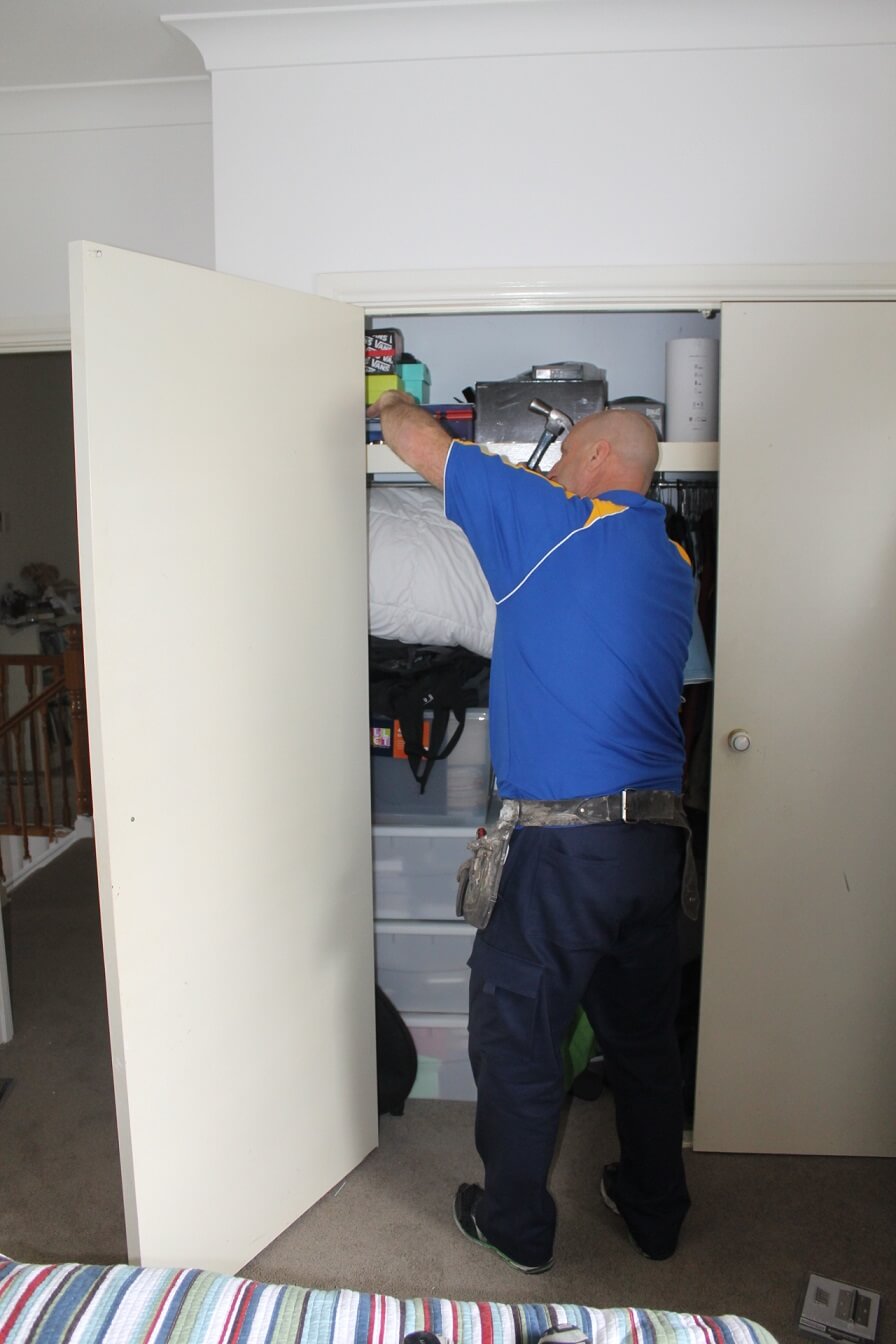
Once the hinges are removed, you should be able to lift the door out of the opening and lie it down, out of the way.
Take care with this so that you don’t damage the framework before you even start with your installation.
At this point you will be able to check the condition of the existing framework.
If it needs replacing, you will need to know how to fit an internal door frame before moving on to the next step.
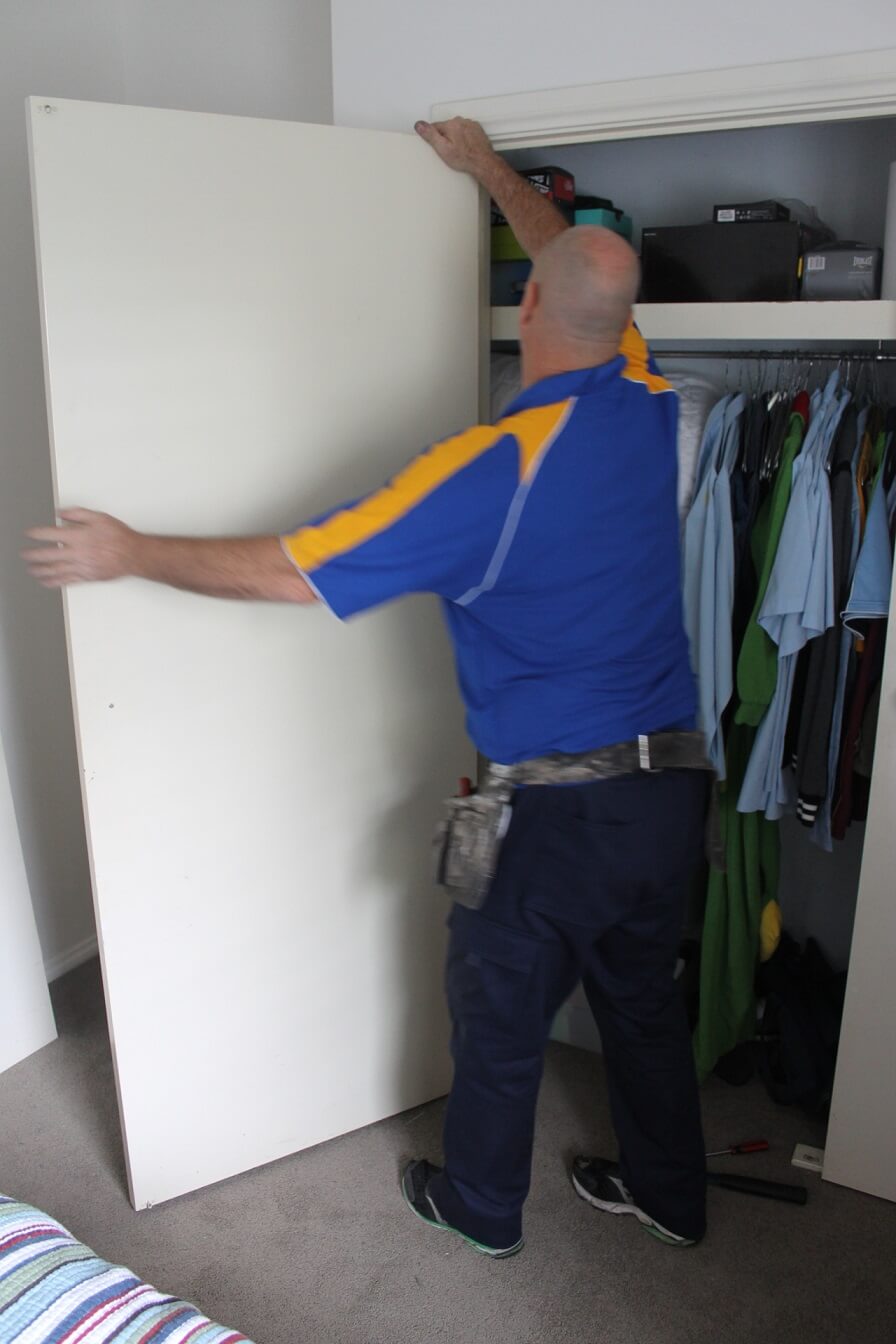
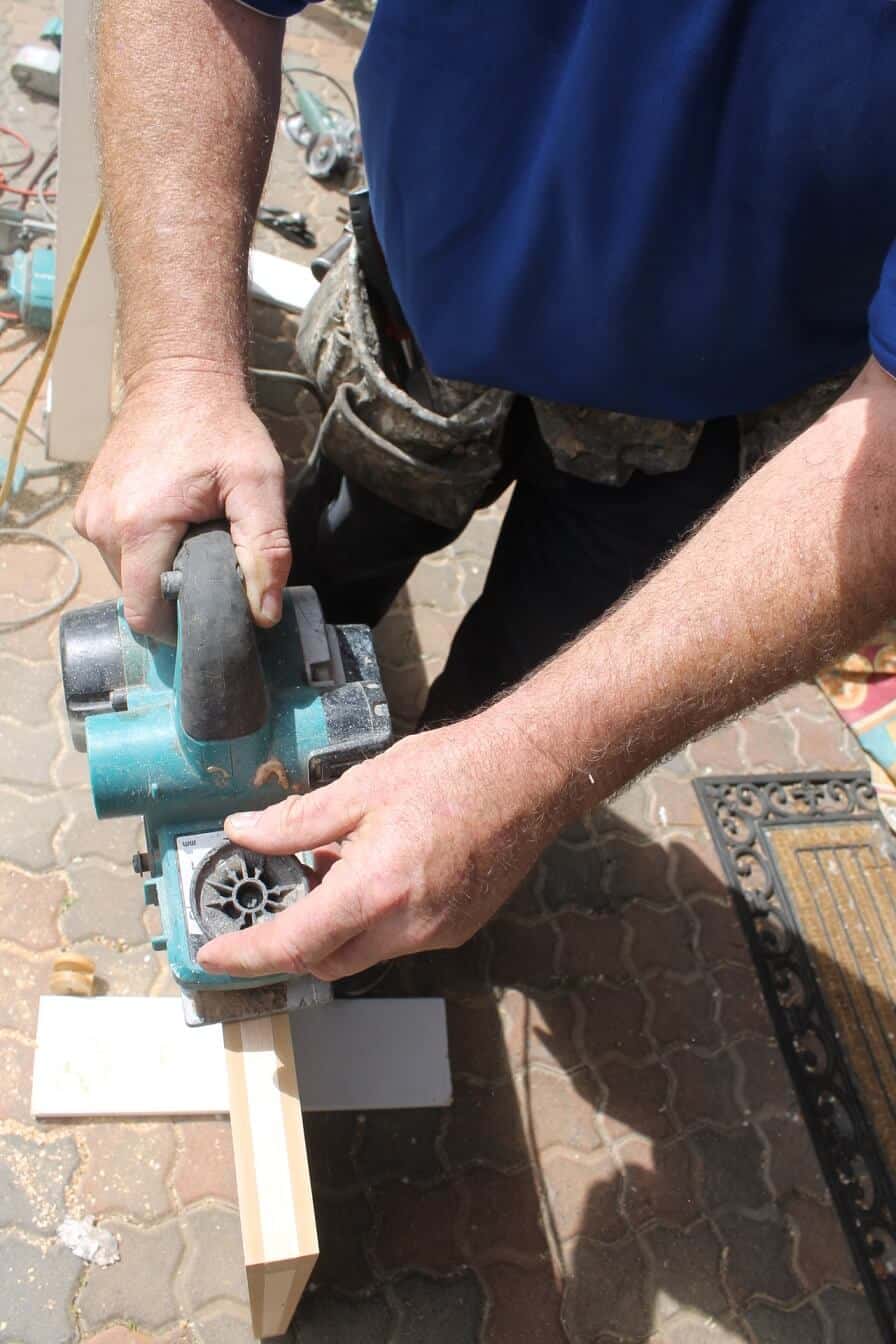
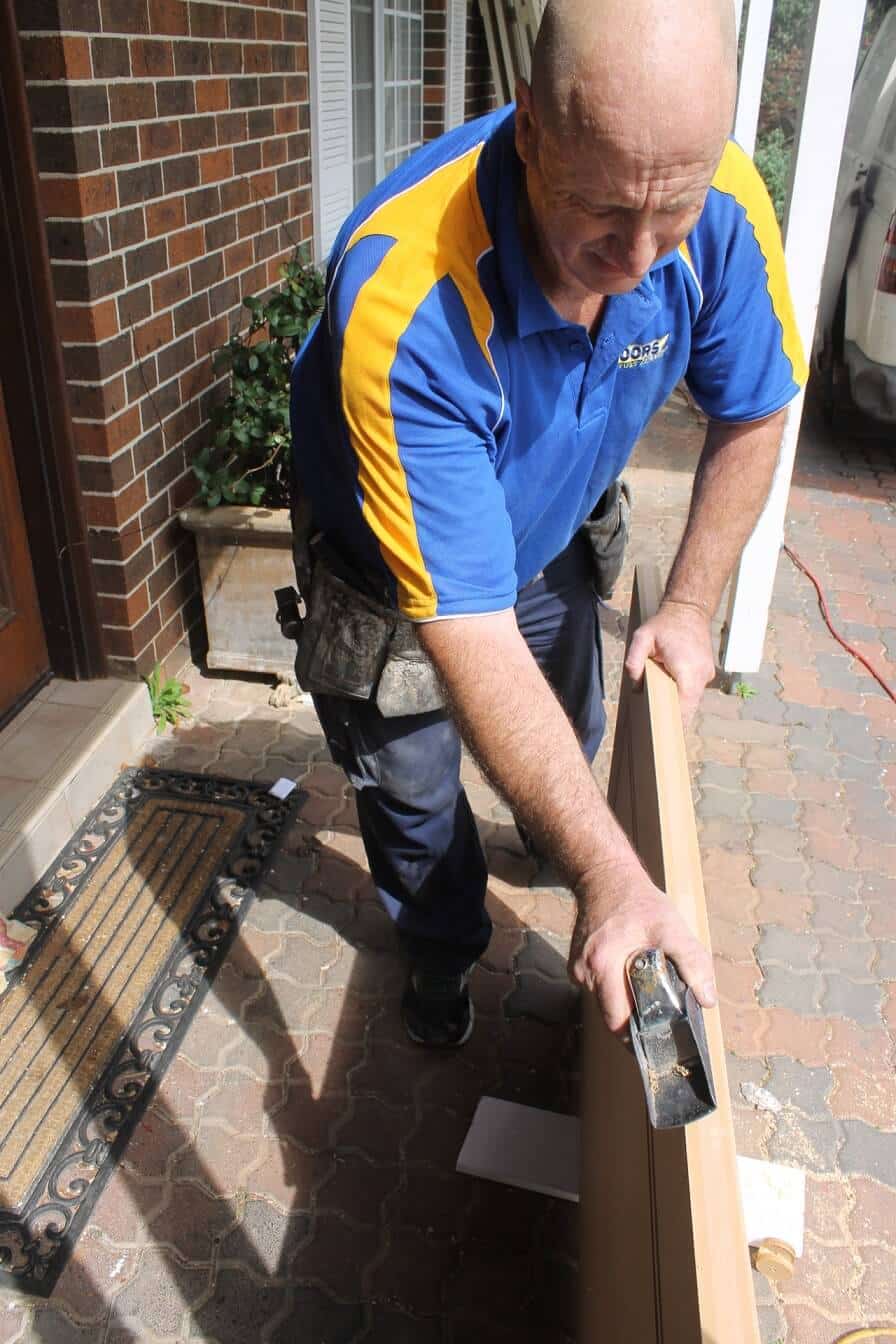
2. Cut new door so it fits the opening
You may need to trim your door down to size so that it fits your specific opening.
Different types and materials of door have different tolerances for trimming so be sure to check how much you can safely trim off your new door without exposing the core.
Here are a few pointers for getting it right:
- Trim the door to fit the size and shape of your frame, even if your frame isn’t perfectly square.
- If you only need to trim a very small amount off the door, it’s best to trim the edge that will be hinged. Otherwise, be sure to trim the same amount off each side to preserve the structural integrity and aesthetics of the door. Always check the guidance your door supplier provides on the trim factor to avoid voiding your warranty.
- It’s a good idea to use a pencil to mark the door where you plan to trim.
- Use a sharp plane or saw to gradually trim the door down to your marker – take care and take your time!

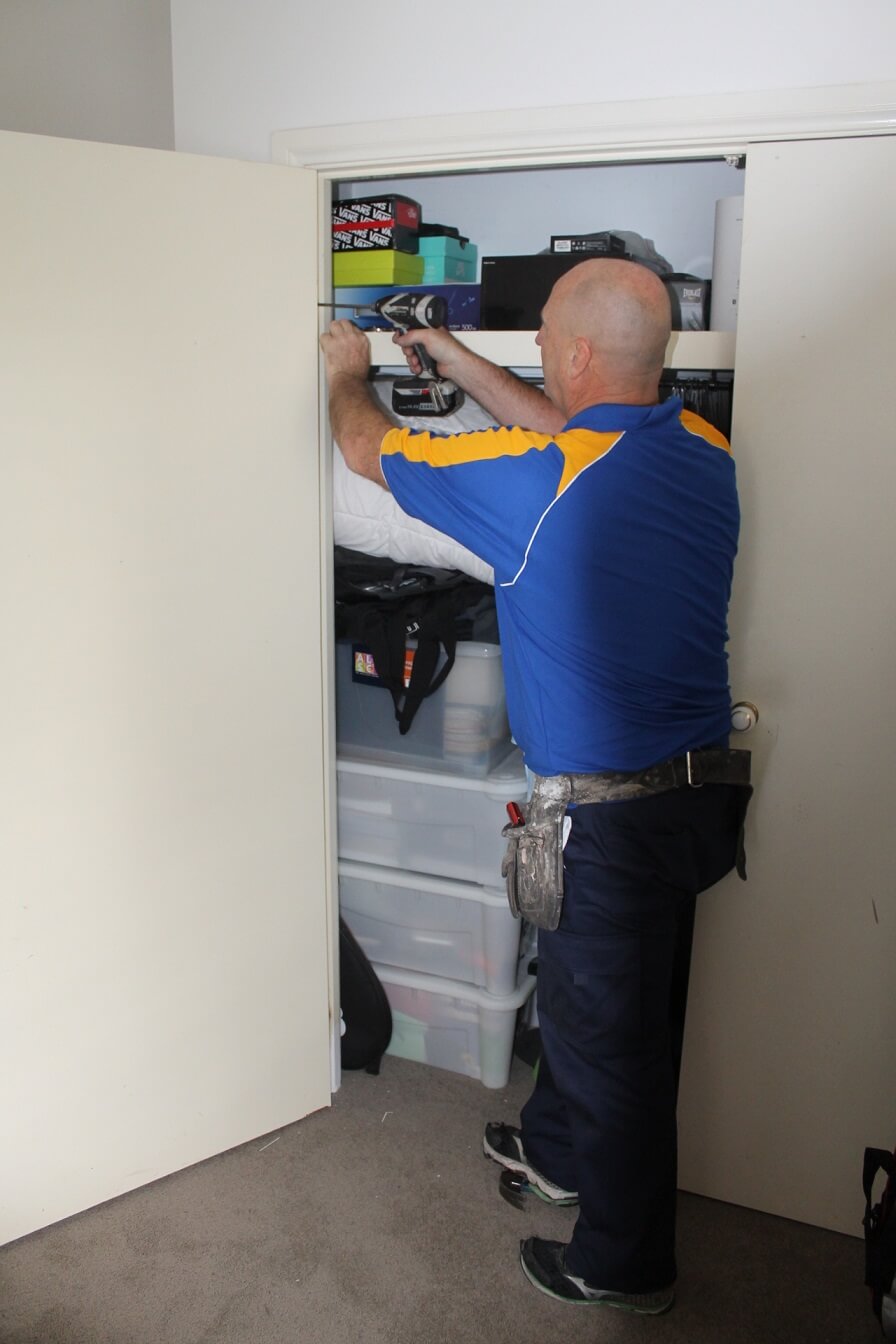
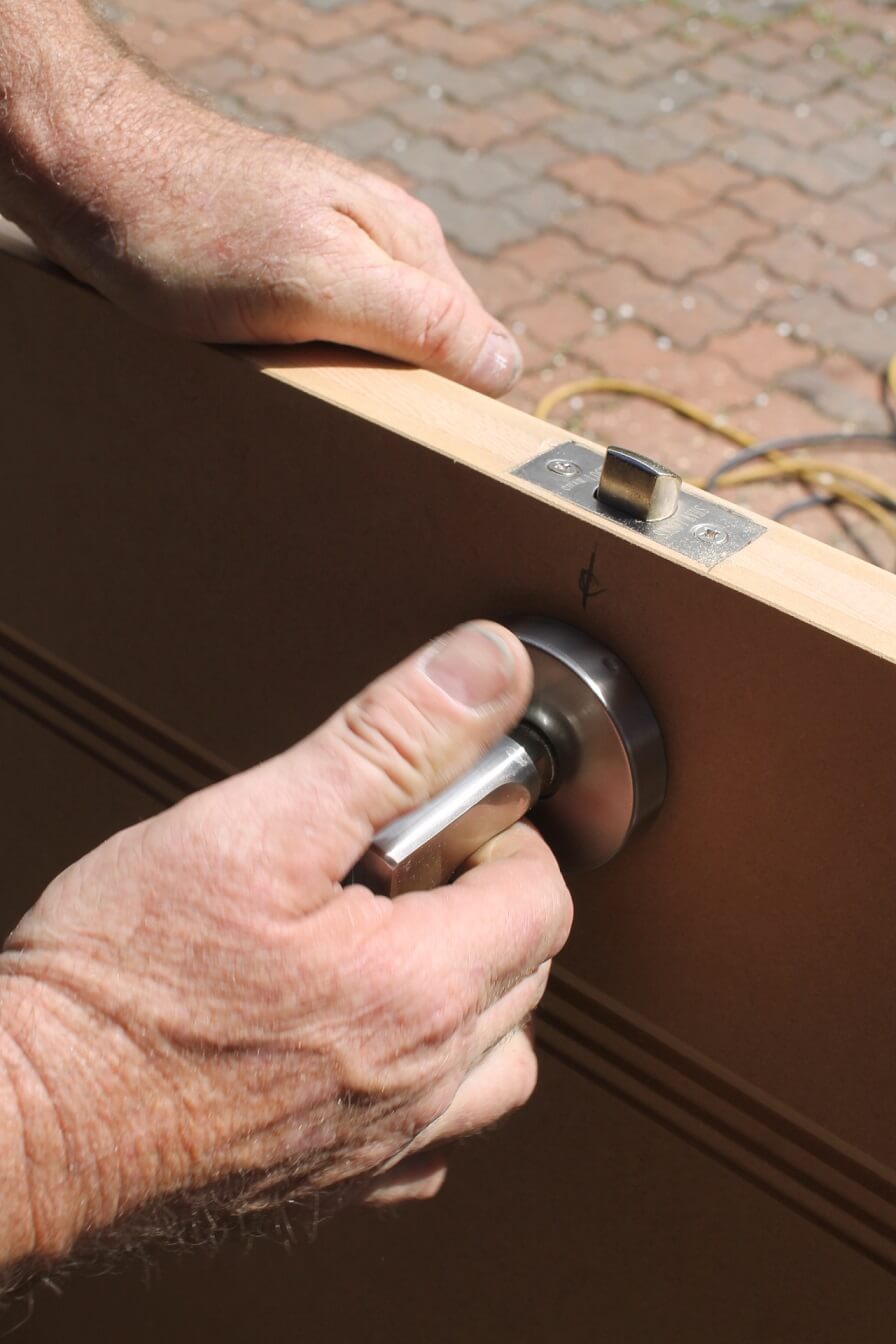
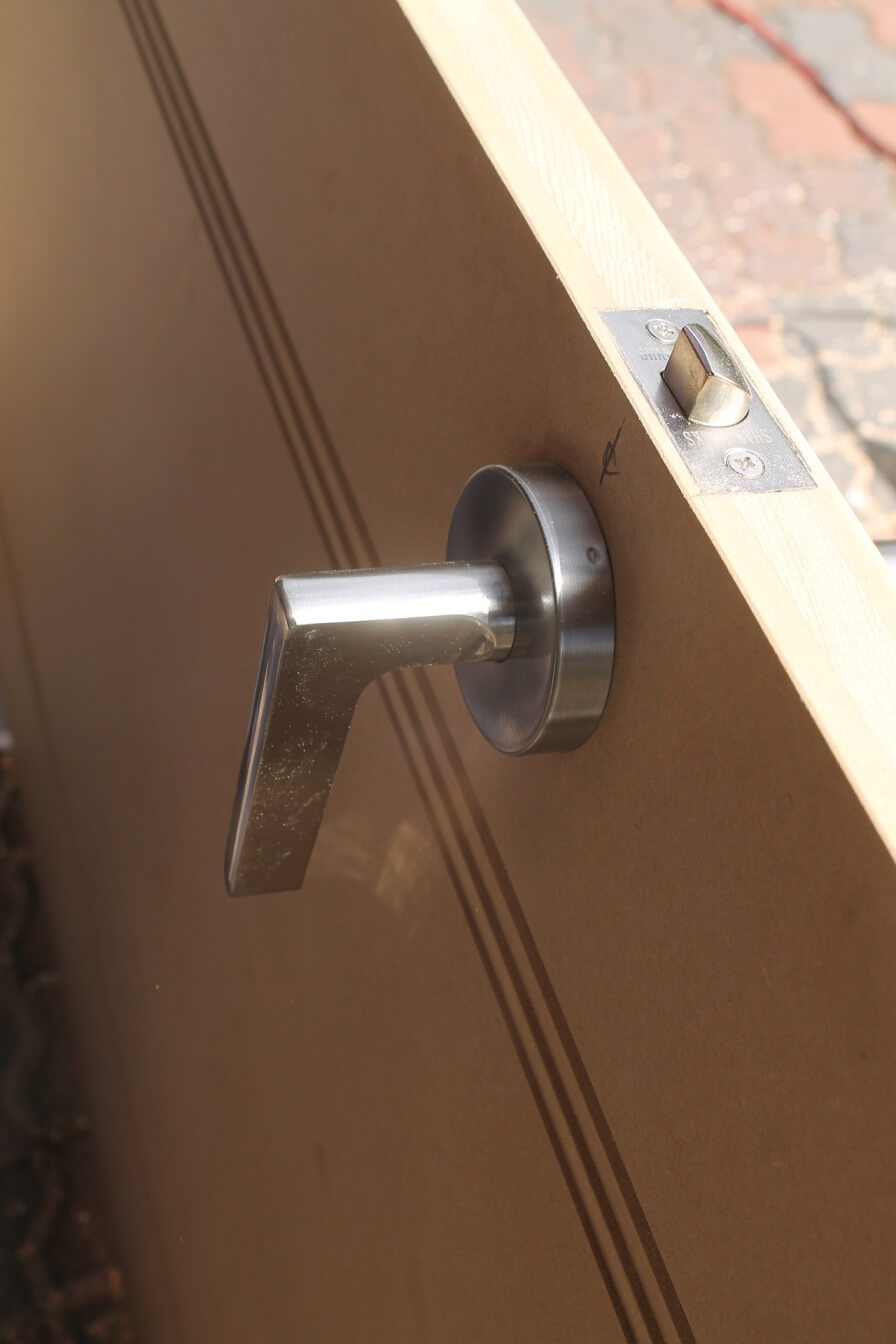
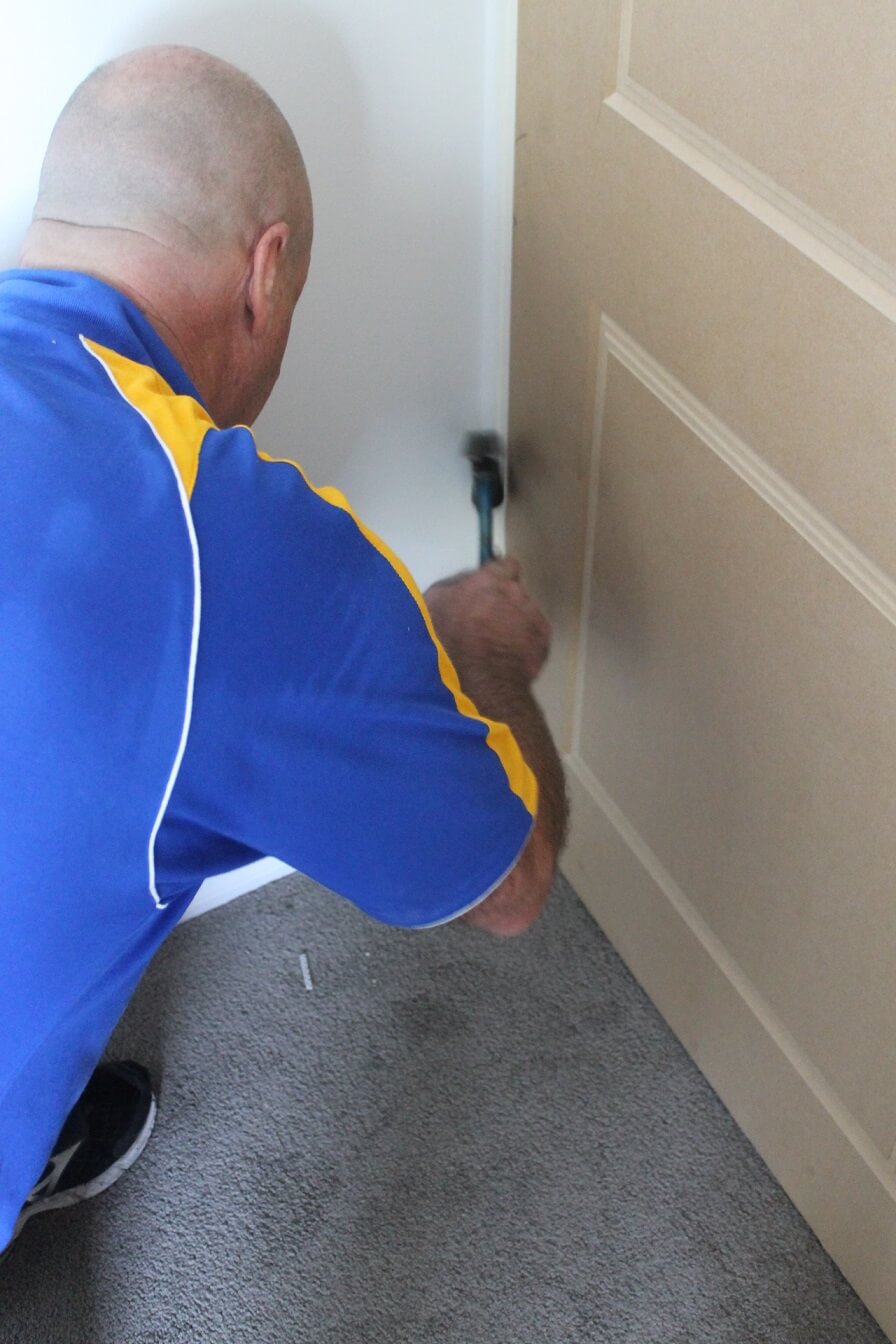
3. Fit the hinges
Before you fit the hinges, just double check which way up you want the door to be.
For some styles and designs, this won’t matter, but for many types of internal door there is a clear top and bottom to the design.
This is also true for the “front” and “back” of the door – make sure you fit the hinges on the correct side, depending on which way you want your door to face.
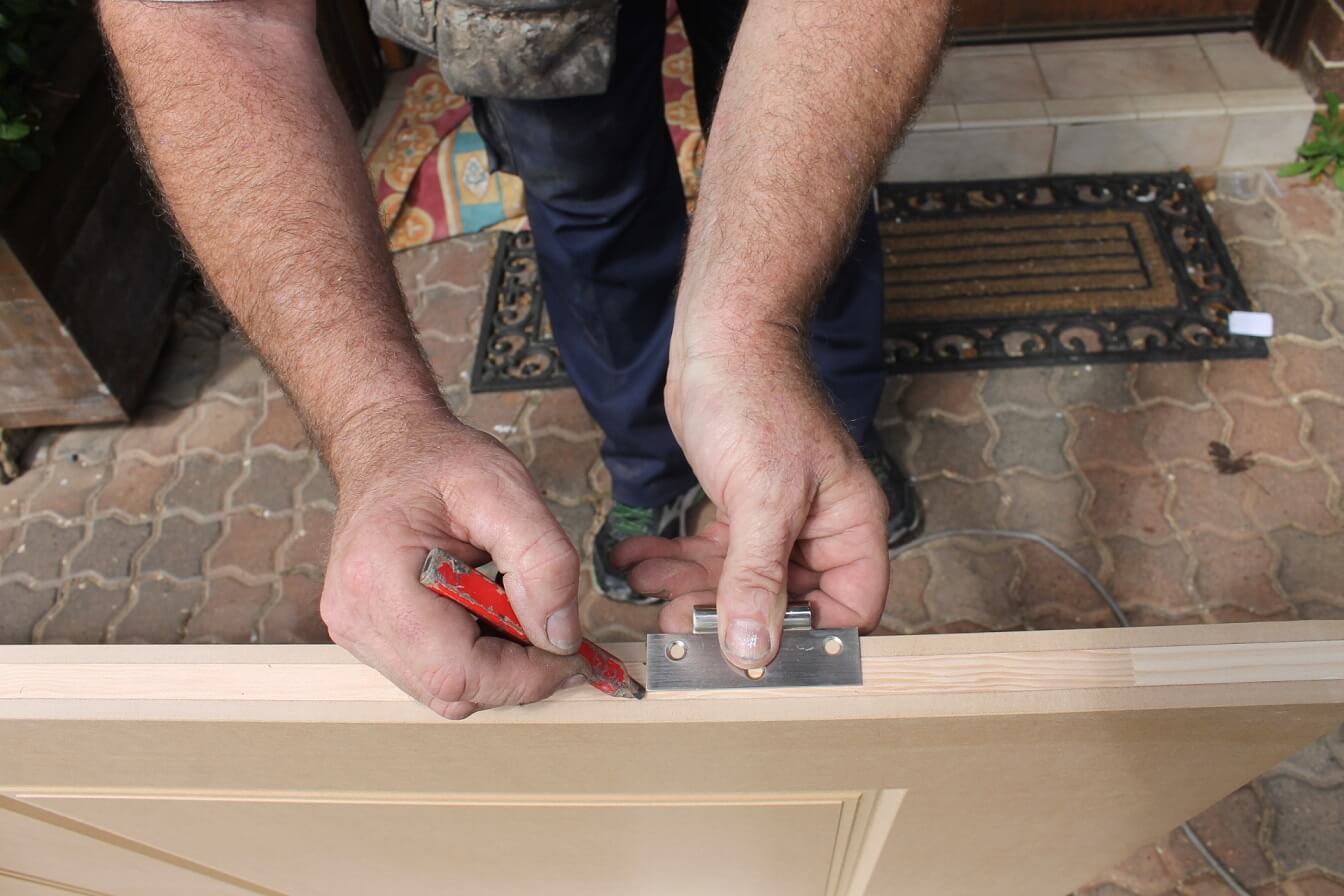
Whether you’re using 2 or 3 hinges, it’s essential that the hinges on the door are perfectly aligned with the cut outs for the hinge plates on the frame.
- Measure and mark the position of the hinges on the door to line up with the points where the old hinges were fixed to the frame. (Most doors use 2 hinges, but the standard 3 hinge position on doors is for the middle hinge to be an equal distance from the top and bottom hinges.)
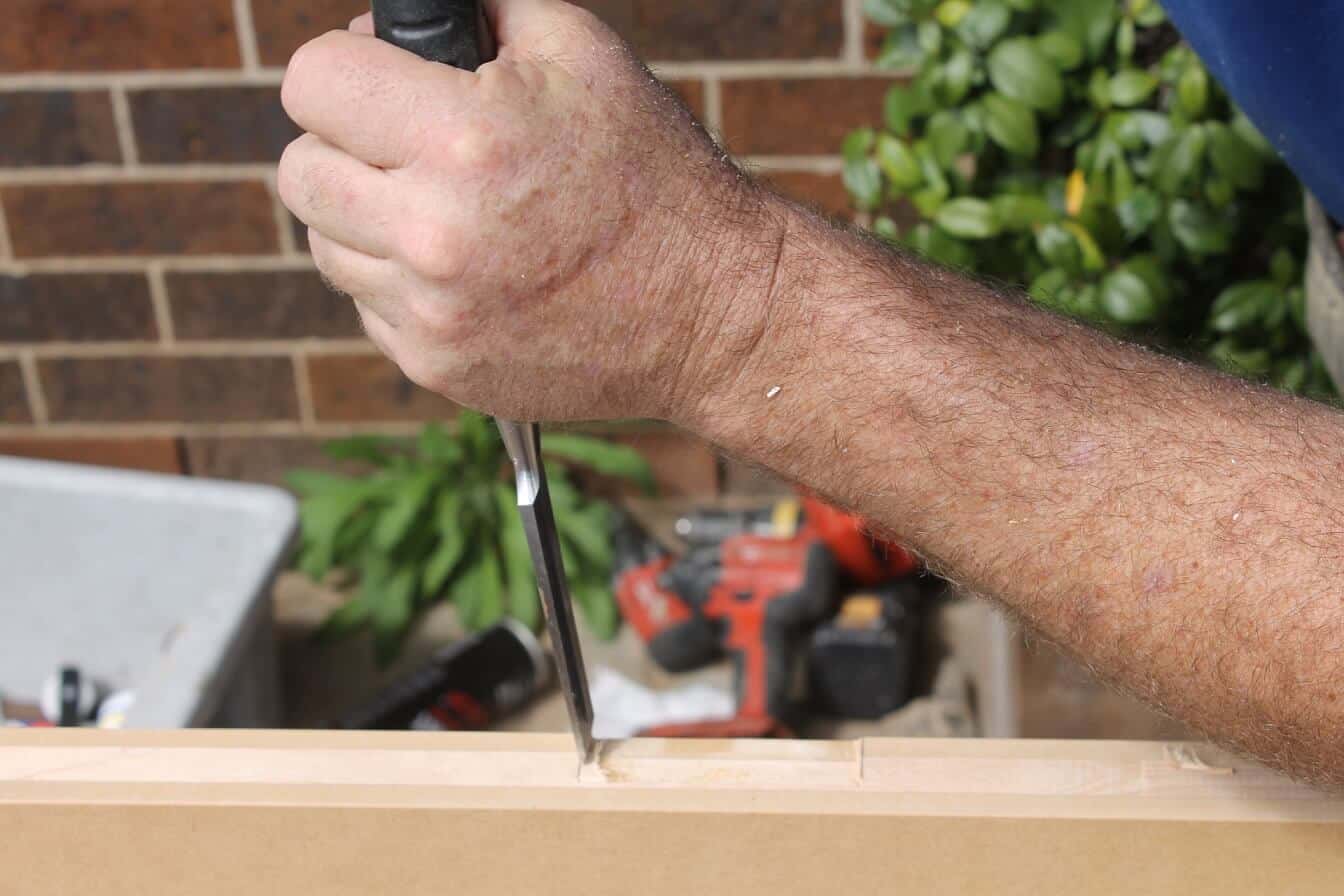
- Use a chisel to cut out the grooves for the hinge plates on the side of the door.
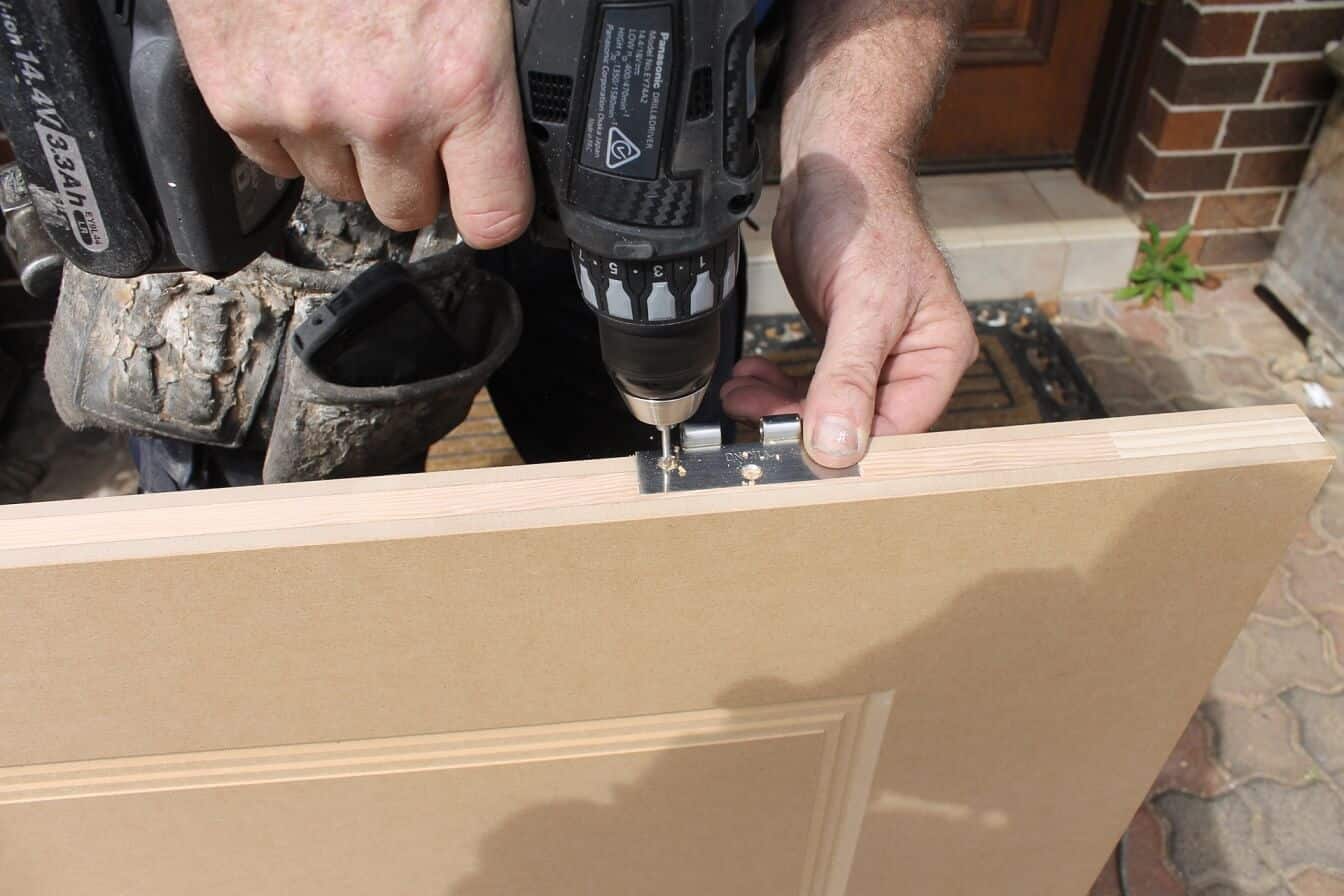
- Screw the hinges into the door at the correct positions.
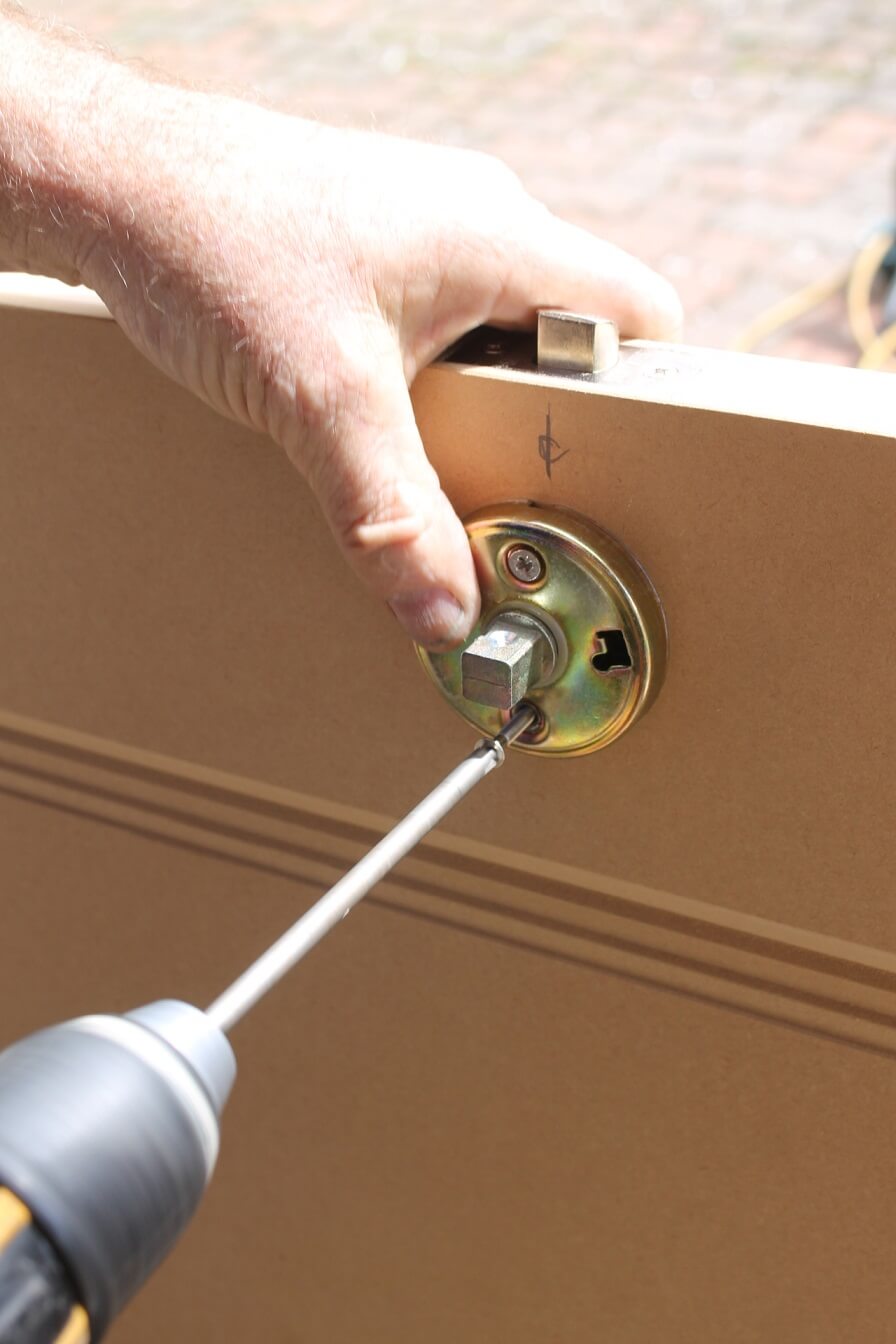
With your handles & locks, it is important to follow the suppliers instructions for installation.
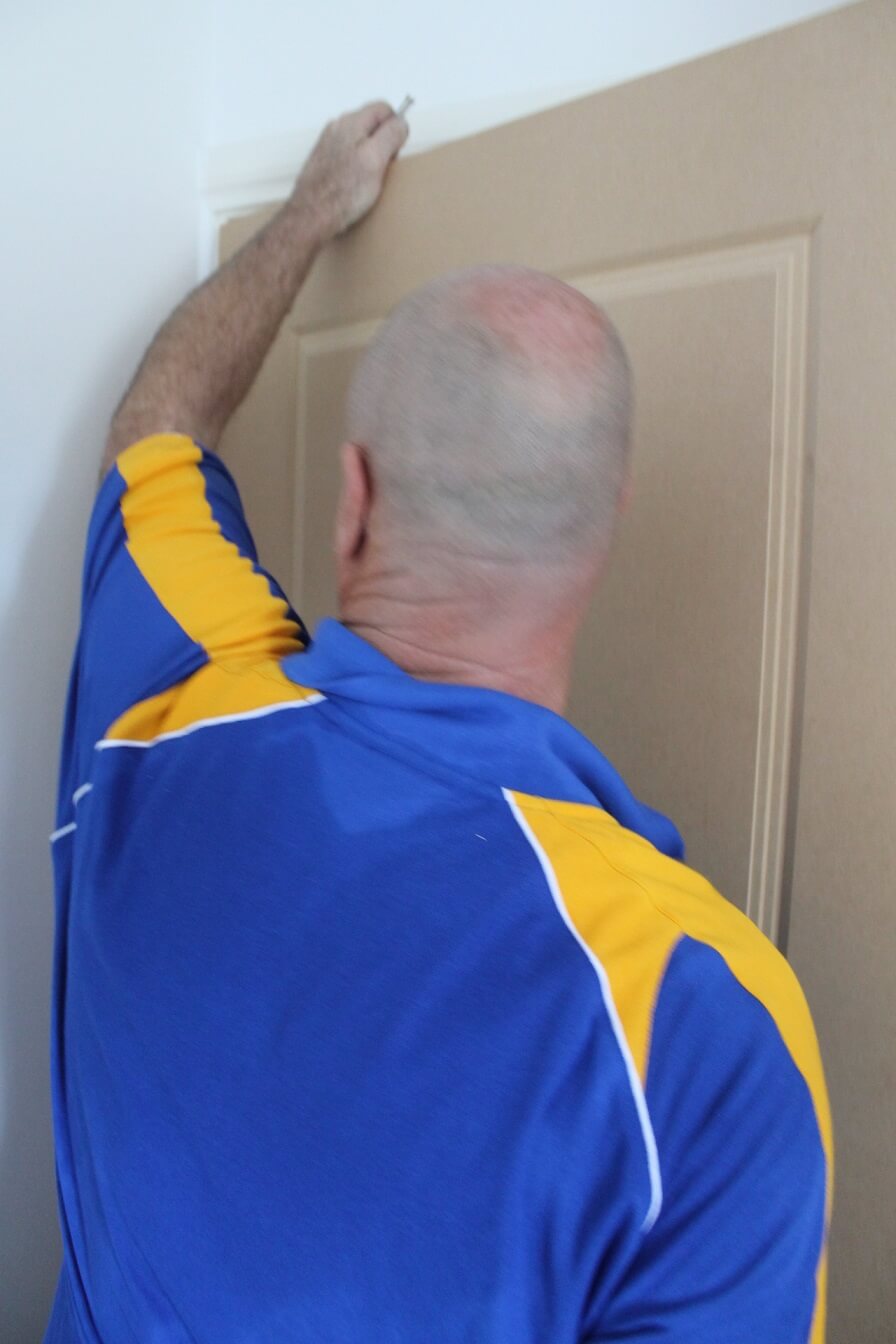
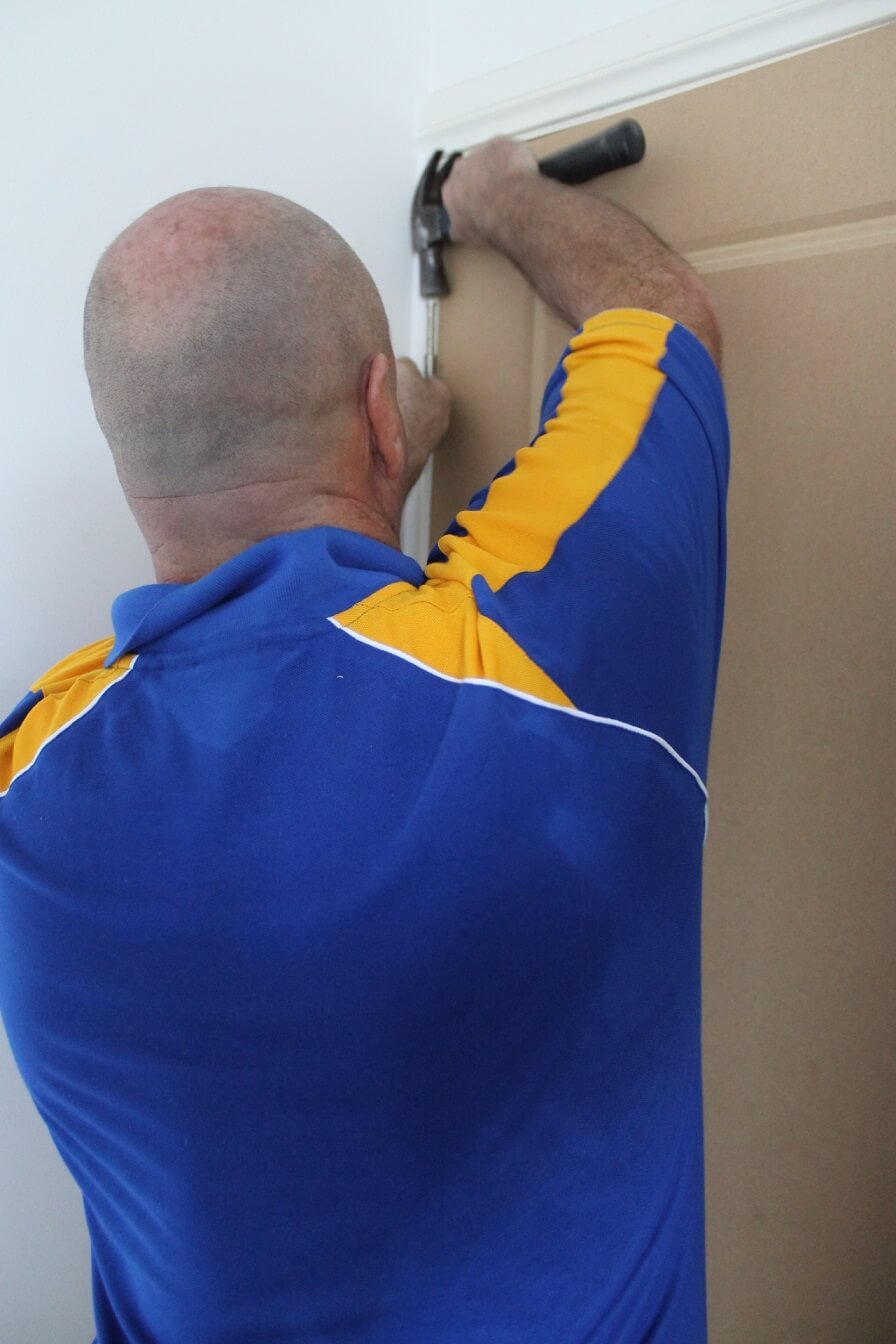
4. Hang the door
You may want someone to help you with this step as you will need to lift and position the door, and then hold it in place as you screw the corresponding hinge plates into the cut outs in the door frame.
It’s important not to let go of the full weight of the door until both sets of hinges are screwed into the frame to avoid putting a strain on only one hinge.
Internal Door Installation FAQs
Can I install interior doors myself?
If you know how to hang a door by yourself, it is relatively quick and simple.
If you haven’t done it before but prefer DIY rather than calling in a tradesperson, you can follow the above steps to keep yourself on track and avoid some of the common mistakes and pitfalls.
The benefit of doing it yourself is that you can get on with it whenever suits you, but if you’d rather leave it to the professionals we can arrange for a joiner or carpenter to take care of it for you.
They’re sure to get the job done well, and quickly, because they know how to install internal doors in their sleep!
How easy is it to install an internal door?
As you can see, the process for internal door fitting is quite simple in itself, but there are plenty of things that could go wrong if you don’t follow the steps and take your time.
Preparation is key: prepare your area, measure and mark your door, take care when trimming and fixing the hinges, and get someone to help you with the final hang.
How much does it cost to install a door inside?
The cost of installing a door can vary greatly.
It all depends on the material and configuration of your doors, how much trimming is required, and whether the existing framework needs any work before a new door can be fitted.
When you visit Doors Plus for a one-to-one consultation, we can discuss your exact requirements, book in a free measure and quote, and arrange for one of our experienced carpenters to fit it for you if you choose.
How long does it take to install a door?
Anyone who knows how to install internal doors will tell you that it’s like asking, “How long is a piece of string?”
It can be a very quick job, but if there’s an existing door that needs removing, the new door needs significant trimming, and/or you need new framework, it will inevitably take longer.
When you choose your new doors and we visit your home for your free measure and quote, we can give you a better idea of how long it’s likely to take.
Need Help Fitting Internal Doors?
So now you know the basic steps for how to install internal doors, and some of the key things to look out for, you’ve probably got a better idea of whether it’s something you would feel confident doing yourself.
If you want to leave it to the experts, we can send one of our skilled and qualified carpenters to fit your door for you and guarantee a professional finish.
Visit your local Doors Plus showroom and we can arrange it all for you, from start to finish.
Recent Post

Informational
April 16, 2026
Inspirational
March 11, 2026
Featured Post

Customer Experiences & Reviews
From Quick Fix to Timeless Finish: How Doors Plus’ Double Heritage Style Front Doors Got It Right
August 21, 2025
Customer Experiences & Reviews
How Doors Plus’ Interior Shaker and Barn Doors Took One Home From Dated to Elevated
August 20, 2025