How To Insulate External Doors: A Comprehensive Guide
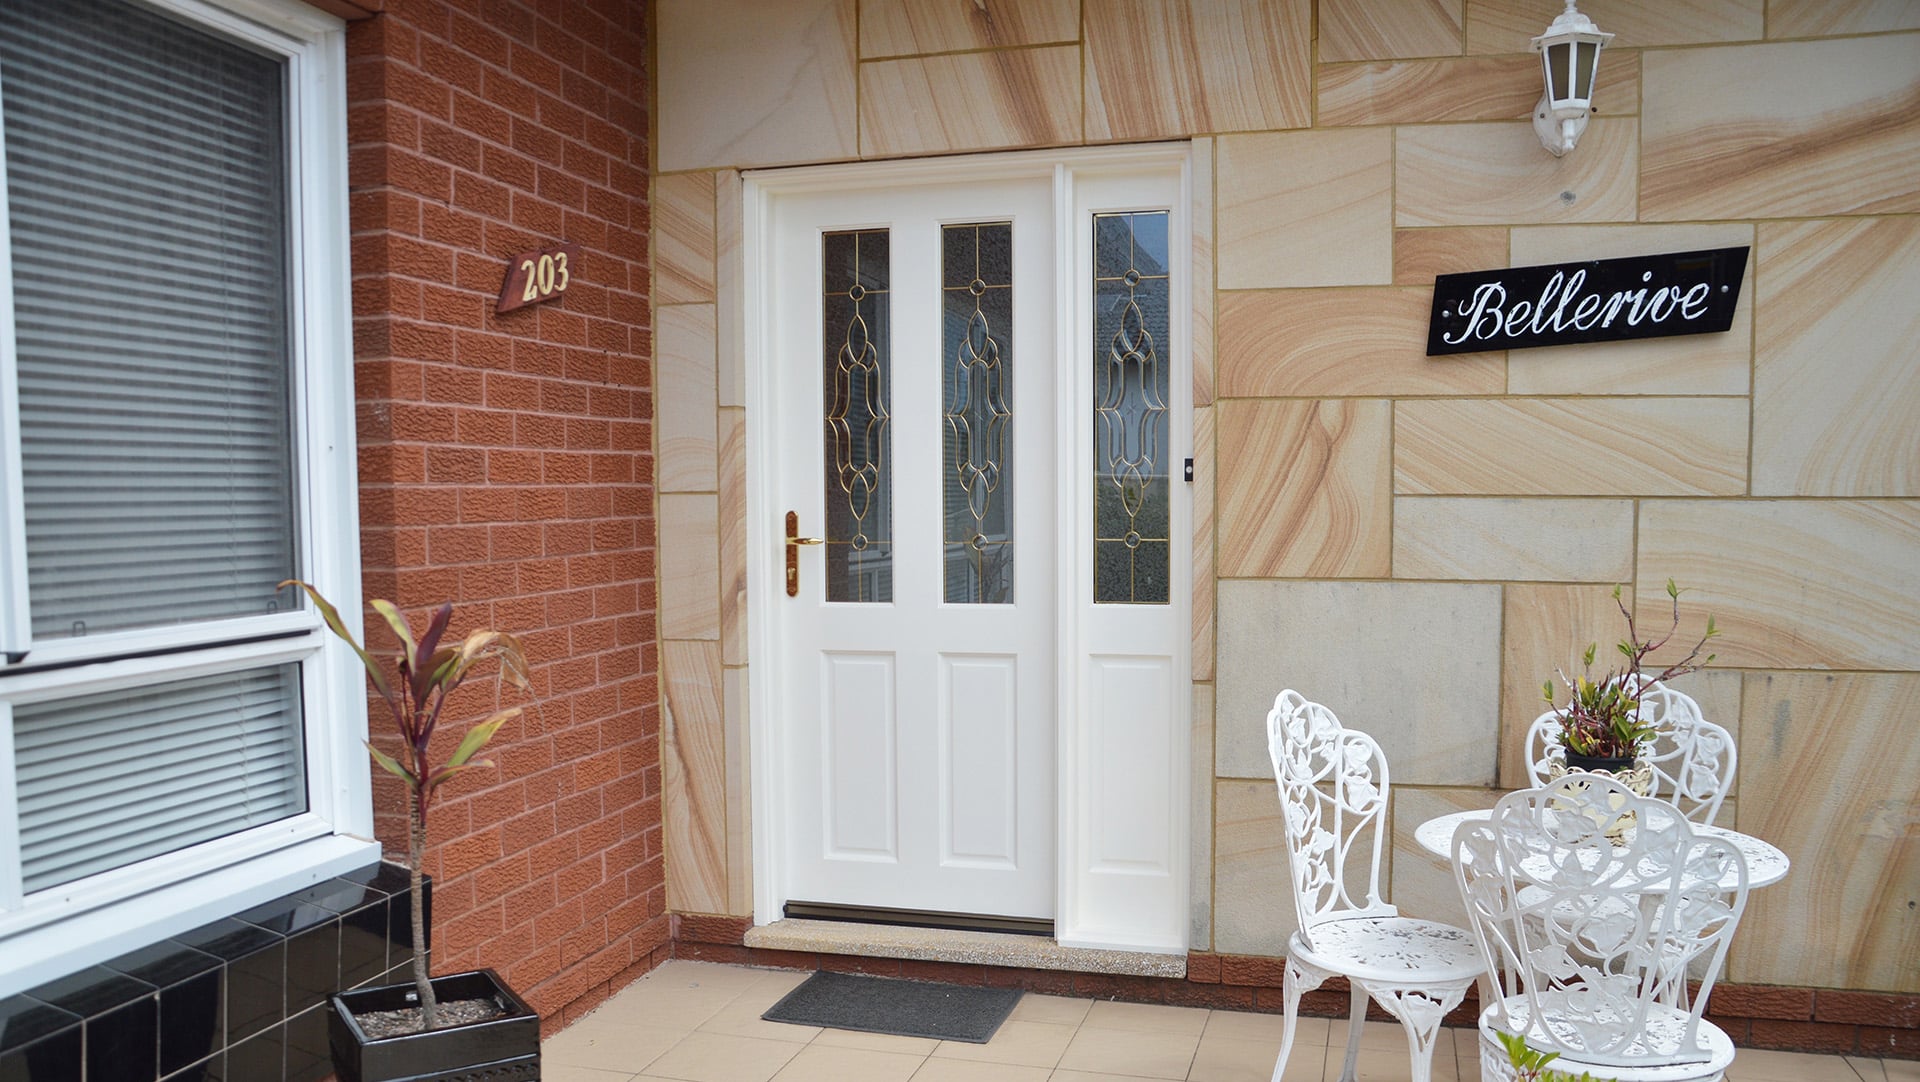
Table of Contents
Are you tired of feeling draughts and losing heat through your external doors?
It’s time to take control of your home’s comfort and energy efficiency.
In this guide, we’ll show you how to insulate your external doors like a pro.
The good news is it’s not as difficult as you may think.
We’ll give you a step-by-step guide on how to insulate external doors and why having proper insulation can transform your living space into a cozy, energy-efficient haven.
Say goodbye to draughty breezes and high energy bills and hello to a more comfortable home.
Let’s jump in and discover the secrets to effective door insulation.
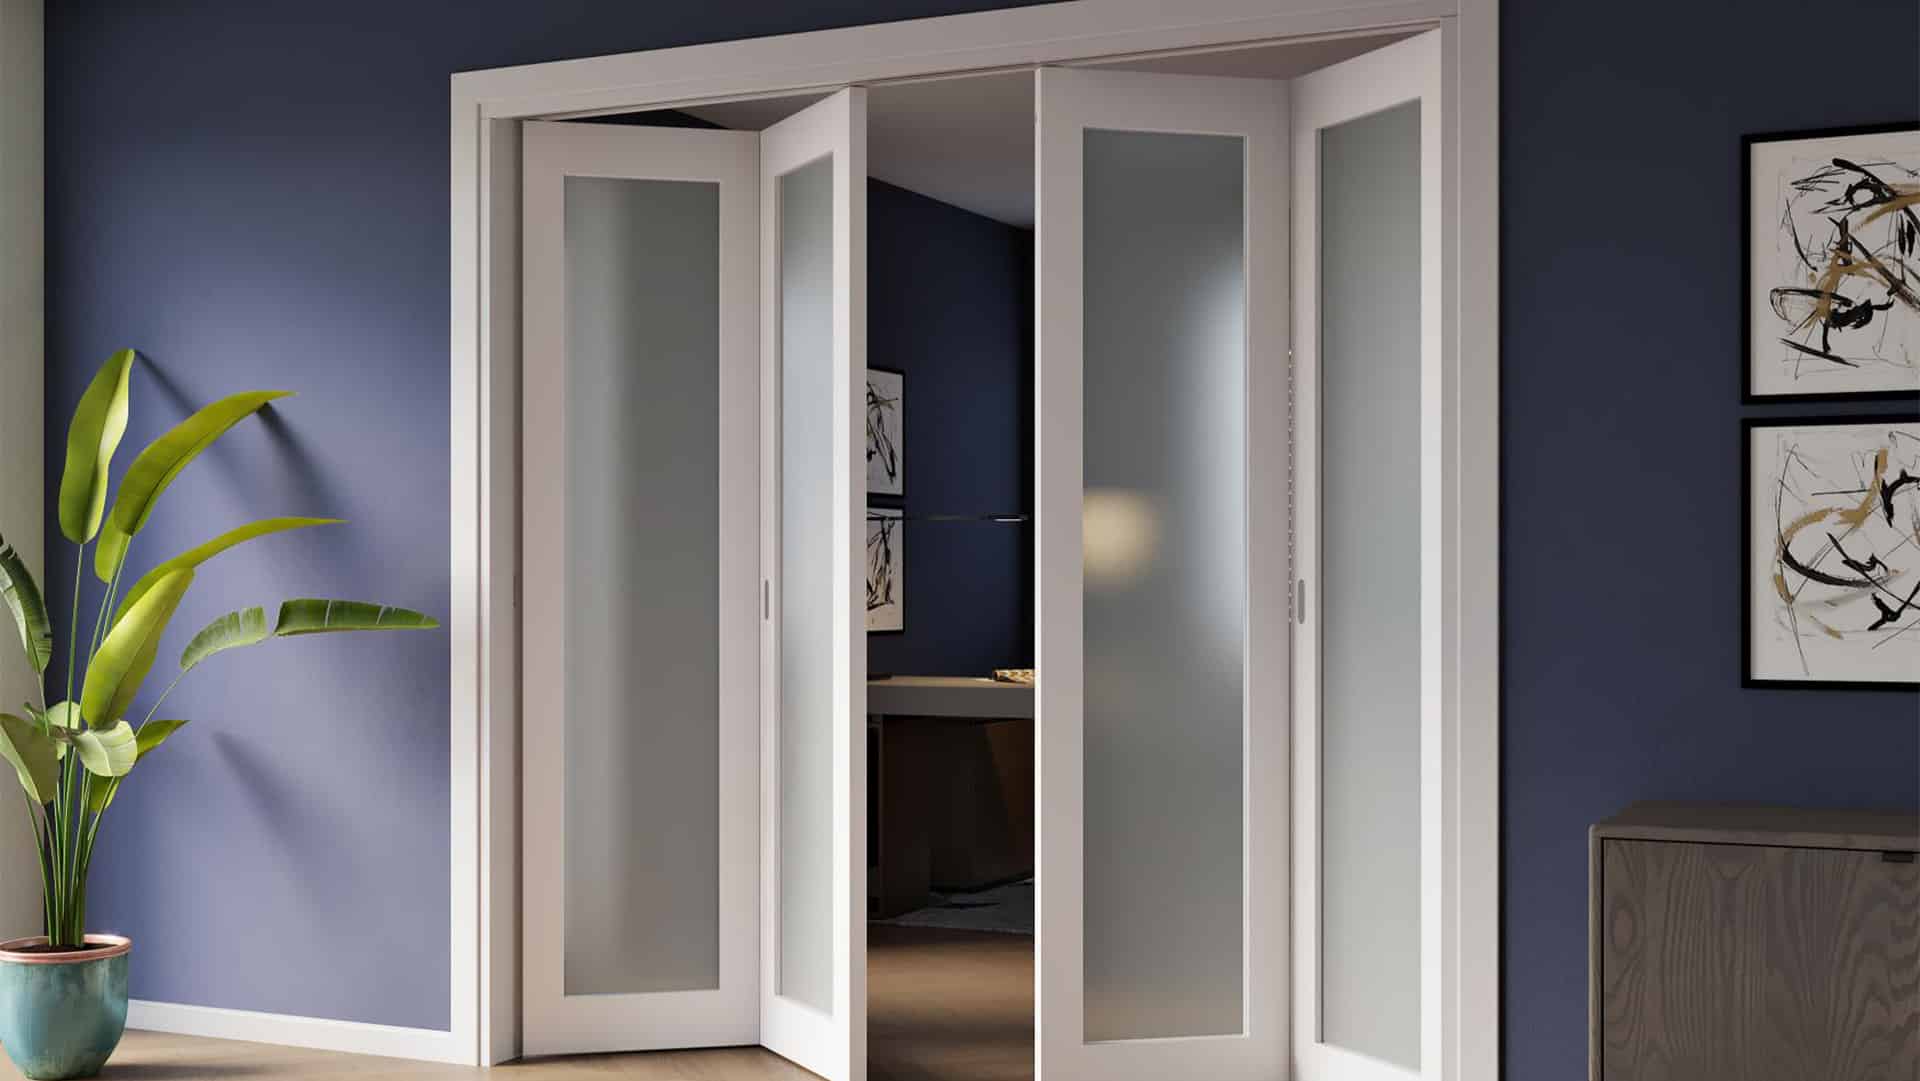
Understanding Door Insulation
When we talk about insulating doors, it’s not just about what’s inside them.
Throughout this guide, we’ll focus on adding materials around your external doors.
This helps to keep the heat in during winter and your home cooler in summer.
It’s all about sealing those gaps, keeping out draughts and boosting your home’s energy efficiency.
The weather ranges from scorching hot summers to chilly winters in Australia, so proper insulation is key.
It not only keeps your home at a nice temperature but also helps reduce energy bills, which anyone can appreciate!
Throughout the guide, we’ll mainly be discussing the following external door insulation types:
- Weatherstripping: This is the bee’s knees of door insulation. Weatherstripping is applied around the door frame to seal off gaps, preventing air leaks and keeping the temperature inside your home stable.
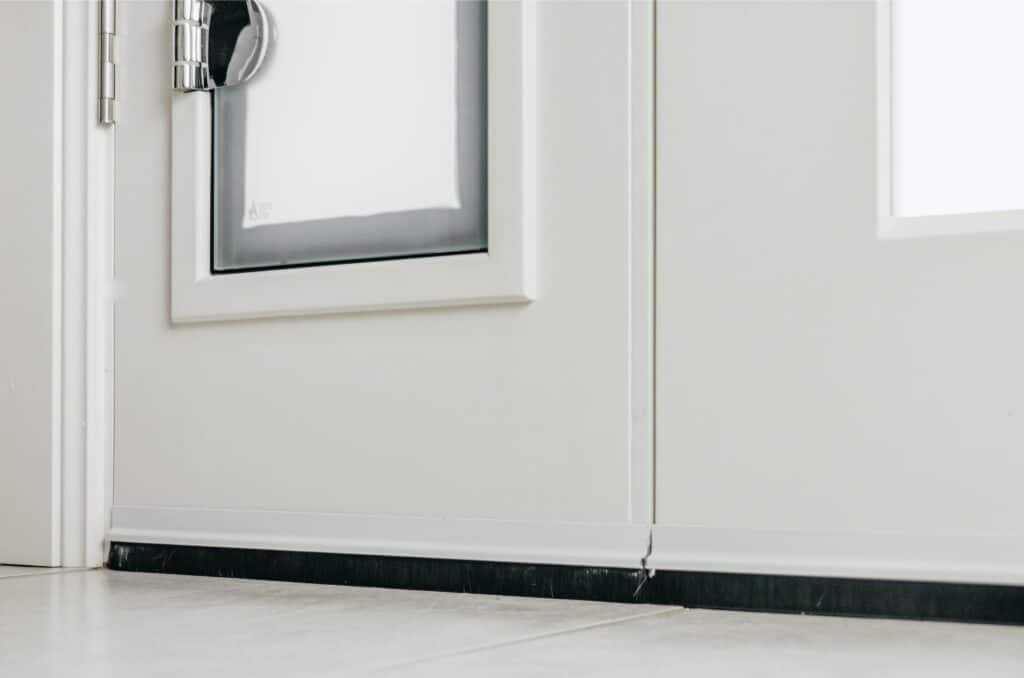
- Door sweeps: These are installed at the bottom of your door. They brush against the floor to block draughts and keep your indoor climate unaffected by outside temperatures.
- Insulation foam: This handy material can be used in different parts of the door, especially in larger gaps. It expands to fill spaces, ensuring a snug fit and improved insulation.
- Seals for door windows: Many external doors have glass panels. Using rubber gaskets or seals around these windows is crucial to prevent heat loss and keep your home insulated.
Step-by-Step Guide: How To Insulate External Doors
Insulating your external doors is a straightforward process once you know the steps.
With the right tools and materials, you can easily make your doors more energy-efficient and your home more comfortable.
Step 1: Understanding Your Door’s Insulation Needs
- Assessing current insulation: First things first, let’s figure out what your door already has going for it.
Is there existing insulation?
If so, what kind and what condition is it in?
This initial assessment helps you understand what you’re working with.
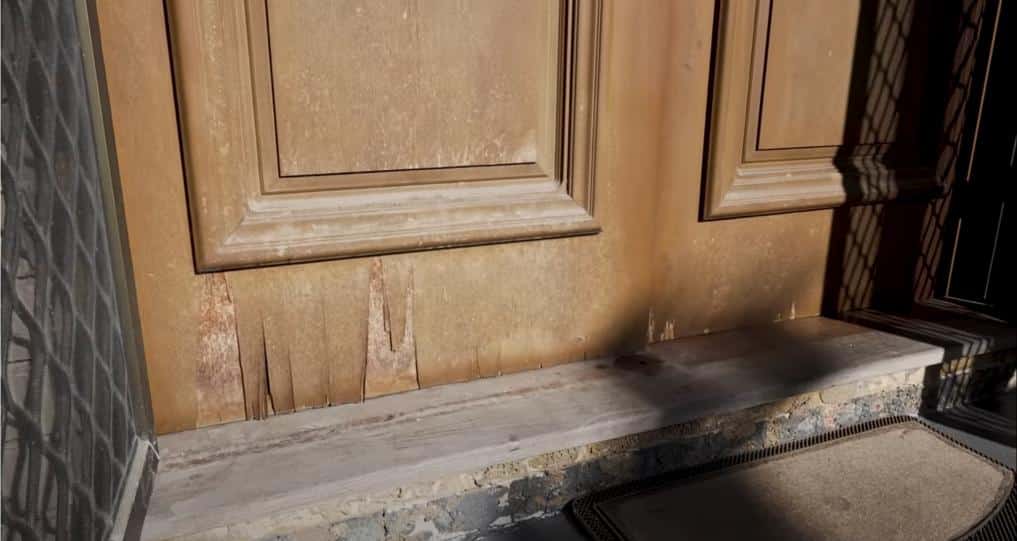
- Identifying problem areas: Next, you’ll want to play detective.
Look for signs of leaks, draughts, and gaps.
Common areas to check are around the door frame, at the bottom of the door, and near any glass panels.
A simple way to detect draughts is by holding a lit candle or incense stick close to these areas on a windy day.
If the smoke wavers or the candle flickers, bingo! You’ve found a draught.
Step 2: Gathering Necessary Materials and Tools
Before diving into the insulation process, you’ll need to gather the right materials and tools.
The specific needs you identified in Step 1 will guide what materials you’ll need.
For example, weatherstripping will be your go-to if you find gaps around the door frame.
Or, if there were draughts at the bottom, a door sweep is what you need.
Here’s a general list of the common tools you’ll need.
Tools
- Measuring tape: Don’t trust your eye on this one. A tape will give more accurate measurements of your door and insulation areas.
- Utility knife: For cutting materials to the needed size.
- Screwdriver or drill: Needed for installing door sweeps or adjusting fittings.
- Adhesive: A strong adhesive makes sure that materials stay in place.
- Caulk gun: If you’re using silicone as part of your insulation process, this tool will be necessary.
- Scissors: Useful for trimming softer materials like foam or rubber seals.
- Level: To make sure that door sweeps and other fittings are installed straight.
Step 3: Measure and Cut Your Insulation Material
First up, measure your door and frame with a measuring tape.
A little tip: add a small extra to your measurements for materials like weatherstripping to make sure you’ve got full coverage.
Now, it’s time to cut.
Use your utility knife or scissors to trim the insulation material.
Keep those cuts neat and straight for the best fit.
Not too confident about doing it yourself?
It’s perfectly fine to call in a professional handyman.
They’ll nail those measurements and cuts, making sure it looks great and your insulation is top-notch.
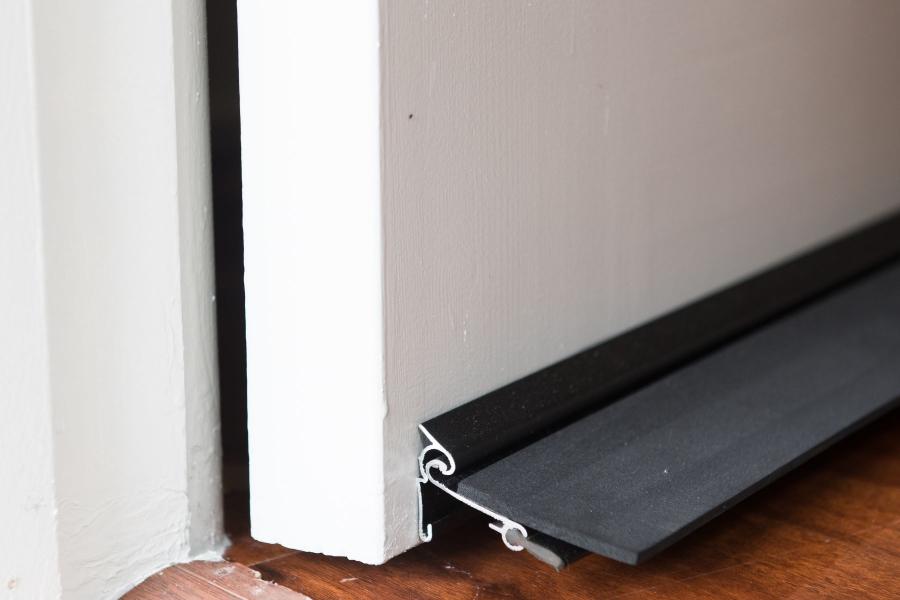
Step 4: Applying Weatherstripping
Start by cleaning the door frame to help the weatherstripping stick well.
Then, apply the weatherstripping along the entire frame, paying close attention to the top and side edges where draughts are most common.
Press it firmly into place, making sure it’s secure, and there are no gaps or loose ends.
If you’re using adhesive-backed weatherstripping, peel off the backing as you go to prevent any debris from sticking to the back.
Make sure the door can close smoothly without any obstructions from the weatherstripping.
Step 5: Installing a Door Sweep
- Measure the width: Measure the bottom of your door to find out the length of the door sweep.
- Cut to fit: If the door sweep isn’t the exact width of your door, cut it to size with your utility knife or hacksaw.
- Position the sweep: Hold the door sweep against the bottom of the door, ensuring that the sweep touches the floor evenly across its length.
- Mark and screw: If your sweep is the screw-on type, mark the screw holes on the door, then drill pilot holes if you have an old hardwood door. Align the sweep and screw it into place.
- Check the seal: Close the door to check that the sweep seals against the floor without dragging too much or leaving gaps.
Step 6: Sealing Door Windows
- Clean the frame: Wipe the window frame for a dust-free surface.
- Measure and cut: Measure the window frame, then cut the rubber gasket or weatherstripping to the needed size.
- Apply the seal: Stick the gasket or weatherstrip around the frame. Use a bit of clear silicone for non-adhesive types, just not too much!
- Check for draughts: After installation, it’s a good idea to check for draughts again, just like you did in the initial assessment.
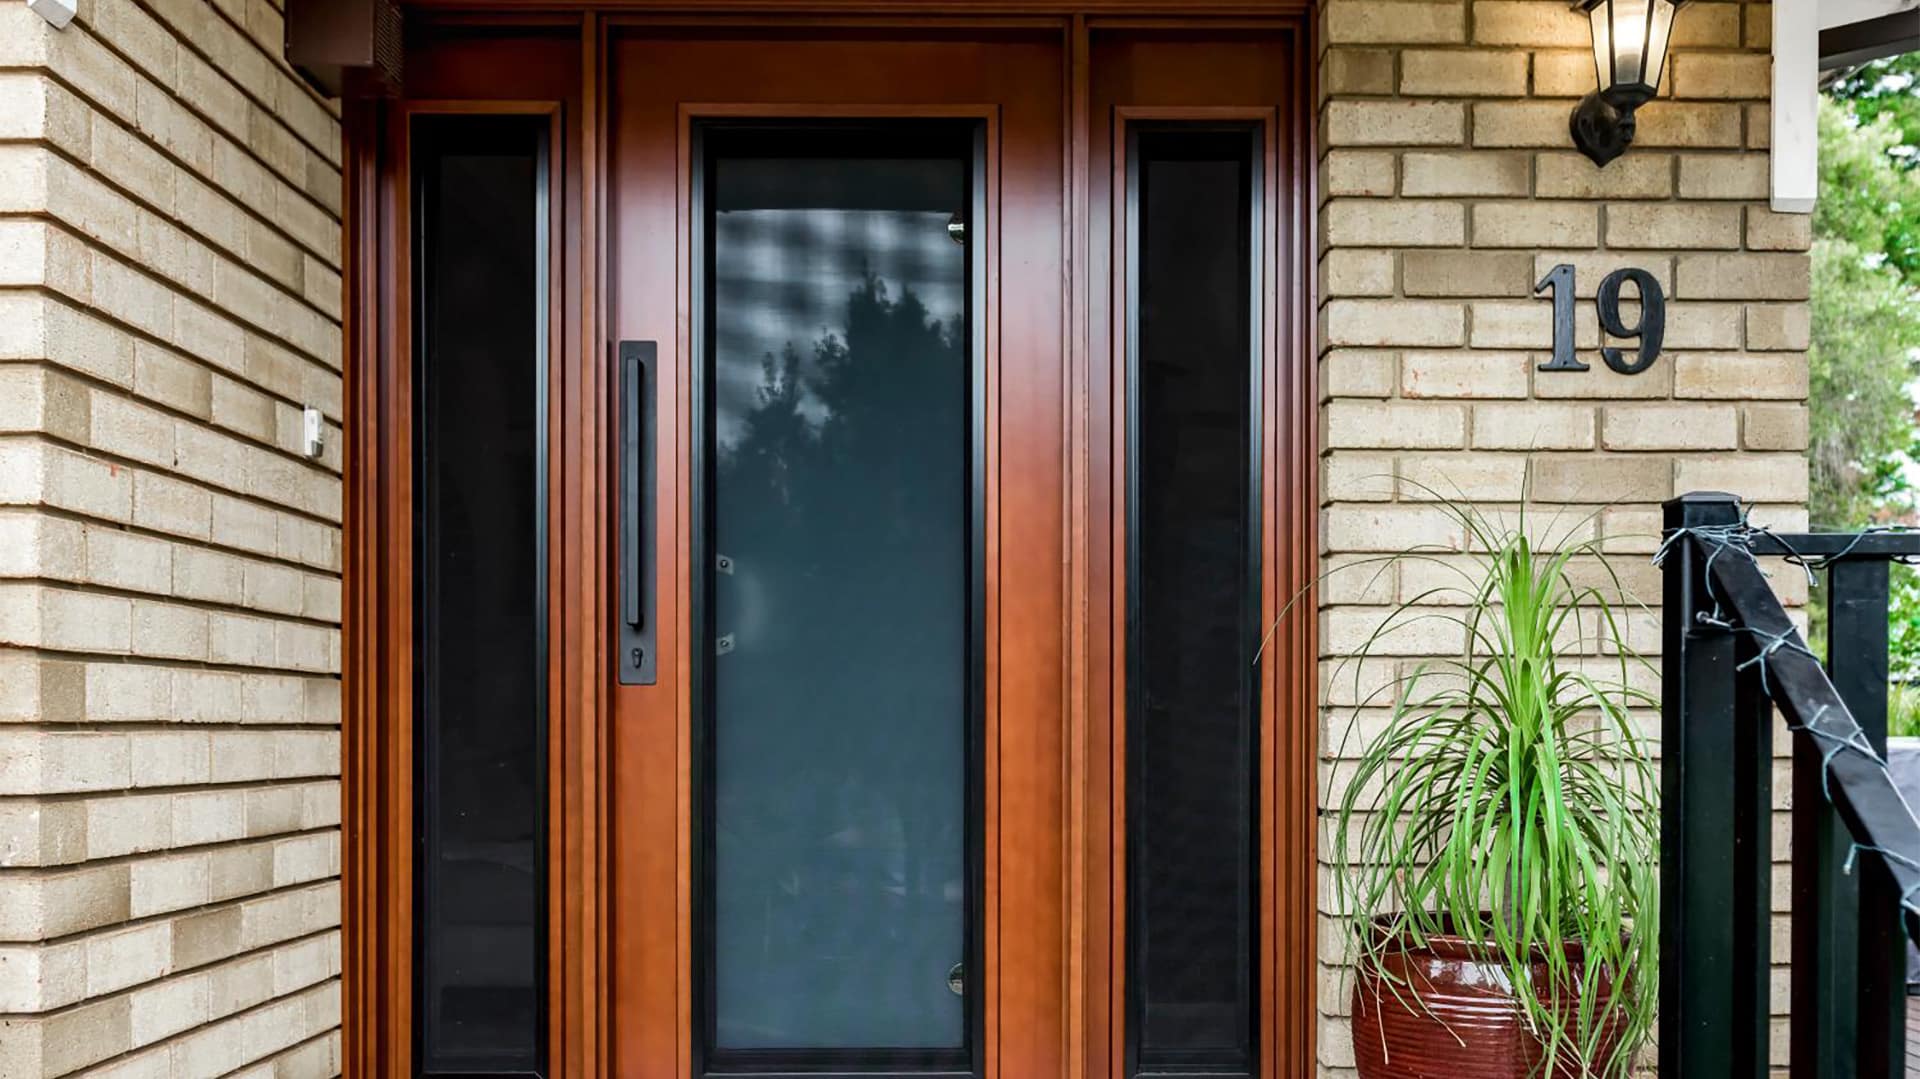
Step 7: Consider Upgrading to a New Insulated Door
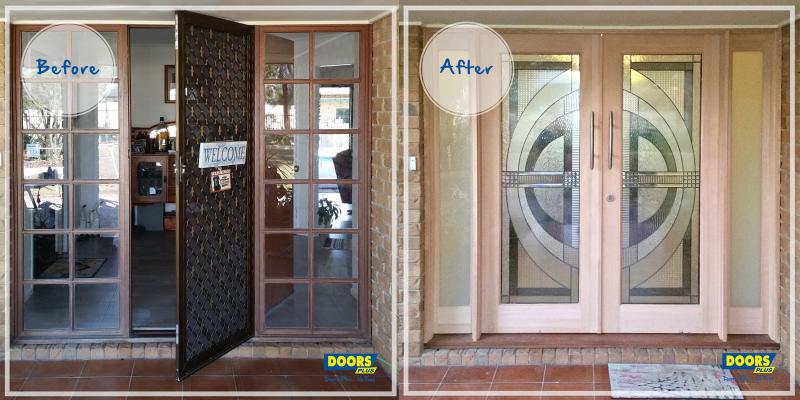
Sometimes it’s better to just draw a line in the sand and invest in a new, insulated door.
If your current door is old, damaged or poorly insulated, replacing it with a new door may be the best option.
It will save you time and money on the insulation process and be a stylish addition to your home.
Insulated doors enhance security with stronger materials and are low maintenance, weather-resistant, and durable!
So if you think it’s time for an upgrade, check out the range of insulated doors at Doors Plus.
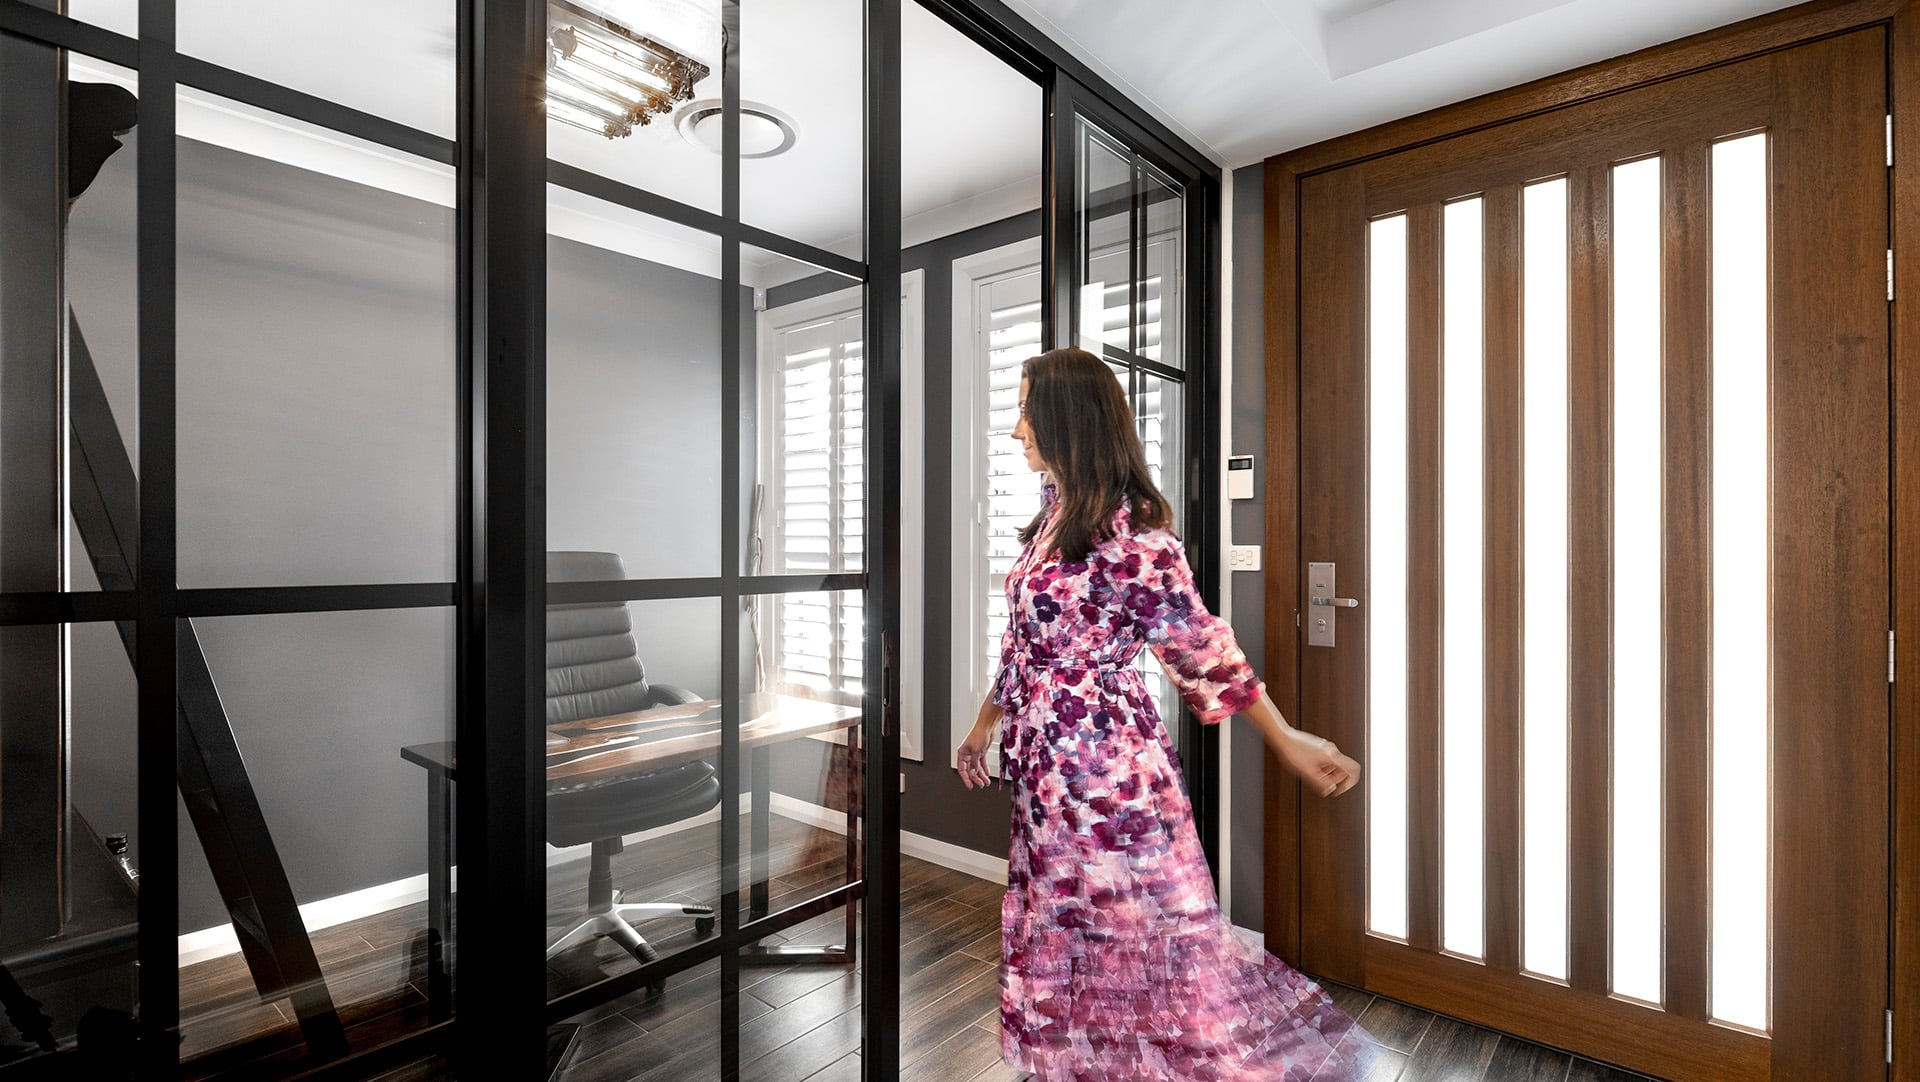
Doors Plus Solutions for Insulated Doors
Doors Plus has got you covered if you’re looking for high-quality, insulated, energy-efficient doors.
Our range of InsulSafe™ doors is engineered for optimal insulation.
Their double and triple glazing effectively blocks extreme temperatures, making your home comfortable year-round.
These doors also offer excellent thermal efficiency, which helps reduce energy costs by minimising heat exchange between the interior and exterior of your house.
The added benefit of noise reduction is that it maintains the peace and quiet of your living space.
Solid and secure, InsulSafe™ doors also reduce maintenance costs due to their durability and weather resistance.
Don’t let draughts or high energy bills affect your comfort at home! With an InsulSafe™ door from Doors Plus, you can enjoy a well-insulated and energy-efficient home all year round.
Ready To Boost Your Home’s Energy Efficiency? Start With Your Doors!
Ready to make your home cosier and your energy bills lower?
It all starts with your doors.
By sealing gaps with weatherstripping, installing door sweeps, and making sure windows on doors are properly insulated, you can make a big difference in maintaining your home’s temperature and reducing energy bills.
And for an even bigger impact, why not explore Doors Plus’s InsulSafe™ doors?
They’re great for keeping your home comfortable and your energy costs down.
Ready to make a change? Contact Doors Plus for a free measure and quote, or pop into our nearest showroom and explore our range of doors to find the perfect option for your home’s insulation needs!
FAQs on How To Insulate External Doors
What Is the Best Way To Insulate an Exterior Door?
The best way to insulate an exterior door involves using weatherstripping around the frame, installing a door sweep at the bottom, and applying insulation foam for larger gaps.
For doors with windows, use rubber gaskets or weatherstripping.
How Do I Stop Cold Air From Coming Through My Door?
To stop cold air from coming through your door, first check for any visible gaps or cracks around the door frame and bottom.
Seal these with weatherstripping and install a door sweep at the bottom to block airflow.
Try using silicone to fill smaller cracks and gaps in and around the frame.
For doors with windows, you will also want to make sure they are properly sealed.
Double-check the door’s alignment, as even slight misalignments in how the door is hung can cause draughts.
How Do I Insulate a Wooden External Door?
To insulate a wooden external door, start by checking for any cracks or gaps in the wood and filling them with a wood filler.
Then, apply weatherstripping around the door frame to seal air leaks.
Installing a door sweep at the bottom will also help.
If the door has glass panels, seal it with weatherstripping or caulking.
What Type of Door Has the Best Insulation?
Doors with core insulation, like foam or fibreglass, offer the best insulation.
Solid wood doors provide good natural insulation, while modern metal and glass doors often have built-in insulating features like thermal breaks and double glazing.
Recent Post

Informational
April 16, 2026
Inspirational
March 11, 2026
Featured Post

Customer Experiences & Reviews
From Quick Fix to Timeless Finish: How Doors Plus’ Double Heritage Style Front Doors Got It Right
August 21, 2025

Customer Experiences & Reviews
How Doors Plus’ Interior Shaker and Barn Doors Took One Home From Dated to Elevated
August 20, 2025